Roasting chicken can be a very simple but also very tricky. Cook just right and it can be juicy and tender. Cook too long and you have a dry and hard piece of protein that is almost unbearable. Once I mastered how to perfectly roast chicken breast my life got SO much easier (and more tasty) when it came to prepping meals in advance.
If you've known me in the past 2 years, then you've known me during a time when I took meal prepping very seriously. This was during my time when I was actively competing in figure competitions. Bring on the veggies and chicken breast for 80% of my meals (also before I learned of the beauty of flexible dieting, but I digress). Coincidentally enough, I could never cook chicken perfectly during this time.
I actually got to a point where I couldn't stand to look at baked chicken because I anticipated a dry and hard piece of meat. Please ANYTHING other than that!! Fast forward a year and a half since my last show and I have one very small but very impactful addition to my kitchen tool arsenal: an instant read food thermometer.

I can't stress how big of a difference this simple tool can make! No more guessing if and when your meats are cooked to the appropriate temperature and NO MORE OVERCOOKING! Rejoice!

Ok...so a bit dramatic.
But seriously, if you haven't made the investment in this tool it will make your time in the kitchen so much easier. This simple 'How To' on roasted chicken is a staple for everyone's meal rotation. I make chicken on a weekly basis and either eat it as is with salads, sandwiches, etc. or transform it and use this as a base for other recipes. This is such a simple technique and everyone should know how they too, can cook perfectly juicy chicken!
The key to perfectly cooked chicken is to pull it from cooking BEFORE it reaches the proper internal temperature. A safe minimum internal temperature for chicken is 165°F. I pull my chicken from the oven once it reaches 155°F, as it will continue to cook about another 10°F after it is taken out of the oven.

Perfectly Roasted Chicken Breast
Ingredients:
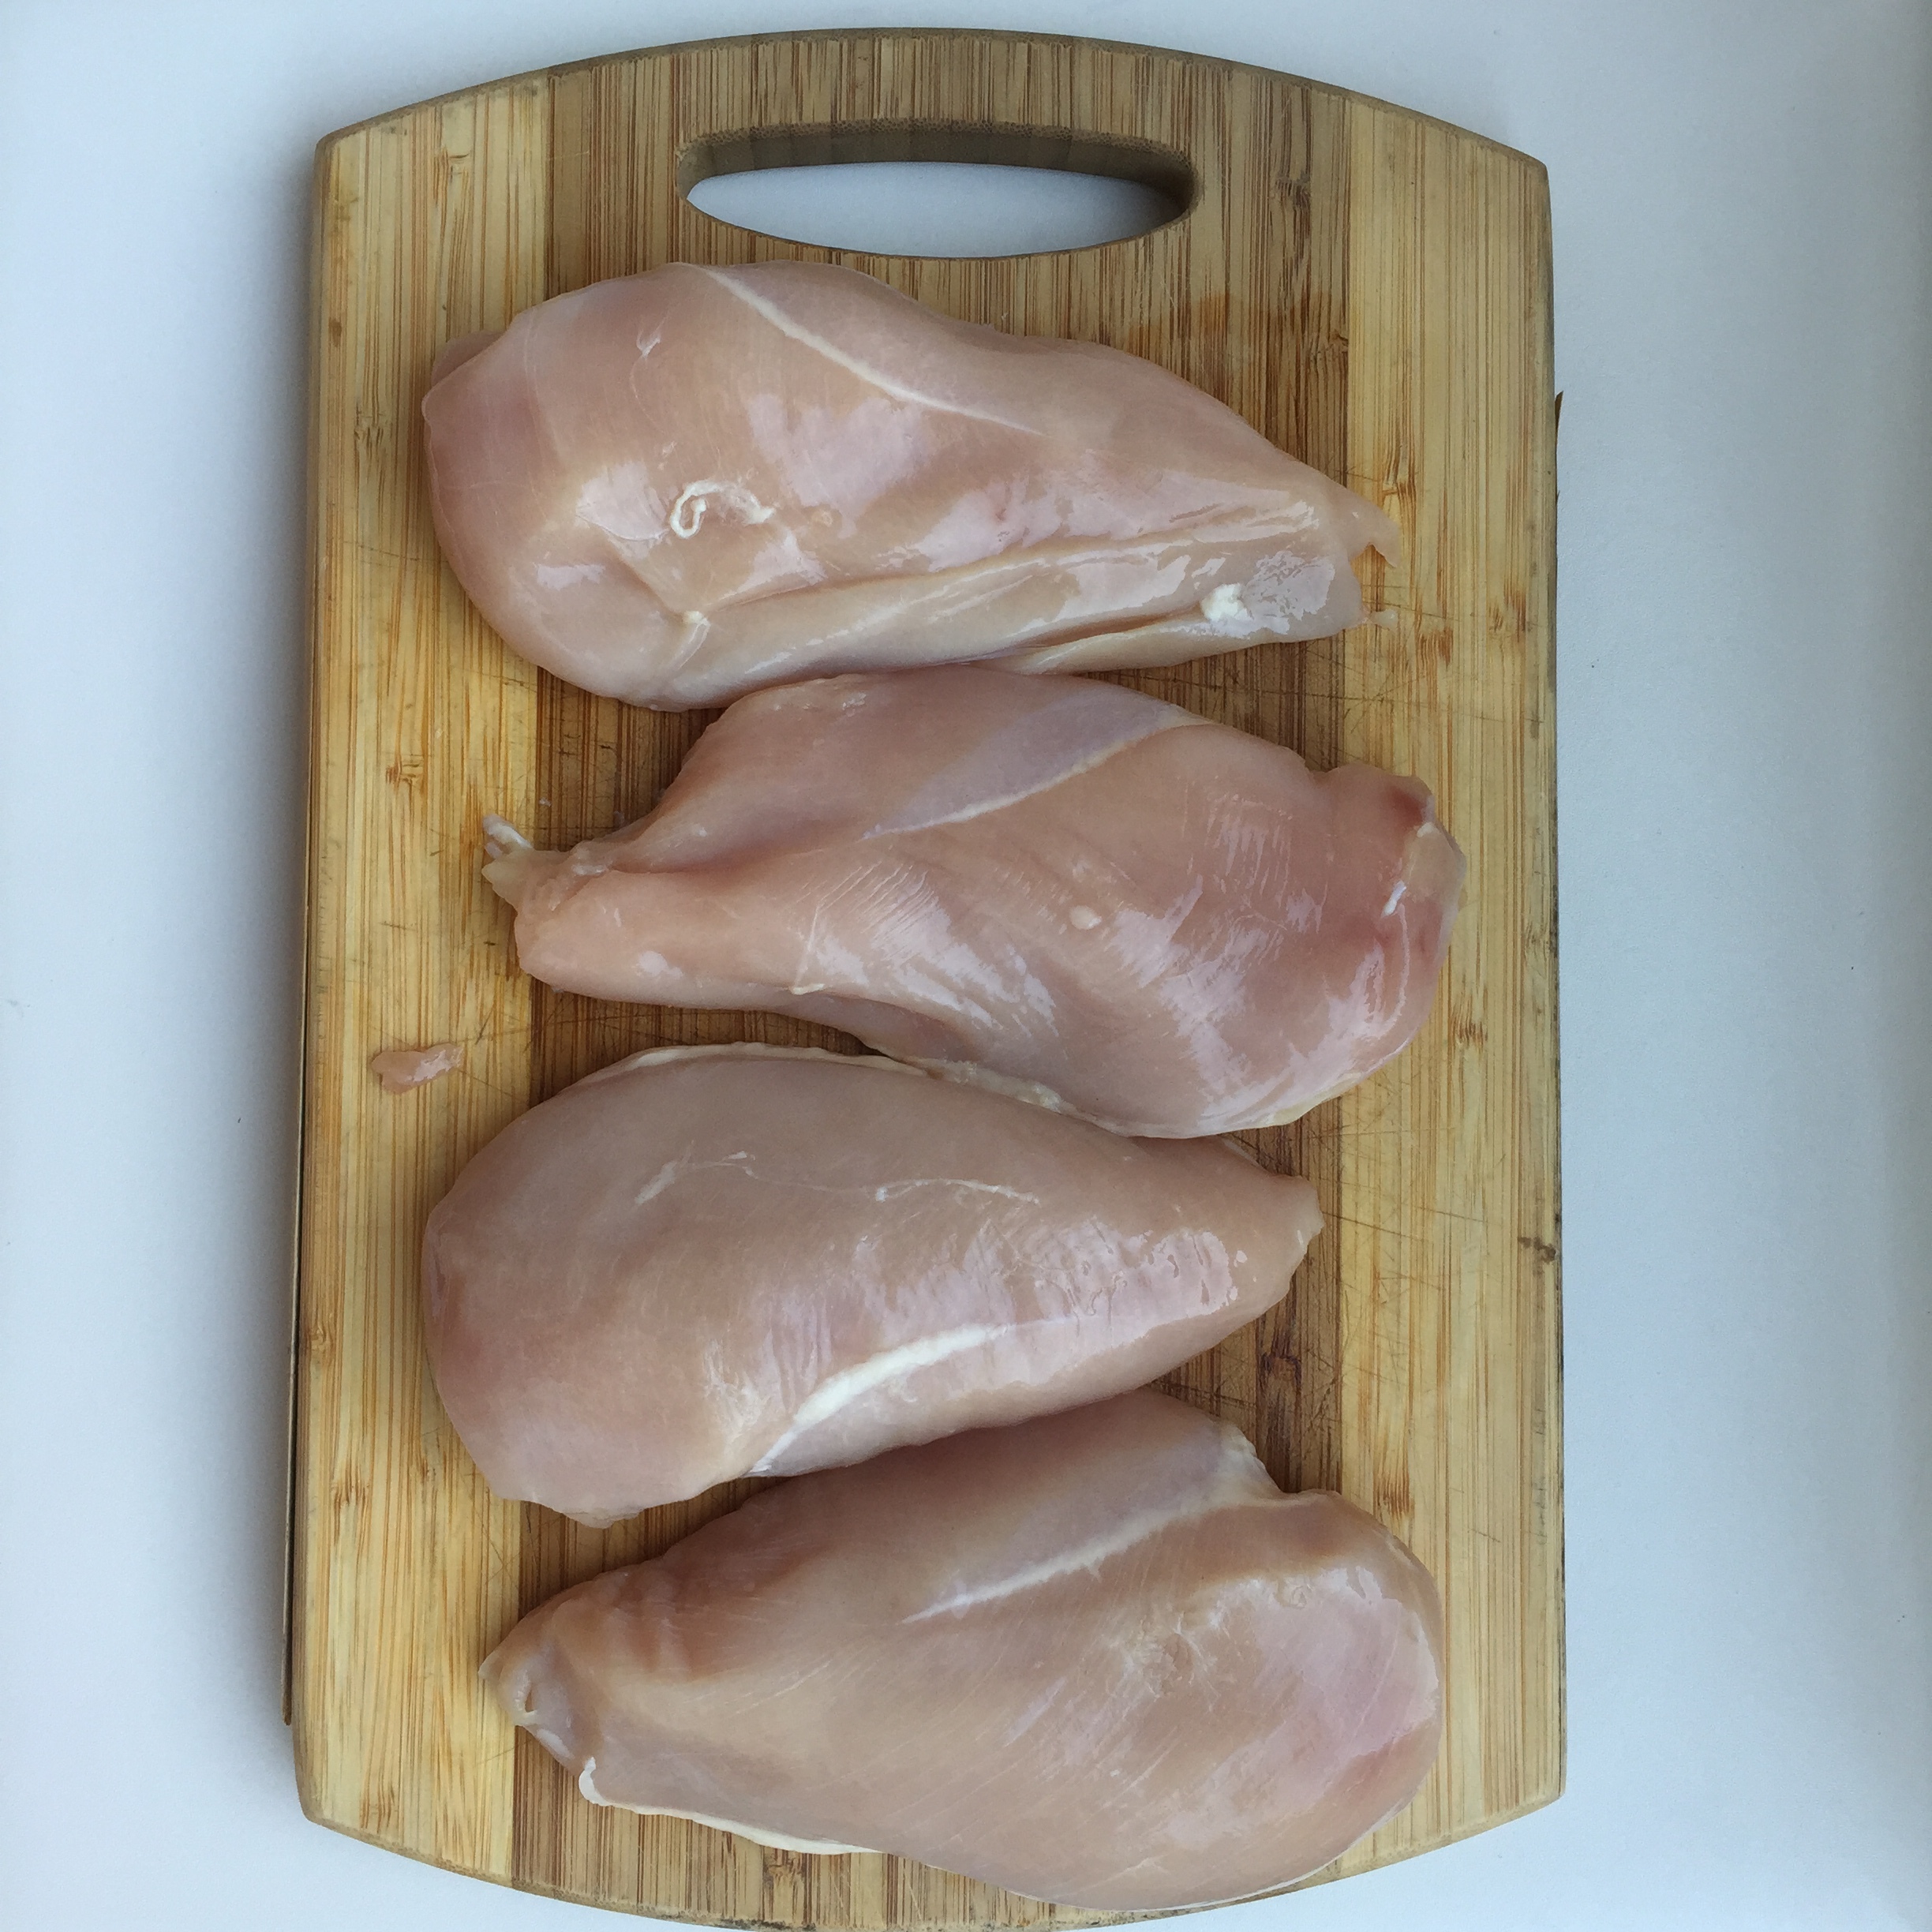
- 4 Chicken Breasts
- 1 lemon, juiced
- 1 tsp dried rosemary
- 1 tsp dried oregano
- 1/4 tsp salt
- 1/4 tsp pepper
Directions:
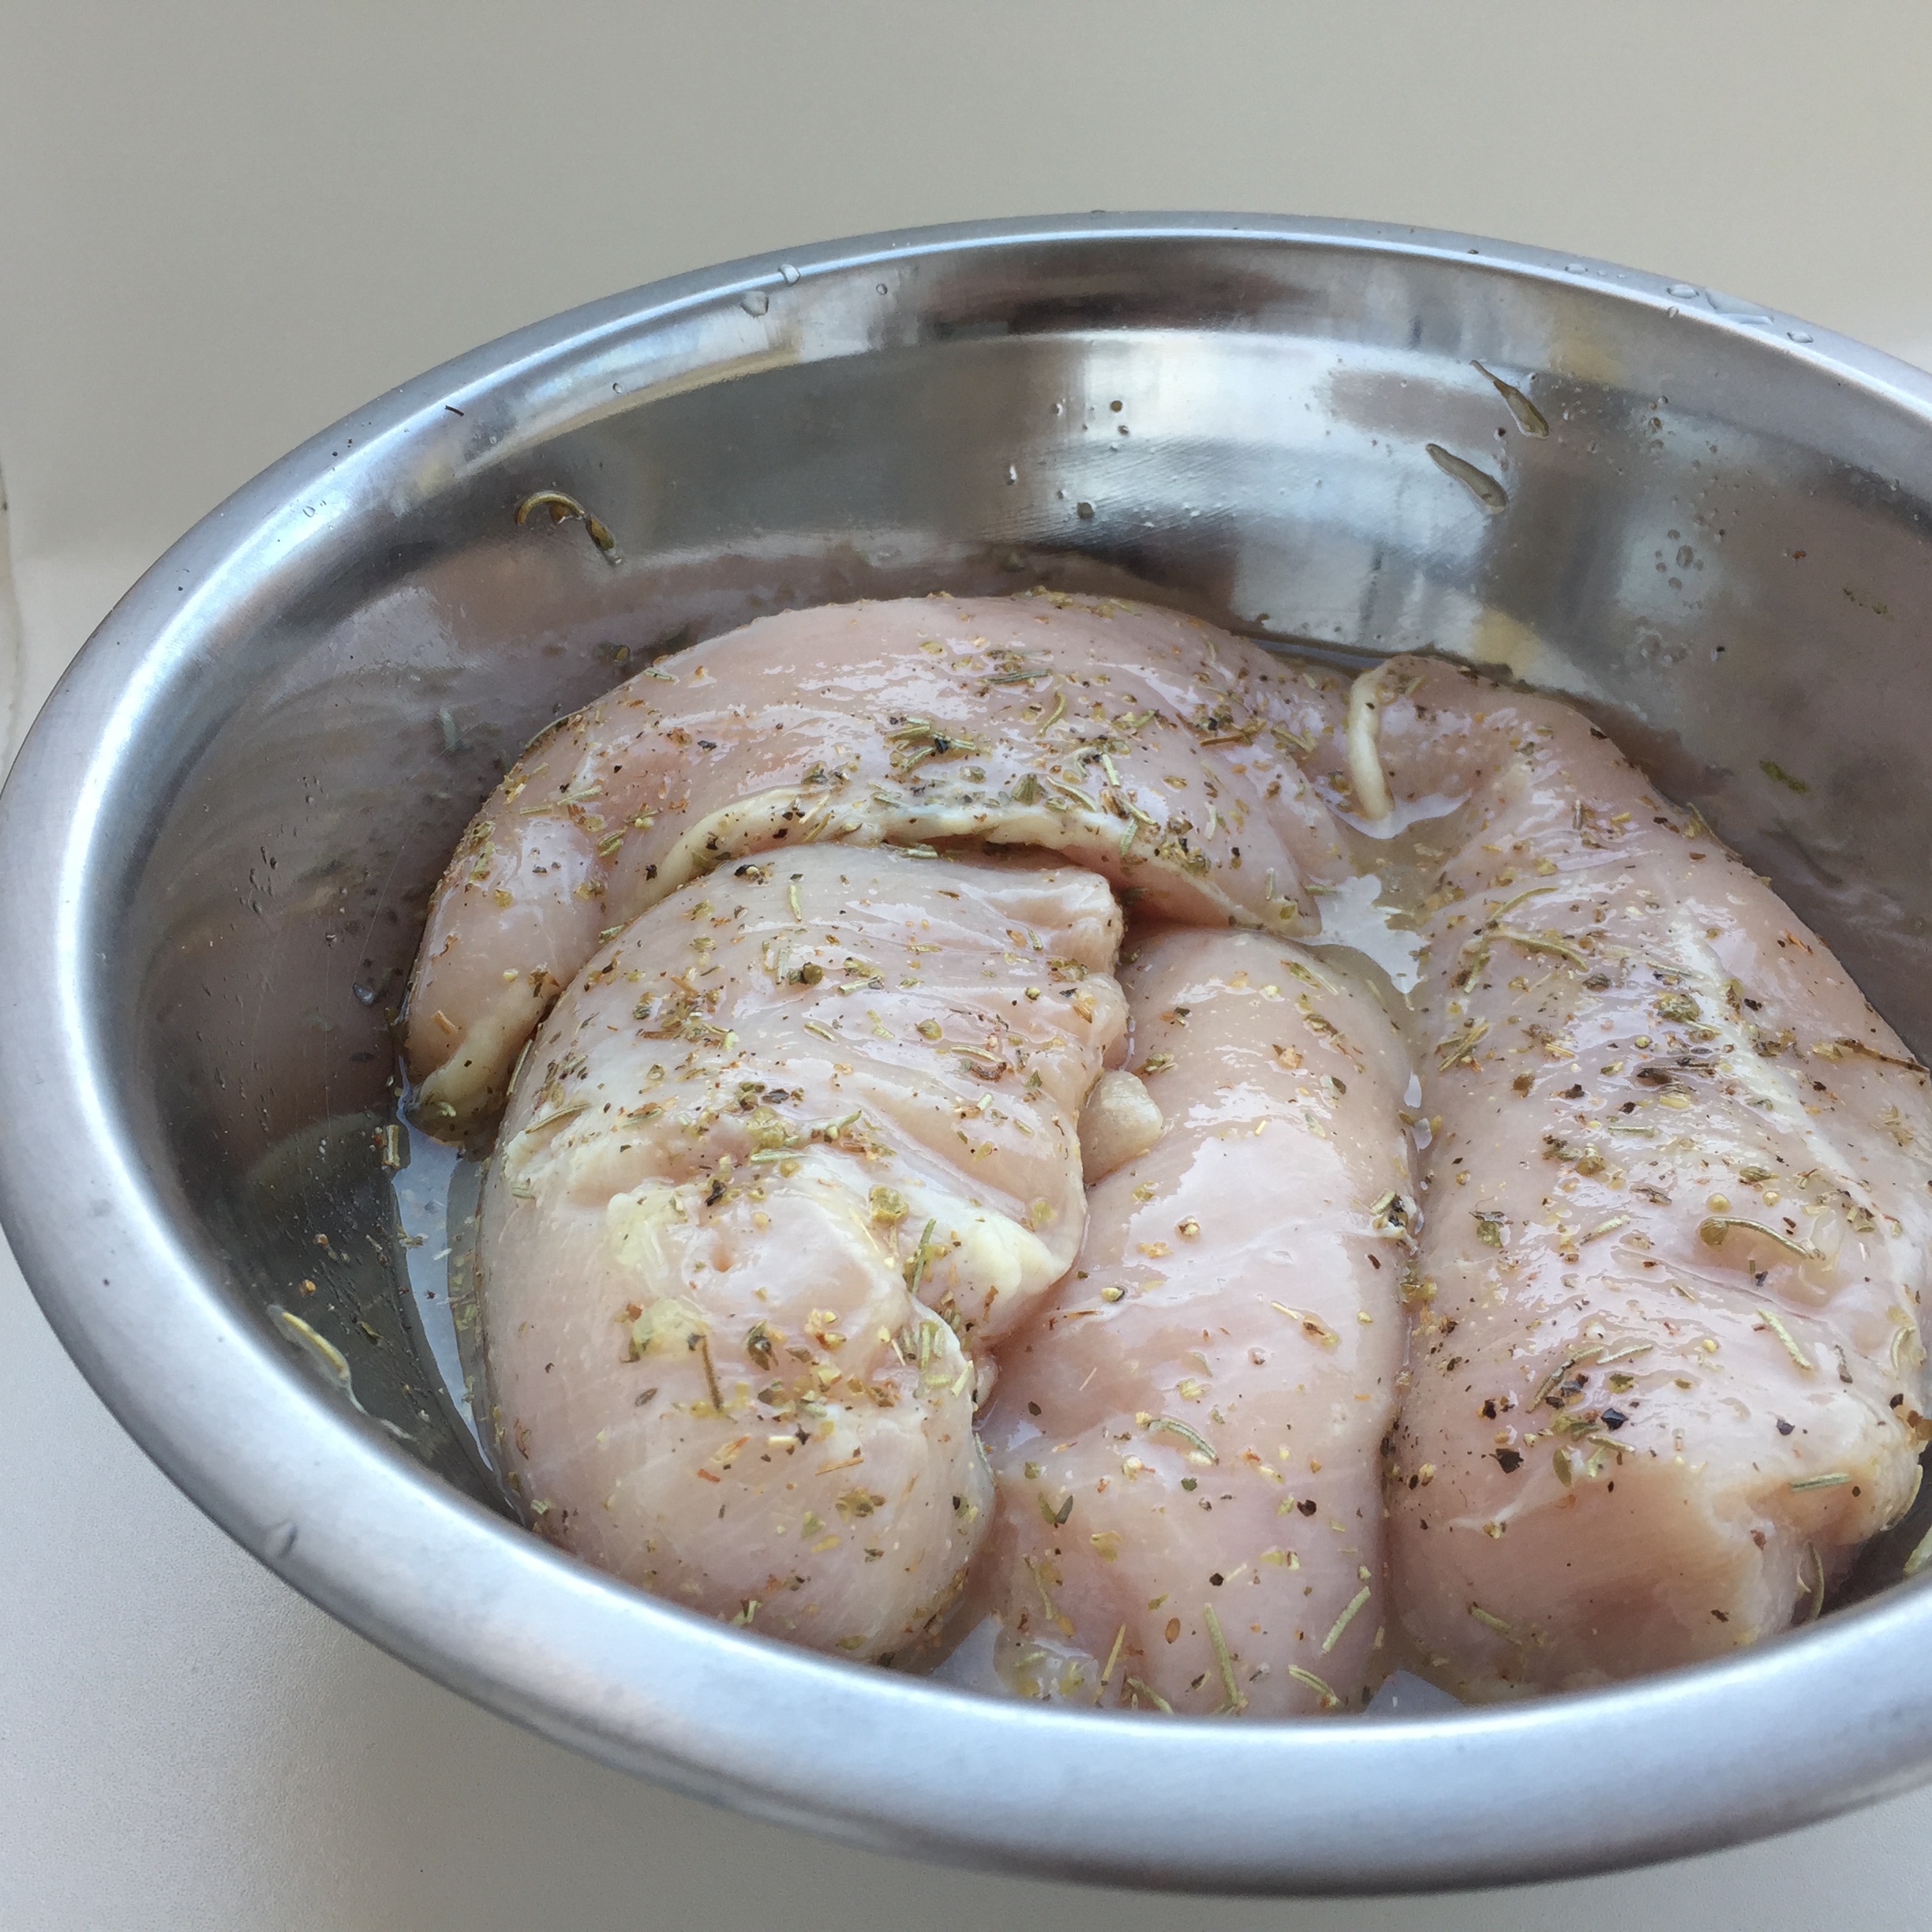
- In a mixing bowl, combine chicken breasts, lemon juice and spices. Allow to marinate for 15 minutes. Meanwhile, preheat oven to 400°F.
- Line a baking sheet with parchment paper. Once the chicken has marinated, arrange chicken breasts on baking sheet, evenly spaced. Insert thermometer probe into the thickest part of one of the larger pieces of chicken.
- Roast at 400°F until the thermometer reads 155°F - this normally takes about 25 minutes for me.
- Remove from the oven and let rest for at least 5 minutes before cutting - you don't want to lose all the juices! Now you can eat this as is or use in your favorite dish!