I've shared my recipe for Cauliflower Crust previously in my post for BBQ Chicken Pizza. However, it is so versatile and so fantastic I felt it deserved a page all on its own. The process of making a cauliflower crust may sound imtimidating, and sure, it requires a bit more effort in making BUT, once you understand the steps it can be very easy!
The process of making the crust starts just like you would for making cauliflower rice, if you are familiar with that. Loosely chop 1 head of cauliflower and pulse it in a food processor until a "rice" consistency is reached.
You take it a step further once you have the rice by steaming the cauliflower and the squeezing all of the liquid out. This is a critical step in making a crust that keeps shape once it has been baked. You can steam the cauliflower rice in the microwave (quickest method) or by baking it in the oven, spread out in a single layer on a baking sheet.
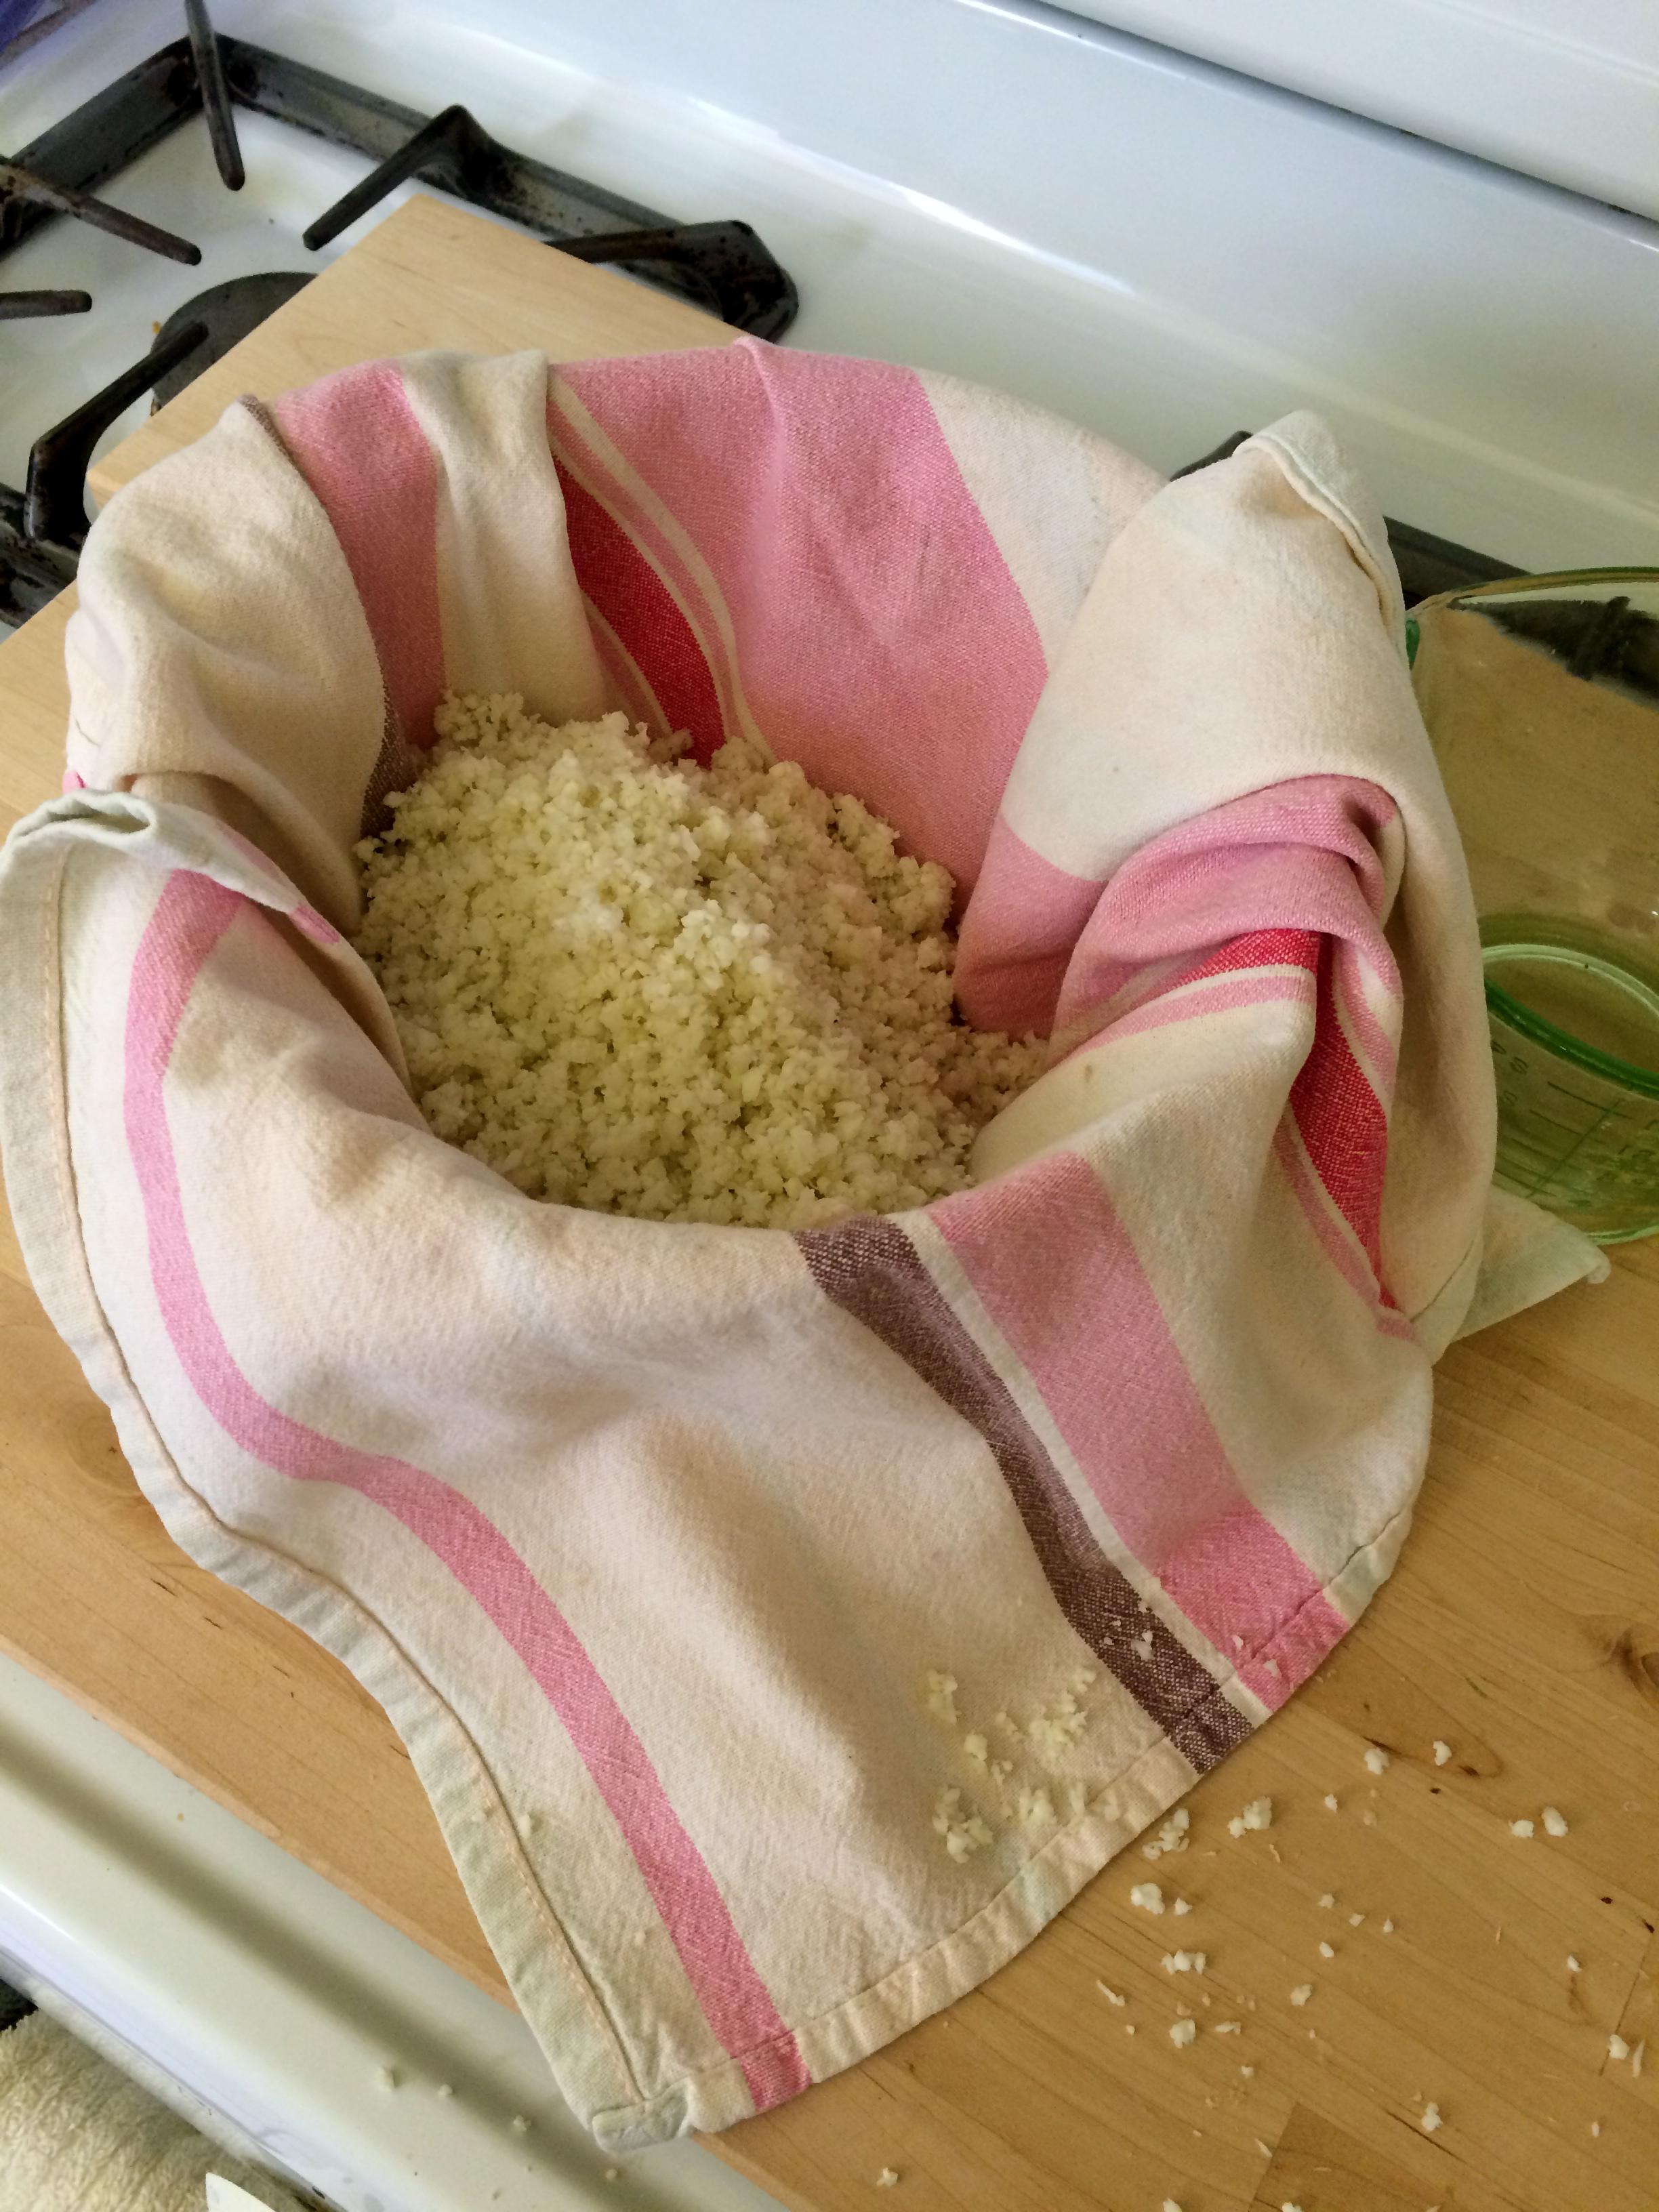
Once the cauliflower has been steamed, then transfer the rice to a mixing bowl that has been lined with a tea towel. Allow the rice to cool down a bit before the next step!
Once cool, gather the towel, forming the rice into a ball and SQUEEZE! You will actually be surprised with how much liquid cauliflower contains.
This will take a few rounds of twisting and squeezing to make sure all of the liquid has been drained.
The end result is a ball of cauliflower "flour" to which you add your egg white, cheese, spices, and coconut flour. I found the coconut flour to really hold this crust together. On my first attempt at making this, I still felt there was a bit too much moisture and needed a binder. The coconut flour seemed to do the trick! Once mixed, you flatten and bake until golden brown.
The final step is adding toppings, treating the crust like you would any other pre-baked pizza crust!
Cauliflower Crust
Prep Time: 15 minutes
Cook Time: 10-15 minutes
Ingredients
- 1 small to medium head of cauliflower, yielding about 3.5 cups flowerets (350g)
- 1/3 cup shredded fat-free or low-fat monterey jack cheese (1.5 oz)
- 1 egg white
- 1 tbsp coconut flour
- 1 tsp italian seasoning (equal parts dried oregano, basil, thyme and rosemary)
- 1/4 tsp salt
Directions
- Preheat oven to 450°.
- Chop cauliflower into small flowerets, discarding of leavings and stem. Place cauliflower into food processor and pulse until you get a "cauliflower rice" consistency.
- Transfer cauliflower to a microwave-safe dish and microwave on high for 3 minutes. This steams the cauliflower. Alternatively, you can also bake the cauliflower for about 10-15 minutes (ensuring it doesn't begin to brown) if you do not have access to a microwave. You will need to spread the cauliflower rice out in a thin layer on baking sheets (this may require 2 sheets).
- Once cooked, transfer cauliflower again to a tea towel lined bowl. Allow to cool for at least 5 minutes. When cool enough to handle, gather up the towel and squeeze the cauliflower into a ball -- and continue to squeeze! I can't stress enough how important it is to squeeze ALL the liquid out of the cauliflower. You should have about 1/2 cup of liquid when you are done. The end result is a ball of cauliflower "flour".
- In a mixing bowl combine cauliflower, shredded monterey jack cheese, egg white, coconut flour, seasonings and salt. Mix with hands until ingredients are well incorporated.
- On a parchment lined baking sheet flatten out dough, shaping into a thin round disk or a rectangle, about 1/4" thick.
- Bake in a 450° oven for 10-15 minutes or until it begins to turn golden.


