Seared Ahi Tuna

Seared Ahi Tuna | My Engineered Nutrition

 On more than one occasion, I've thought to myself: that is far too basic to post, of course everyone knows how to do that. However, after asking a few close friends I realized quickly that in fact, not everyone knows some of the basic cooking techniques! I have quite a few of these "How To" recipes to share with you and I will be posting these more frequently along with a paired recipe post for that week. 

Seared Ahi Tuna | My Engineered Nutrition

To start things off we have: Seared Ahi Tuna. This pairs fantastically with my Crunchy Asian Slaw - but that recipe will be posted later this week!

It would be a stretch to call this a "recipe" as it really is no more than how to prepare ahi tuna. The ingredients are simple: ahi tuna steak, salt, pepper, sesame seeds and cooking oil of your preference - I use sesame oil but olive, coconut, etc will work just as well. 

Seared Ahi Tuna | My Engineered Nutrition

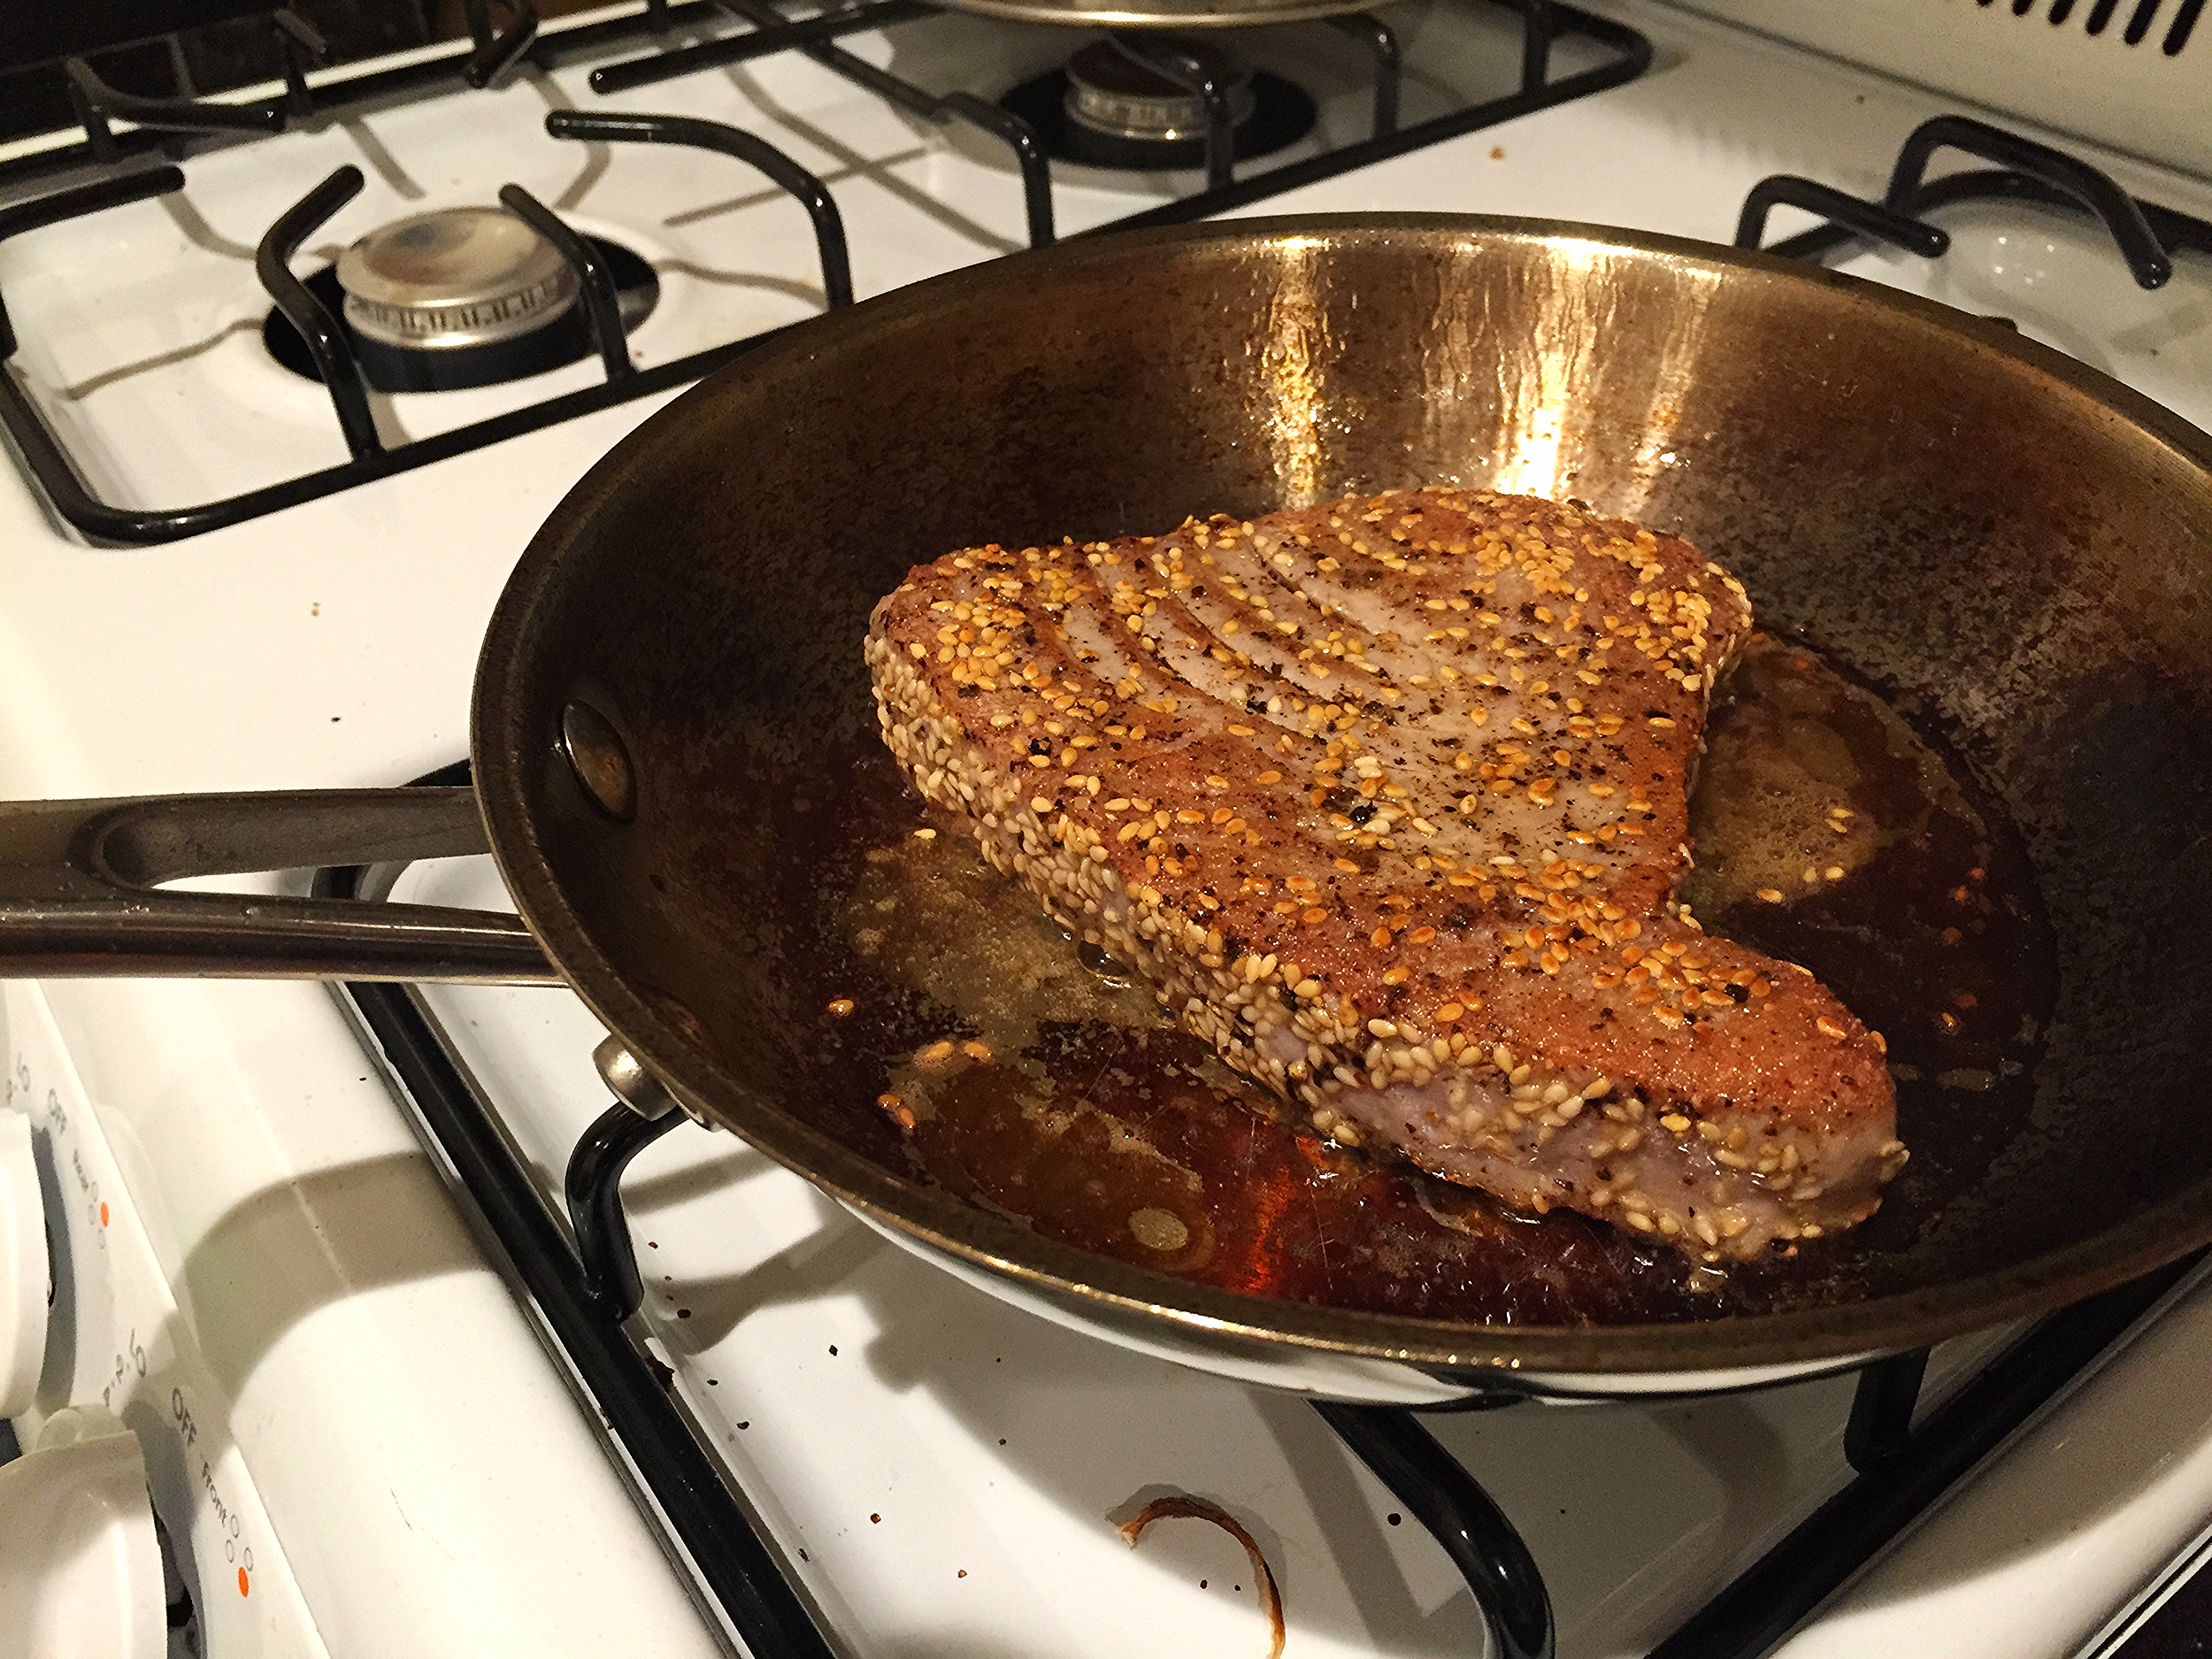
The preparation may be even  more simple than the ingredient list! Give the steak a healthy coating of salt, pepper and sesame seeds on both sides. 

Seared Ahi Tuna | My Engineered Nutrition

In a medium skillet over medium high heat, heat the oil until it is just about to reach its smoking point. Sear the ahi tuna for no more than 60 seconds on the first side, depending on thickness. It may only need 30 seconds if it is a thin cut and depending on level of rareness you like your ahi tuna. 

Seared Ahi Tuna | My Engineered Nutrition

Flip and cook on the other side for same amount of time. 

Seared Ahi Tuna | My Engineered Nutrition

Remove from skillet, slice and serve immediately! The beauty of something like this is that it is SO easy to scale the number of portions. My rule is 4-6 oz of tuna per serving, so if you are serving 4 people, buy 16-24 oz total. It is also important to remember not to overcrowd your skillet. If you can only fit one steak at a time comfortably, then only cook one steak at a time. I use enough oil to coat the bottom of the skillet (roughly 1 tbsp oil for every 8 oz of fish I cook). 

Seared Ahi Tuna

Prep Time: 5 minutes

Cook Time: 1 - 2 minutes

Servings: Varies

Ingredients

  • Ahi Tuna Steak, fresh (the best quality you can find from your fishmonger)
    • General rule: Plan for 4-6 oz per serving
  • Sesame Oil (Olive or Coconut Oil work just as well)
    • General rule: 1 tbsp for every 2 servings - enough to coat the bottom of your skillet
  • Salt
  • Pepper
  • Sesame Seeds (optional)

Directions

  1. Coat both sides of ahi tuna steak with salt, pepper and sesame seeds. 
  2. Heat oil in skillet over medium high heat until just before reaching smoking point. Sear ahi tuna for 30 - 60 seconds per side (30 seconds for thin and 60 seconds for a thick steak). This is a VERY quick cooking time - be sure to watch the steak so that you don't over cook it! Flip and cook on opposite side for same amount of time.
  3. Remove from skillet, slice and serve immediately. 

Nutritional Info (4 oz tuna steak + 1/2 tbsp oil for cooking)

175 calories - 28 g Protein, 0 g Carbs, 7 g Fat
Posted on August 18, 2015 and filed under Recipes, Fish/Seafood.

Cherry Nectarine Crumble

Cherry Nectarine Crumble | My Engineered Nutrition

I have a serious love for stone fruits. Peaches, plums, nectarines, cherries, apricots - I don't discriminate. I make sure I take full advantage of them when they are in season (roughly June - August). Some how it is already August (WHEN did that happen?!) and our beloved stone fruits are coming to the end of their season. Before it is too late and we have to wait until next year, you MUST try this recipe for a Cherry Nectarine Crumble. 

Cherry Nectarine Crumble | My Engineered Nutrition

First things first, I highly recommend investing in a cherry pitter (pictured above) or else the pitting process will go much slower for your cherries. I can't imagine trying to pit nearly a pound of cherries without one of these bad boys. 

Since I am an advocate of purchasing whatever produce is most ripe and in season, I will say this recipe is by no means limited to just cherries and nectarines. In fact, I made this recipe a 2nd time and used almost all nectarines (I only had about a cup of cherries on hand at the time) and it came out just as delicious. Let's be honest, you could put this crumble topping on anything and I'm pretty sure it would turn out delectable. 

Cherry Nectarine Crumble | My Engineered Nutrition

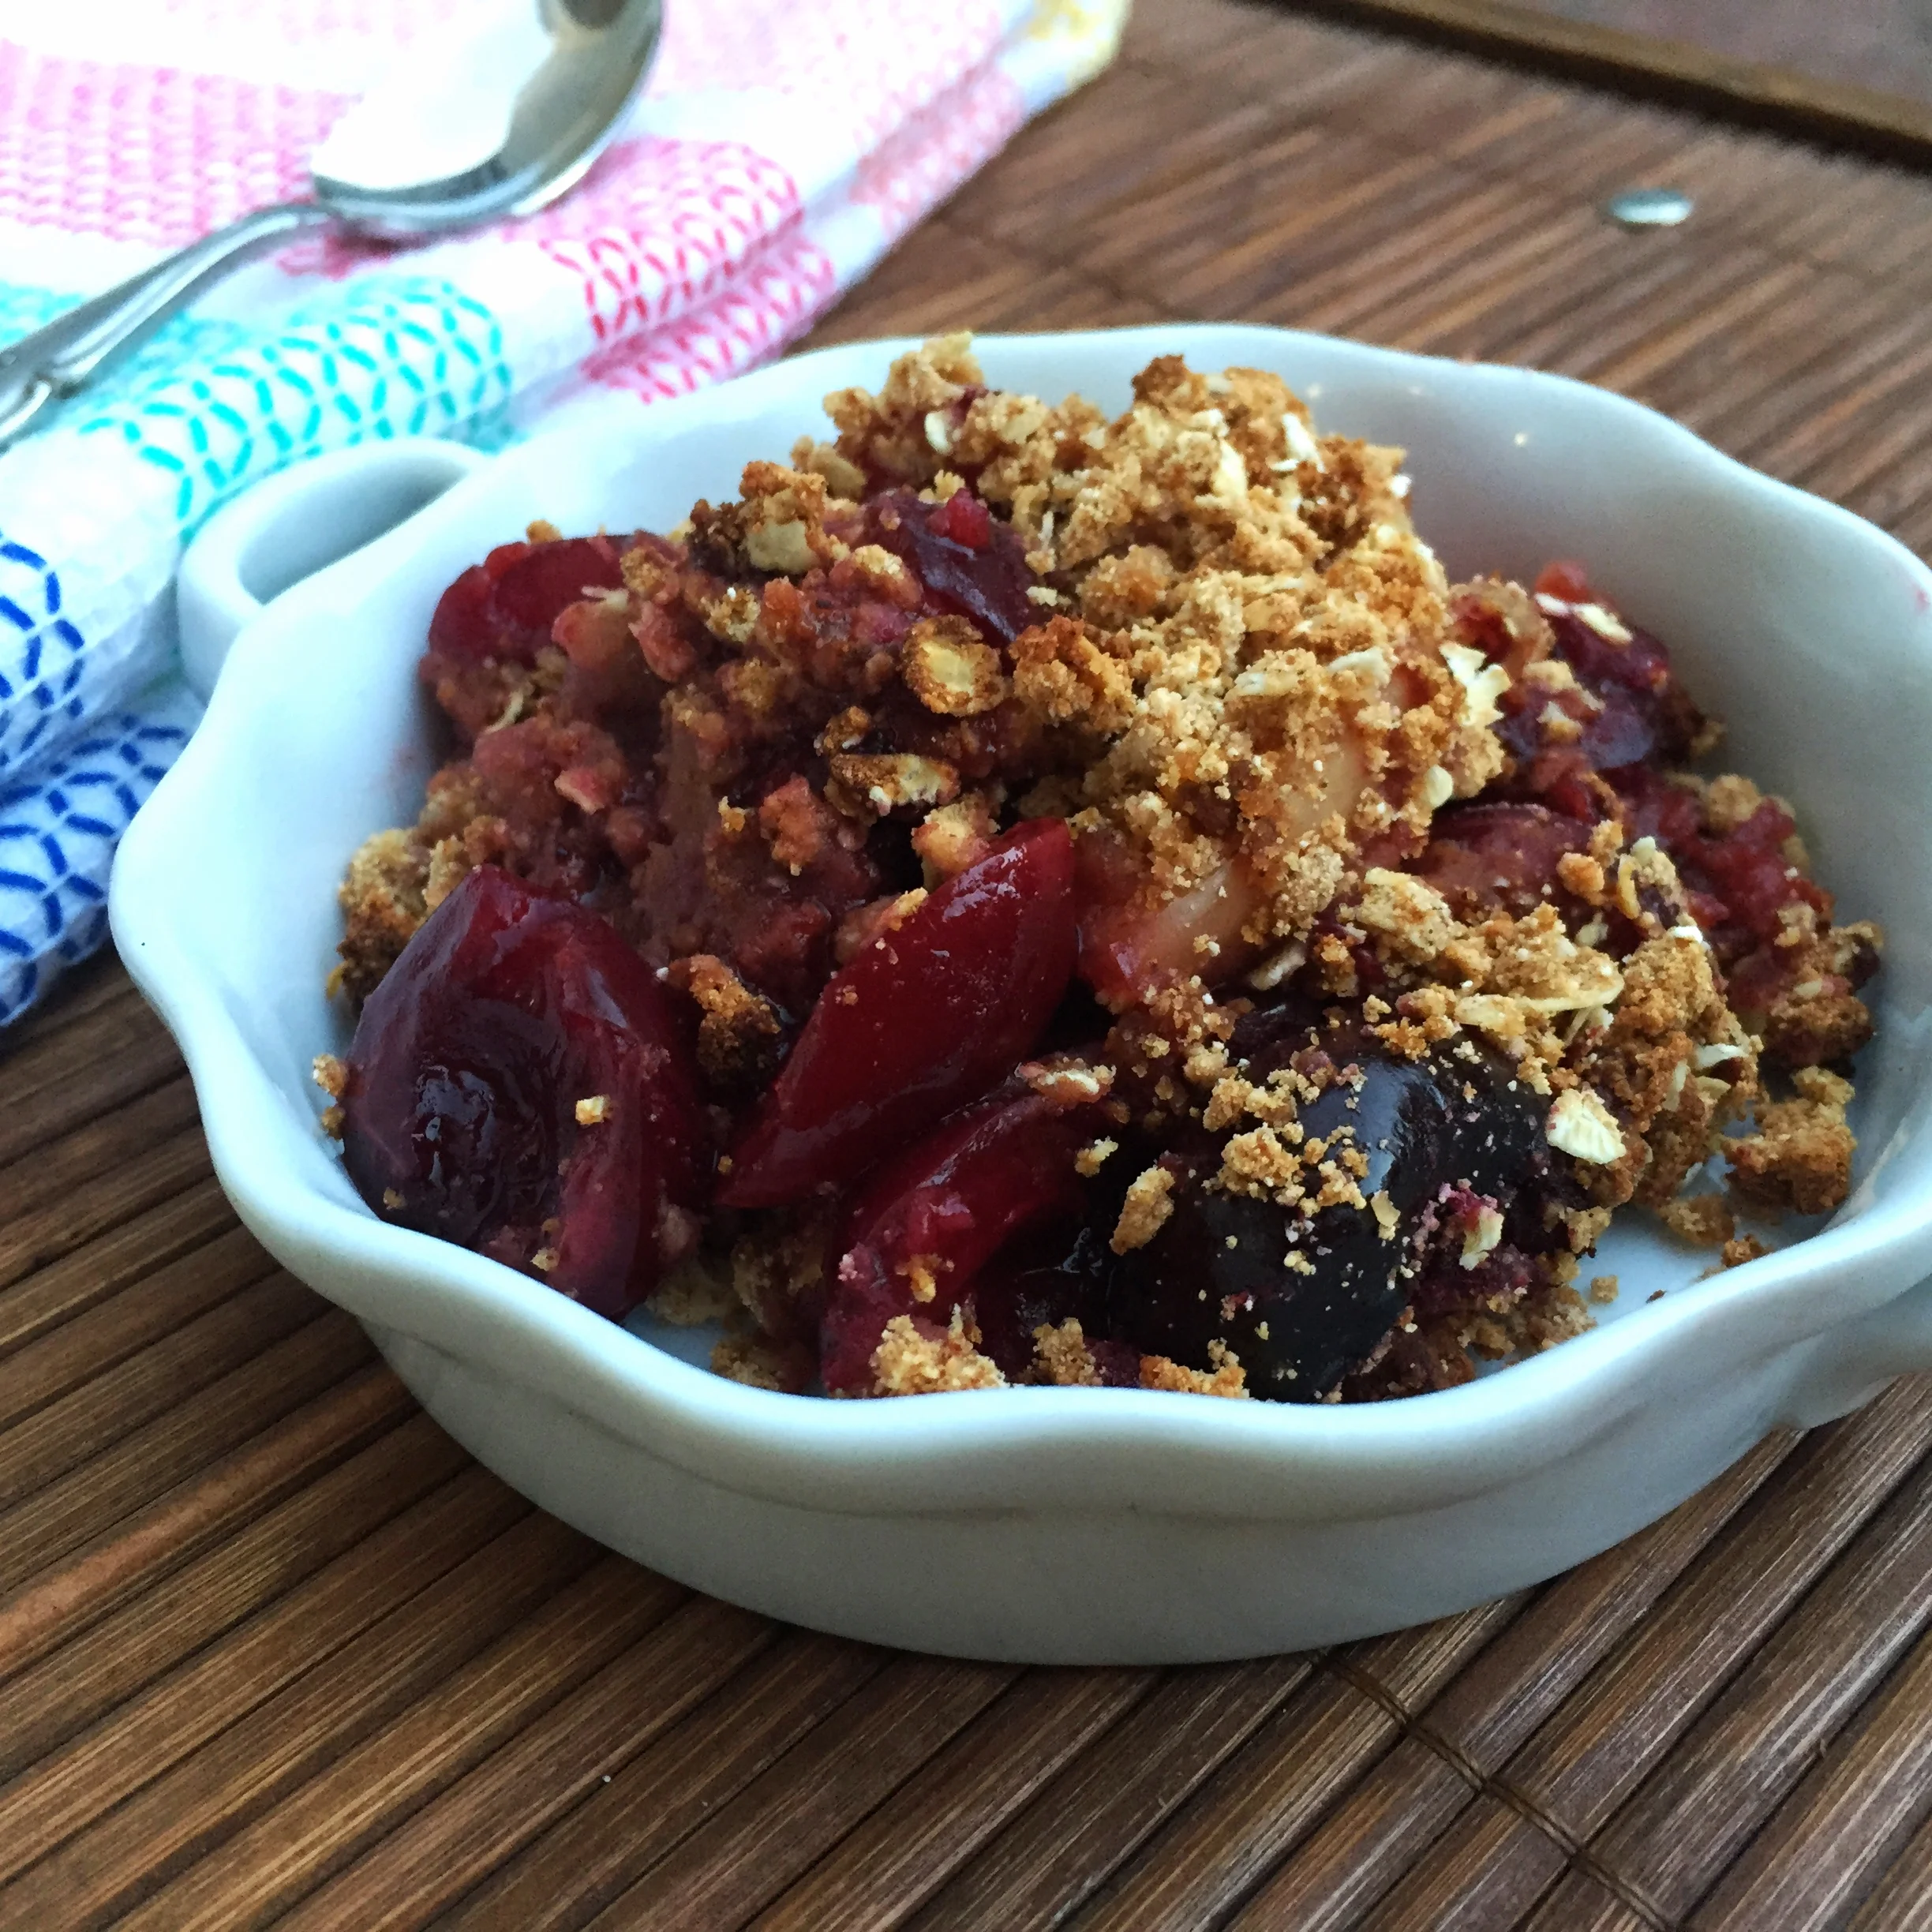
This is recipe is truly a creation of my own. Every recipe I looked to for inspiration was either A) high in fat or B) not gluten free. This version offers hints of coconut flavor throughout, which I think adds a unique depth of flavor to this crumble! The light coconut milk helps in making this recipe lower in fat than traditional fruit crisps or crumbles yet also keeps it from becoming too dry. 

Cherry Nectarine Crumble | My Engineered Nutrition

Before you have to wait until next stone fruit season, head out and buy the most ripe fruit you can find and indulge in this low fat, gluten free, so good you'll want to eat the whole thing - crumble TONIGHT!

Cherry Nectarine Crumble

Prep Time: 15 minutes

Cook Time: 30 min 

Servings: 6 

Ingredients

Crumble Topping

  • 2/3 cup gluten free rolled oats (instant can work in a pinch)
    • NOTE: All pure oats are gluten free but read HERE for clarification on the issue
  • 1/3 cup coconut flour
  • 2 tbsp coconut palm sugar (or brown sugar could work here)
  • 1/2 tsp cinnamon
  • 1/4 tsp salt
  • 2 tbsp butter
  • 1/4 cup light coconut milk (could also use full fat but will not yield same nutritional info below)

Filling

  • 3 cups dark sweet cherries, pitted (amount yielded after pitting)
  • 1 1/2 cups nectarines, sliced (about 2 small nectarines)
  • 1 tbsp tapioca or arrowroot flour (could also use cornstarch)
  • 1 tbsp lemon juice
  • 2 tsp coconut palm sugar

Directions

  1. Preheat oven to 400⁰F. 
  2. Begin by preparing the fruit. A cherry pitter will save you LOADS of time in this step. Pit cherries and cut in half, placing them in a medium mixing bowl with sliced nectarines. Dust fruit with tapioca flour and palm sugar, followed by lemon juice. Mix to combine. Transfer fruit mixture to a baking dish and create an even layer. I used an 8" x 8" glass baking dish but you can use anything comparable you have on hand. Set aside. 
  3. Combine dry ingredients of crumble topping (oats, flour, sugar, cinnamon and salt) together in a small mixing bowl. Melt butter and combine with coconut milk. Mix wet ingredients into dry until a crumbly mixture forms and the butter/coconut milk is well incorporated. 
  4. Cover fruit mixture with crumble topping. Make sure you create an even layer over the entire surface of the fruit, you don't want to cheat someone on that crumble topping!
  5. Bake for 30 minutes, until the top begins to turn golden and the fruit begins to bubble up from below. I've been told that for others who have tried this recipe that 30 minutes wasn't quite enough time. Use your best judgement and you can always bake for an additional 5-10 minutes - just be watchful!
  6. Allow to cool for 10 minutes before cutting into the crumble (this is the hardest part!) to ensure it doesn't fall apart when you slice and serve. Serve warm on its own or add a dollop of whipped cream of ice cream! 

Nutritional info (1 serving)

184 Calories - 3.5 g Protein, 29 g Carbs, 6 g Fat

Posted on August 11, 2015 and filed under Recipes, Sweet Treats, Baking.

Cilantro Lime Chicken

Cilantro Lime Chicken | My Engineered Nutrition

I'm back this week with yet another slow cooker recipe, hoping to make your weekday meal planning that much easier! I posted a photo on my Instagram last week of some chicken nachos I made with this Cilantro Lime Chicken and it was so tasty and only took me 10 minutes to throw together for dinner. Like I said last week with my Slow Cooker Carnitas, Crock Pot meals are SUCH a time saver for me during the week. 

Cilantro Lime Chicken | My Engineered Nutrition

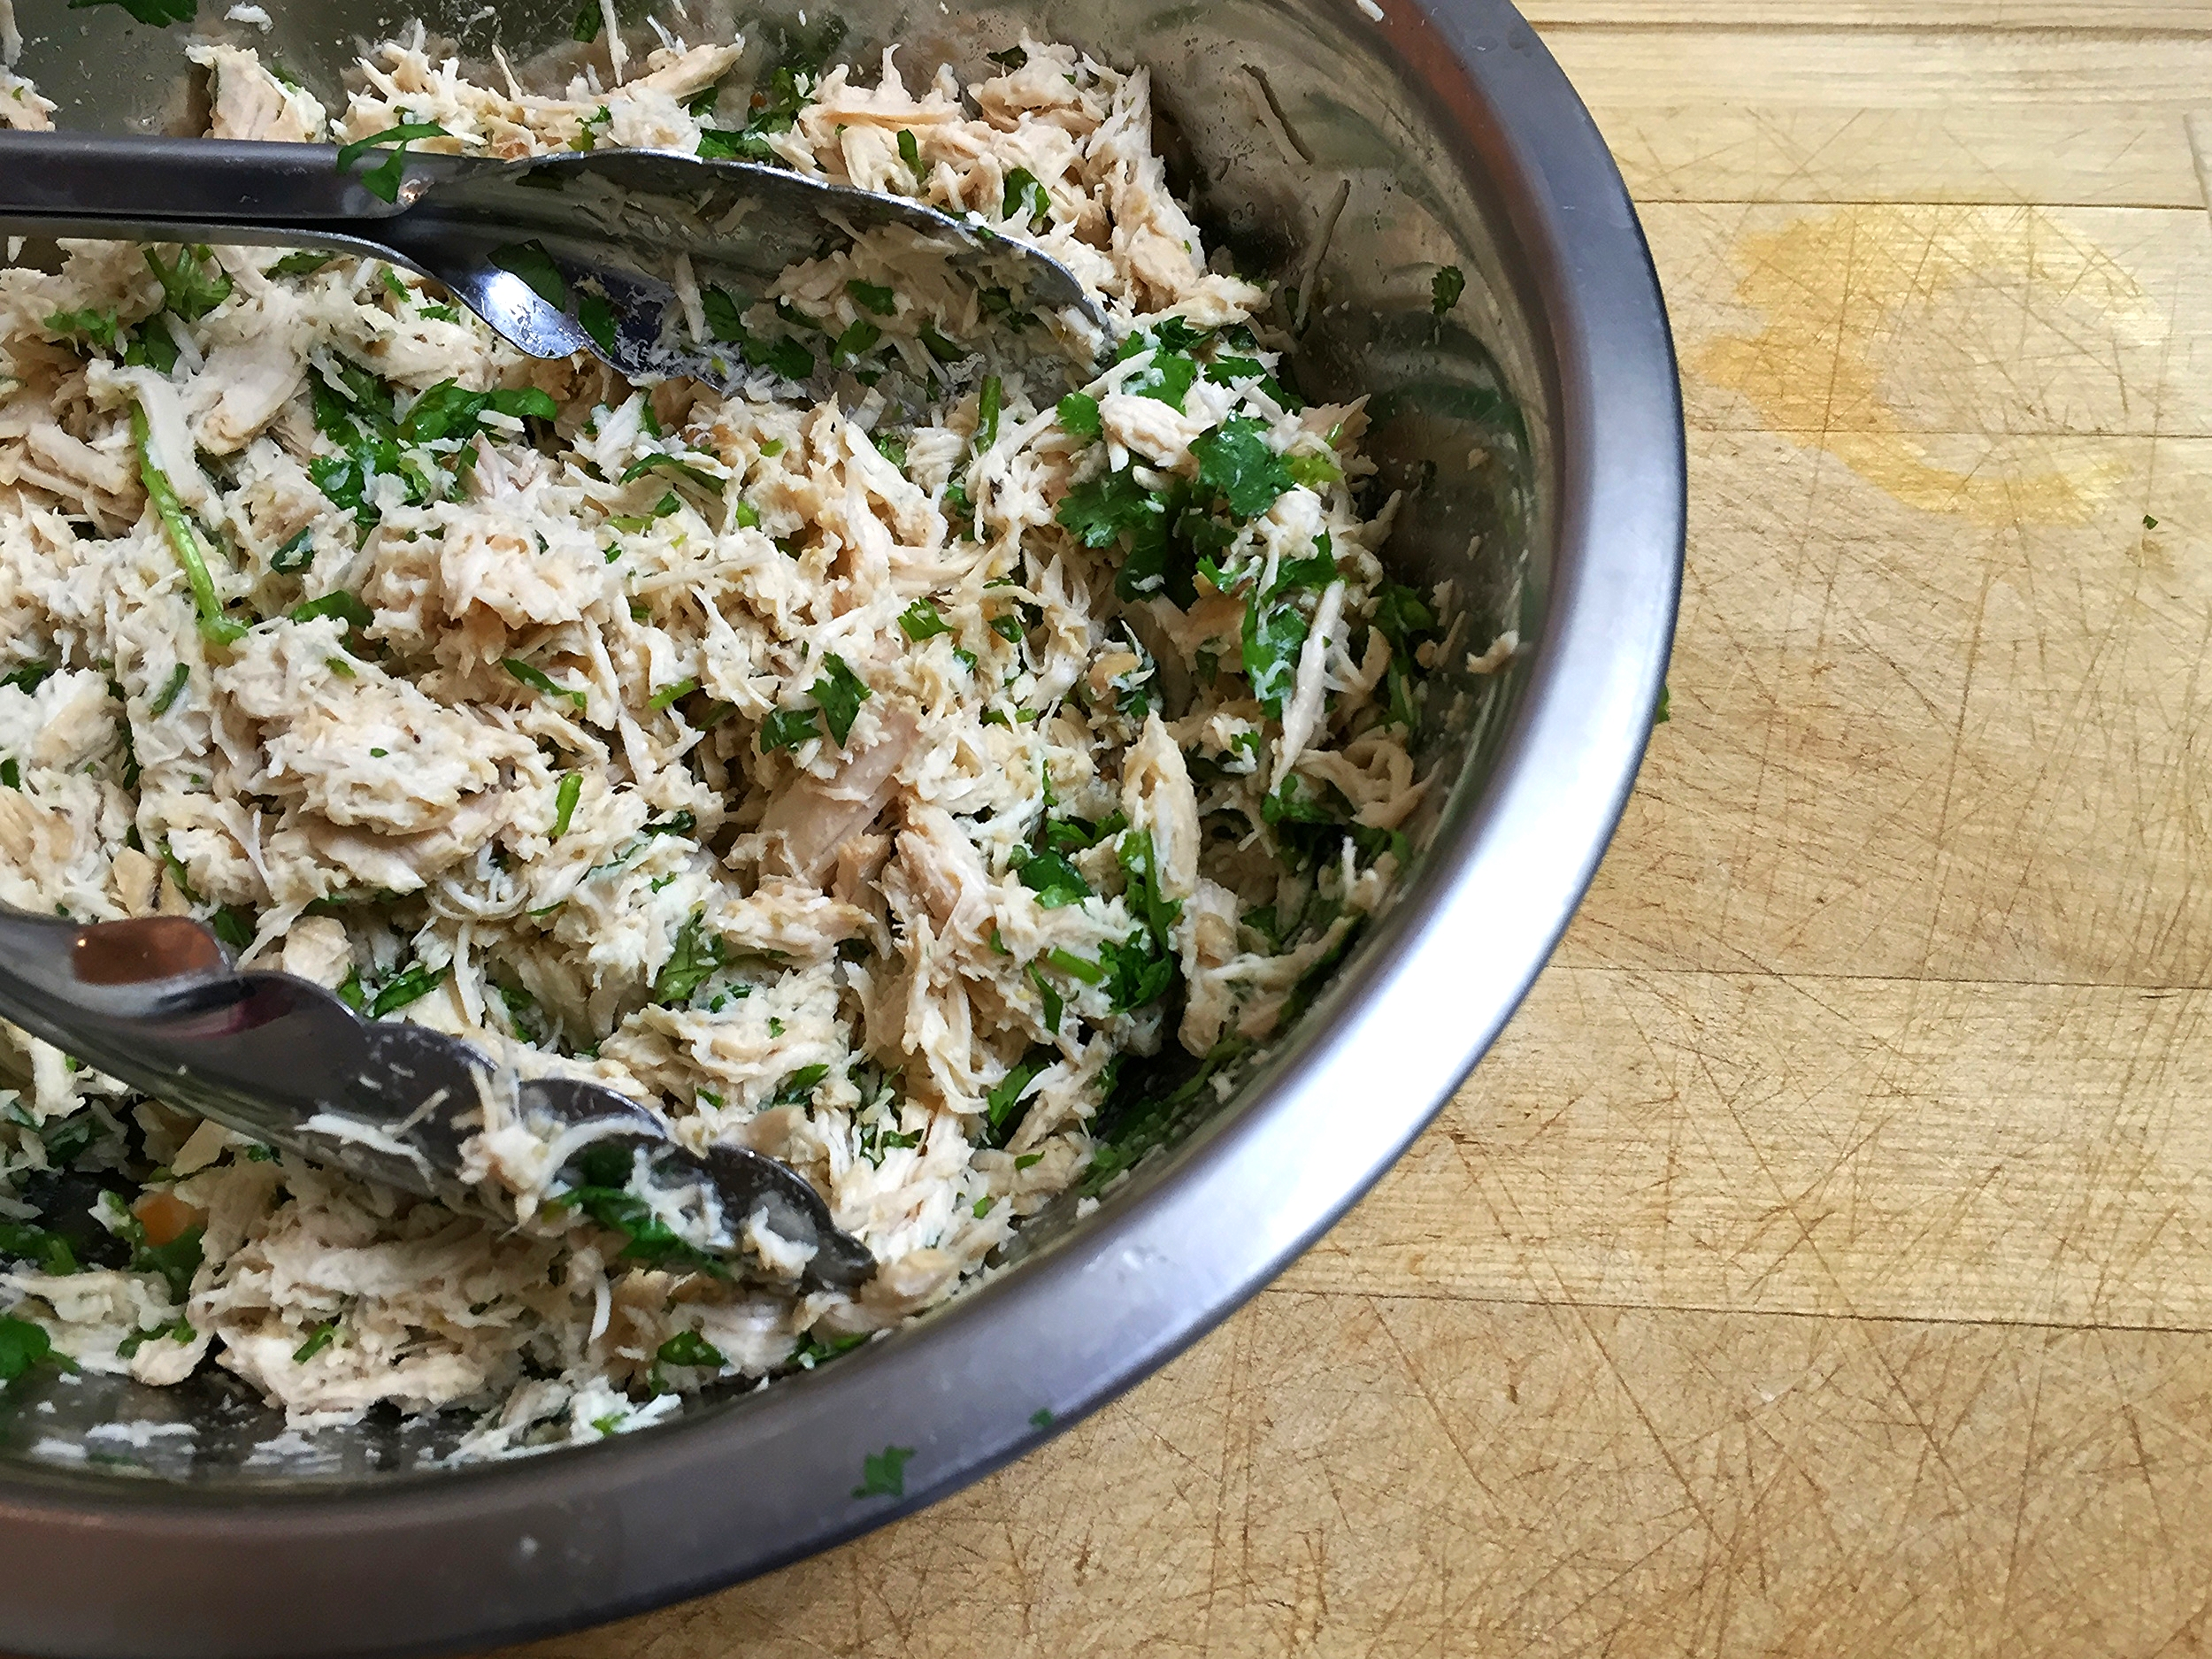
The basic recipe of the Cilantro Lime Chicken does not differ much from the Carnitas. The end product is just as versatile as well. I love having this chicken on hand to throw on a salad, toss on top of nachos, to fill tacos, or even just eat on its own. 

I bring my lunch to work every single day. Mostly because I refuse to spend $15 on a salad, but also because I like to know exactly what I'm eating and ensure it is a healthy choice. I can't tell you how many times people have told me they could never plan as well as me or don't have the time to make lunches. Here is my secret: I don't have time either (shhh) so I make sure I have quick and easy options on hand at ALL times. It isn't rocket science! Crock pot meals take ZERO effort and can cook overnight. I mean come on, how much easier does it get?! No excuses!

Cilantro Lime Chicken | My Engineered Nutrition

Cilantro Lime Chicken

Prep Time: 15 minutes

Cook Time: 6-8 hours

Servings: 6 (1 serving = 4 oz)

Ingredients

  • 2 lb Organic Boneless Skinless Chicken Breast
  • 1 1/2 tsp garlic, chopped
  • 1/2 tsp lime zest
  • 2 limes, juiced (about 1/4 cup)
  • 1/2 cup Chicken Stock
  • 1 cup cilantro, chopped
  • Spice Blend
    • 1 tsp oregano
    • 1 tsp coriander
    • 1 tsp onion powder
    • 1/2 tsp sea salt

Directions

  1. Mix together spices in Spice Blend and set aside. Cut the chicken breast into smaller cubes (I aim for 3 pieces per breast). Toss the chicken with the spice blend to evenly coat all sides of the meat. Create a paste from the garlic and lime zest and next coat chicken with paste. 
  2. Transfer the chicken to a Crock Pot and slowly pour the chicken stock and lime juice around the perimeter of the bowl. Try not to pour directly onto the meat - we don't want to rinse away the spices!
  3. Cook on low for 6-8 hours. Transfer chicken to a bowl and easily shred with a fork. Toss with chopped cilantro and serve. 

Nutritional info (1 serving = 4 oz cooked chicken)

145 Calories - 30 g Protein, 1 g Carbs, 2.4 g Fat

Posted on August 4, 2015 and filed under Recipes, Chicken.

Slow Cooker Carnitas

Slow Cooker Carnitas | My Engineered Nutrition

This is one of my go-to dishes that I love making. Truthfully, I've made this for the past 4 weeks in a row but who is going to stop me?? There is nothing easier than putting a roast of some sort in your crock pot, turning it on low and walking away. Come back 10 hours later and you have the most tender meat with hardly even any effort. This can be eaten for lunch or dinner and saves so much time during the week when I'm prepping my meals for the following day. 

Slow Cooker Carnitas | My Engineered Nutrition

If you follow my blog regularly, I'm sure you have started noticing a theme. I don't like to spend a lot of time in the kitchen during the week. Between work, working out and social activities I am always busy. I need simple, efficient and delicious. This pork is SO tasty and SO tender it falls apart with hardly even touching it with a fork. 

Remember that Rosemary Pork Roast I made a while back? I'm using the same lean pork roast again in this recipe. This makes a good sized batch of shredded pork so that you can eat this for a few meals. The thing I love about this pork is that it is so versatile. Throw it on a salad for lunch, serve it up in some taco shells for dinner, warm it up and slather it in my Avocado Lime Dressing - really the possibilities are endless! 

Slow Cooker Carnitas | My Engineered Nutrition

Slow Cooker Carnitas

Prep Time: 10 minutes

Cook Time: 8-10 hours

Servings: 6 (1 serving = 4 oz)

Ingredients

  • 2 lb Pork Sirloin Tip Roast
  • 1 cup Chicken Stock
  • Mexican Spice Blend
    • 1 tsp paprika
    • 1 tsp cumin
    • 1 tsp chili powder
    • 1 tsp oregano
    • 1/2 tsp garlic powder
    • 1/2 tsp onion powder
    • 1/2 tsp sea salt

Directions

  1. Mix together spices in Mexican Spice Blend and set aside. Cut the pork roast into smaller pieces (I aim for 6 pieces or so). Toss the pork with the spice blend to even coat all sides of the meat. 
  2. Transfer the pork to a Crock Pot and slowly pour the chicken stock around the perimeter of the bowl. Try not to pour directly onto the meat - we don't want to rinse away the spices!
  3. Cook on low for 8-10 hours. Transfer pork to a cutting board or bowl and easily shred with a fork. You can save the liquid and heat up to serve poured over the pork. I like to save the liquid and use a little with the pork when I reheat the meat as the week goes on.

Eat on its own, over a salad, on a sandwich, in a taco...get creative!

Nutritional info (1 serving = 4 oz cooked pork carnitas)

140 Calories - 30 g Protein, 0 g Carbs, 2 g Fat

Posted on July 28, 2015 and filed under Recipes, Pork.

Avocado Lime Dressing

Avocado Lime Dressing | My Engineered Nutrition

Don't be fooled - this isn't just a salad dressing. Oh no, this is so much more. Sure, it is a delicious tangy and creamy dressing for your salad, but it is also fantastic as a dip to accompany your crudités. Don't stop there, I also smothered this on my slow cooker carnitas for a sauce (the best). And with no shame, I even just ate a spoonful of this on its own...it is that good. 

Avocado Lime Dressing | My Engineered Nutrition

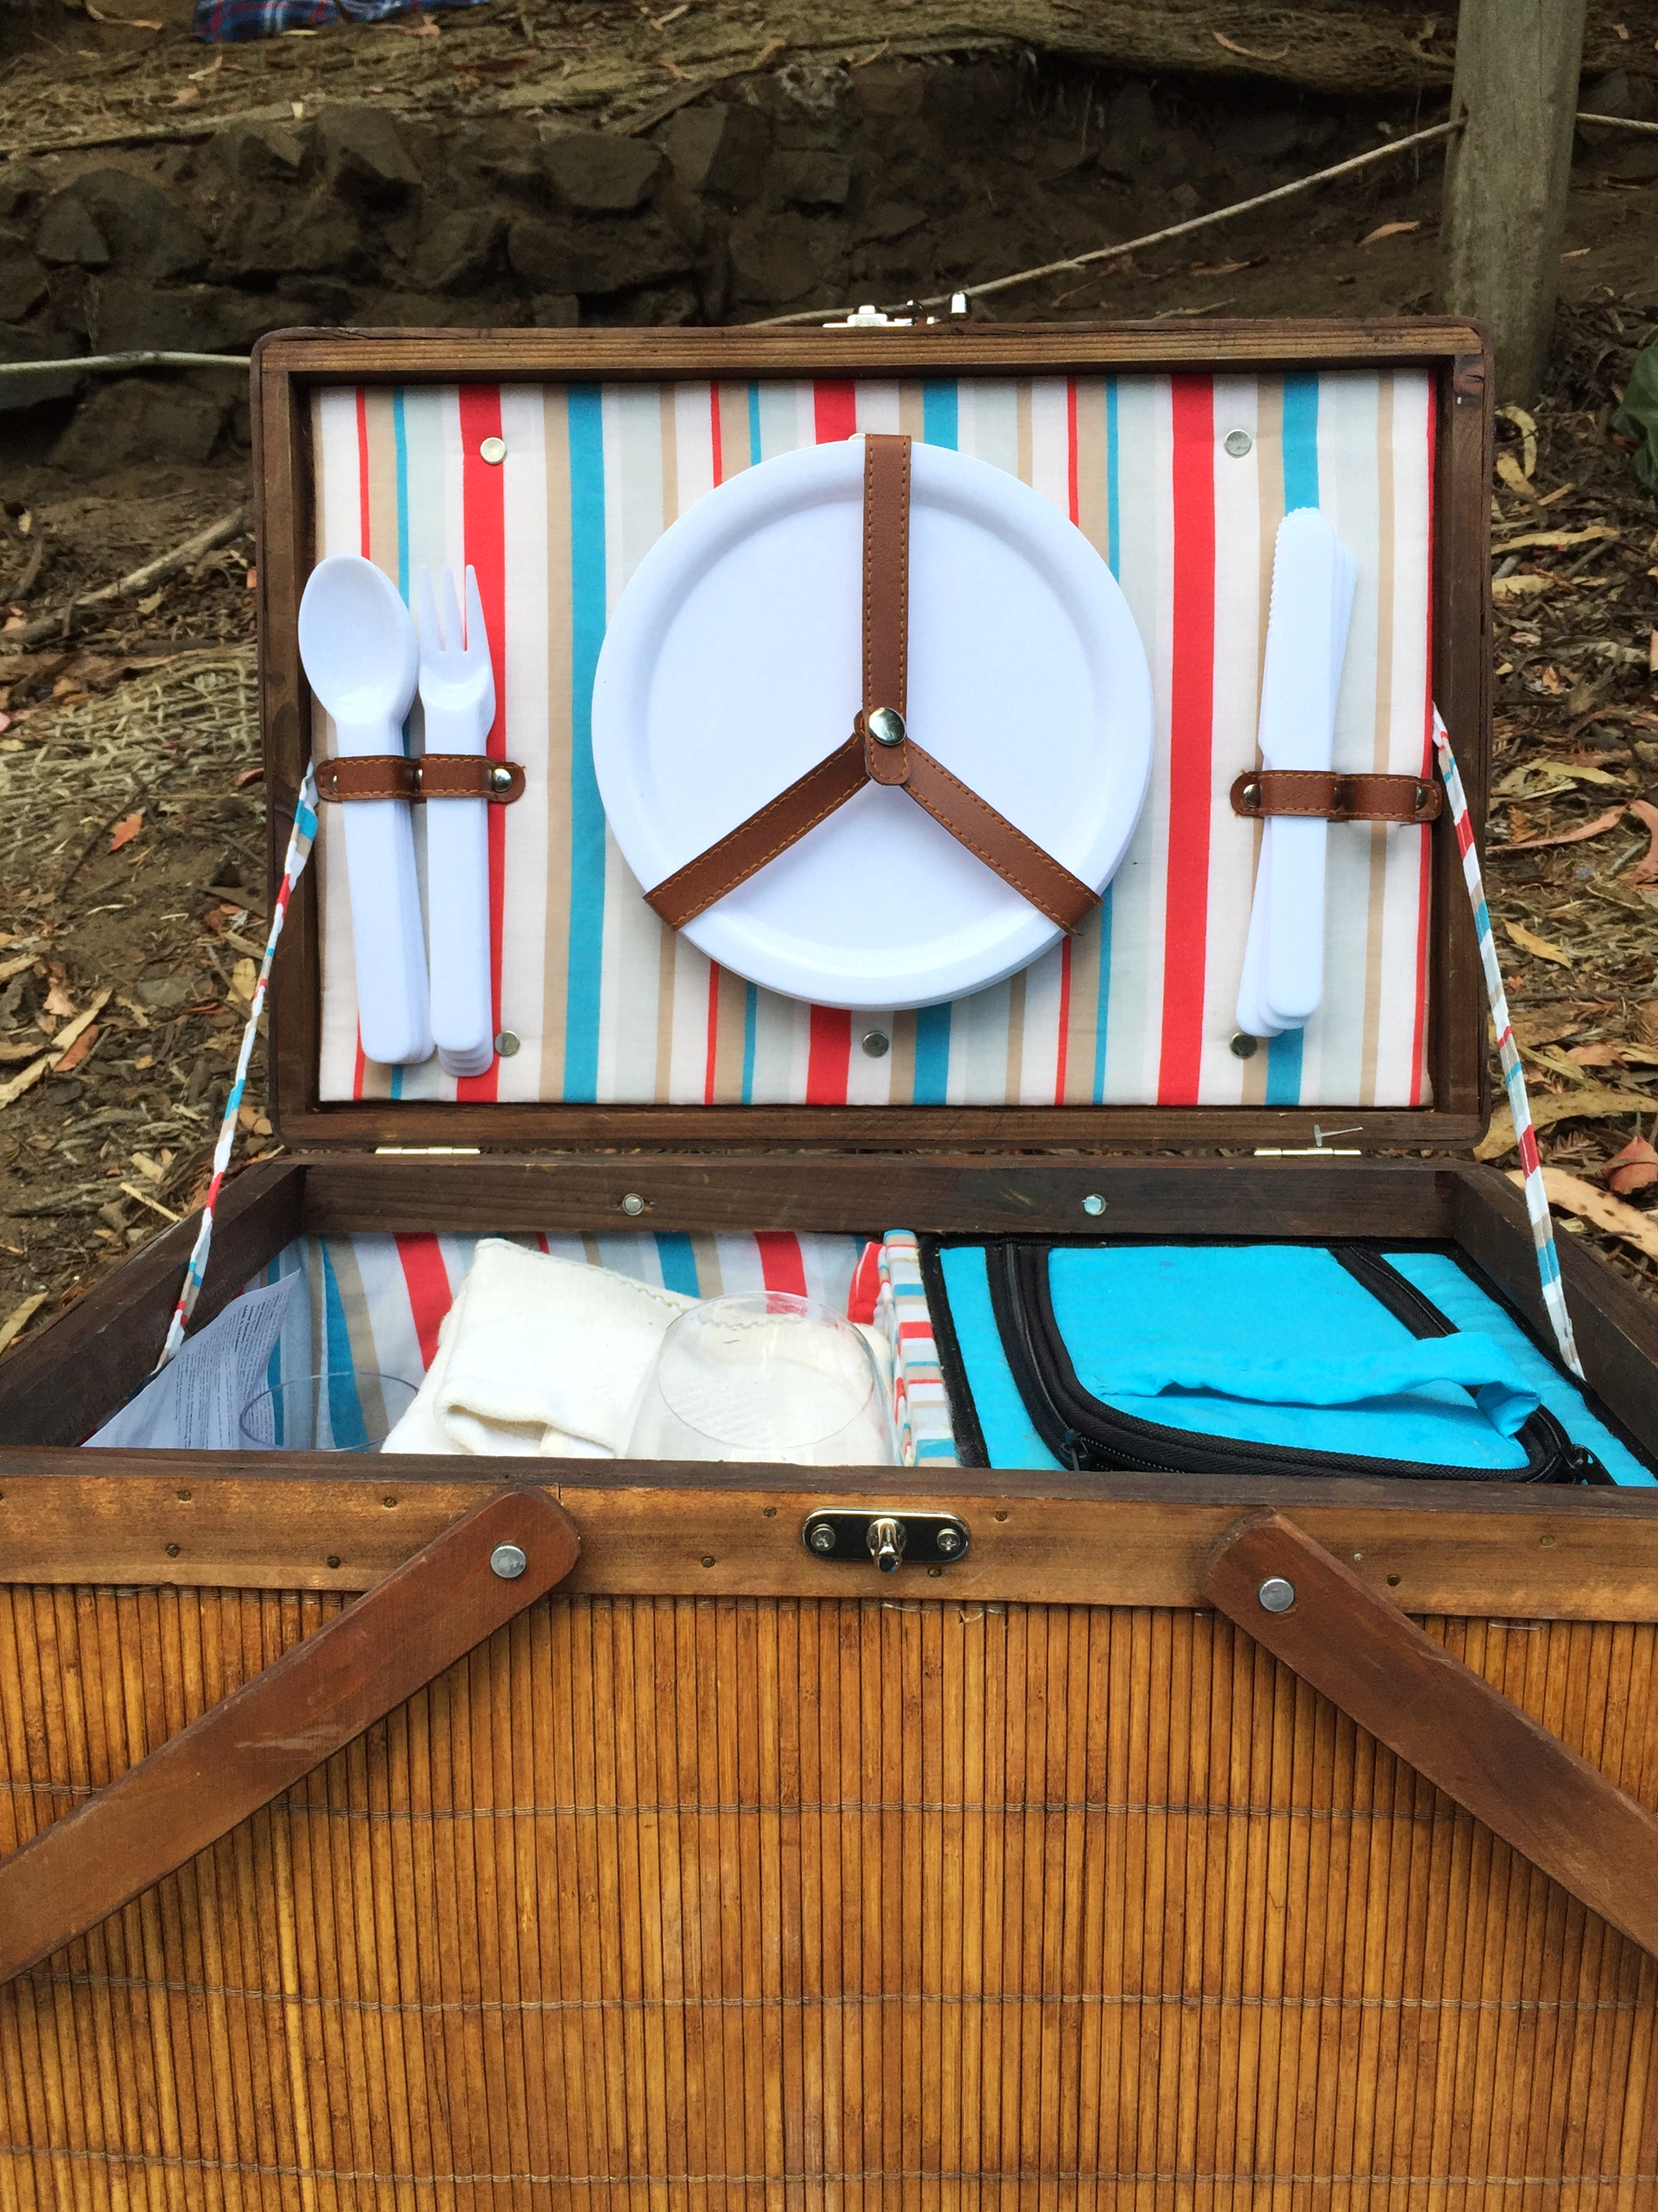
I recently brought my fabulous picnic basket back from my home in Ohio with me to San Francisco. I was dying to use it so I broke it out this past weekend with an inaugural picnic in Golden Gate Park. I was scrambling for something to whip up to actually take in said picnic basket. I was craving salad and veggies but wanted something tastier and more exciting than a simple vinaigrette (my go-to dressing).

The "holy trinity" in Cajun cooking is onion, bell peppers, celery and garlic. I like to think my holy trinity is cilantro, lime, garlic and avocado - very rarely do I not have all of these ingredients on hand. I started throwing things in my blender and before I knew it I created the most versatile summer spread! This will without a doubt be my go-to for the remainder of these warm summer months. Please do yourself a favor and make a batch of this - if it is the one recipe you actually make from my blog! ;)

Picnic Basket | My Engineered Nutrition

Avocado Lime Dressing

Prep Time: 10 minutes

Servings: 4 (1 serving = 2 tbsp, 1/2 cup of dressing total)

Ingredients

  • 1/2 avocado (3 oz)
  • Juice of 2 limes (2.5 oz)
  • 1 cup cilantro, loosely chopped
  • 1 tsp garlic, chopped
  • 1/2 tsp salt
  • 2 tsp rice vinegar
  • 1/2 tbsp extra virgin olive oil

Directions

Throw everything into a blender and blend until fully pureed - that's it! I found that this works best with a single serve blender attachment or Magic Bullet type blender. 

Nutritional info (1 serving = 2 tbsp dressing)

55 Calories - 0.5 g Protein, 3 g Carbs, 4.5 g Fat

Posted on July 22, 2015 and filed under Recipes, Condiments.