Roasted Cauliflower & Piquillo Pepper Soup

Roasted Cauliflower & Piquillo Pepper Soup | My Engineered Nutrition

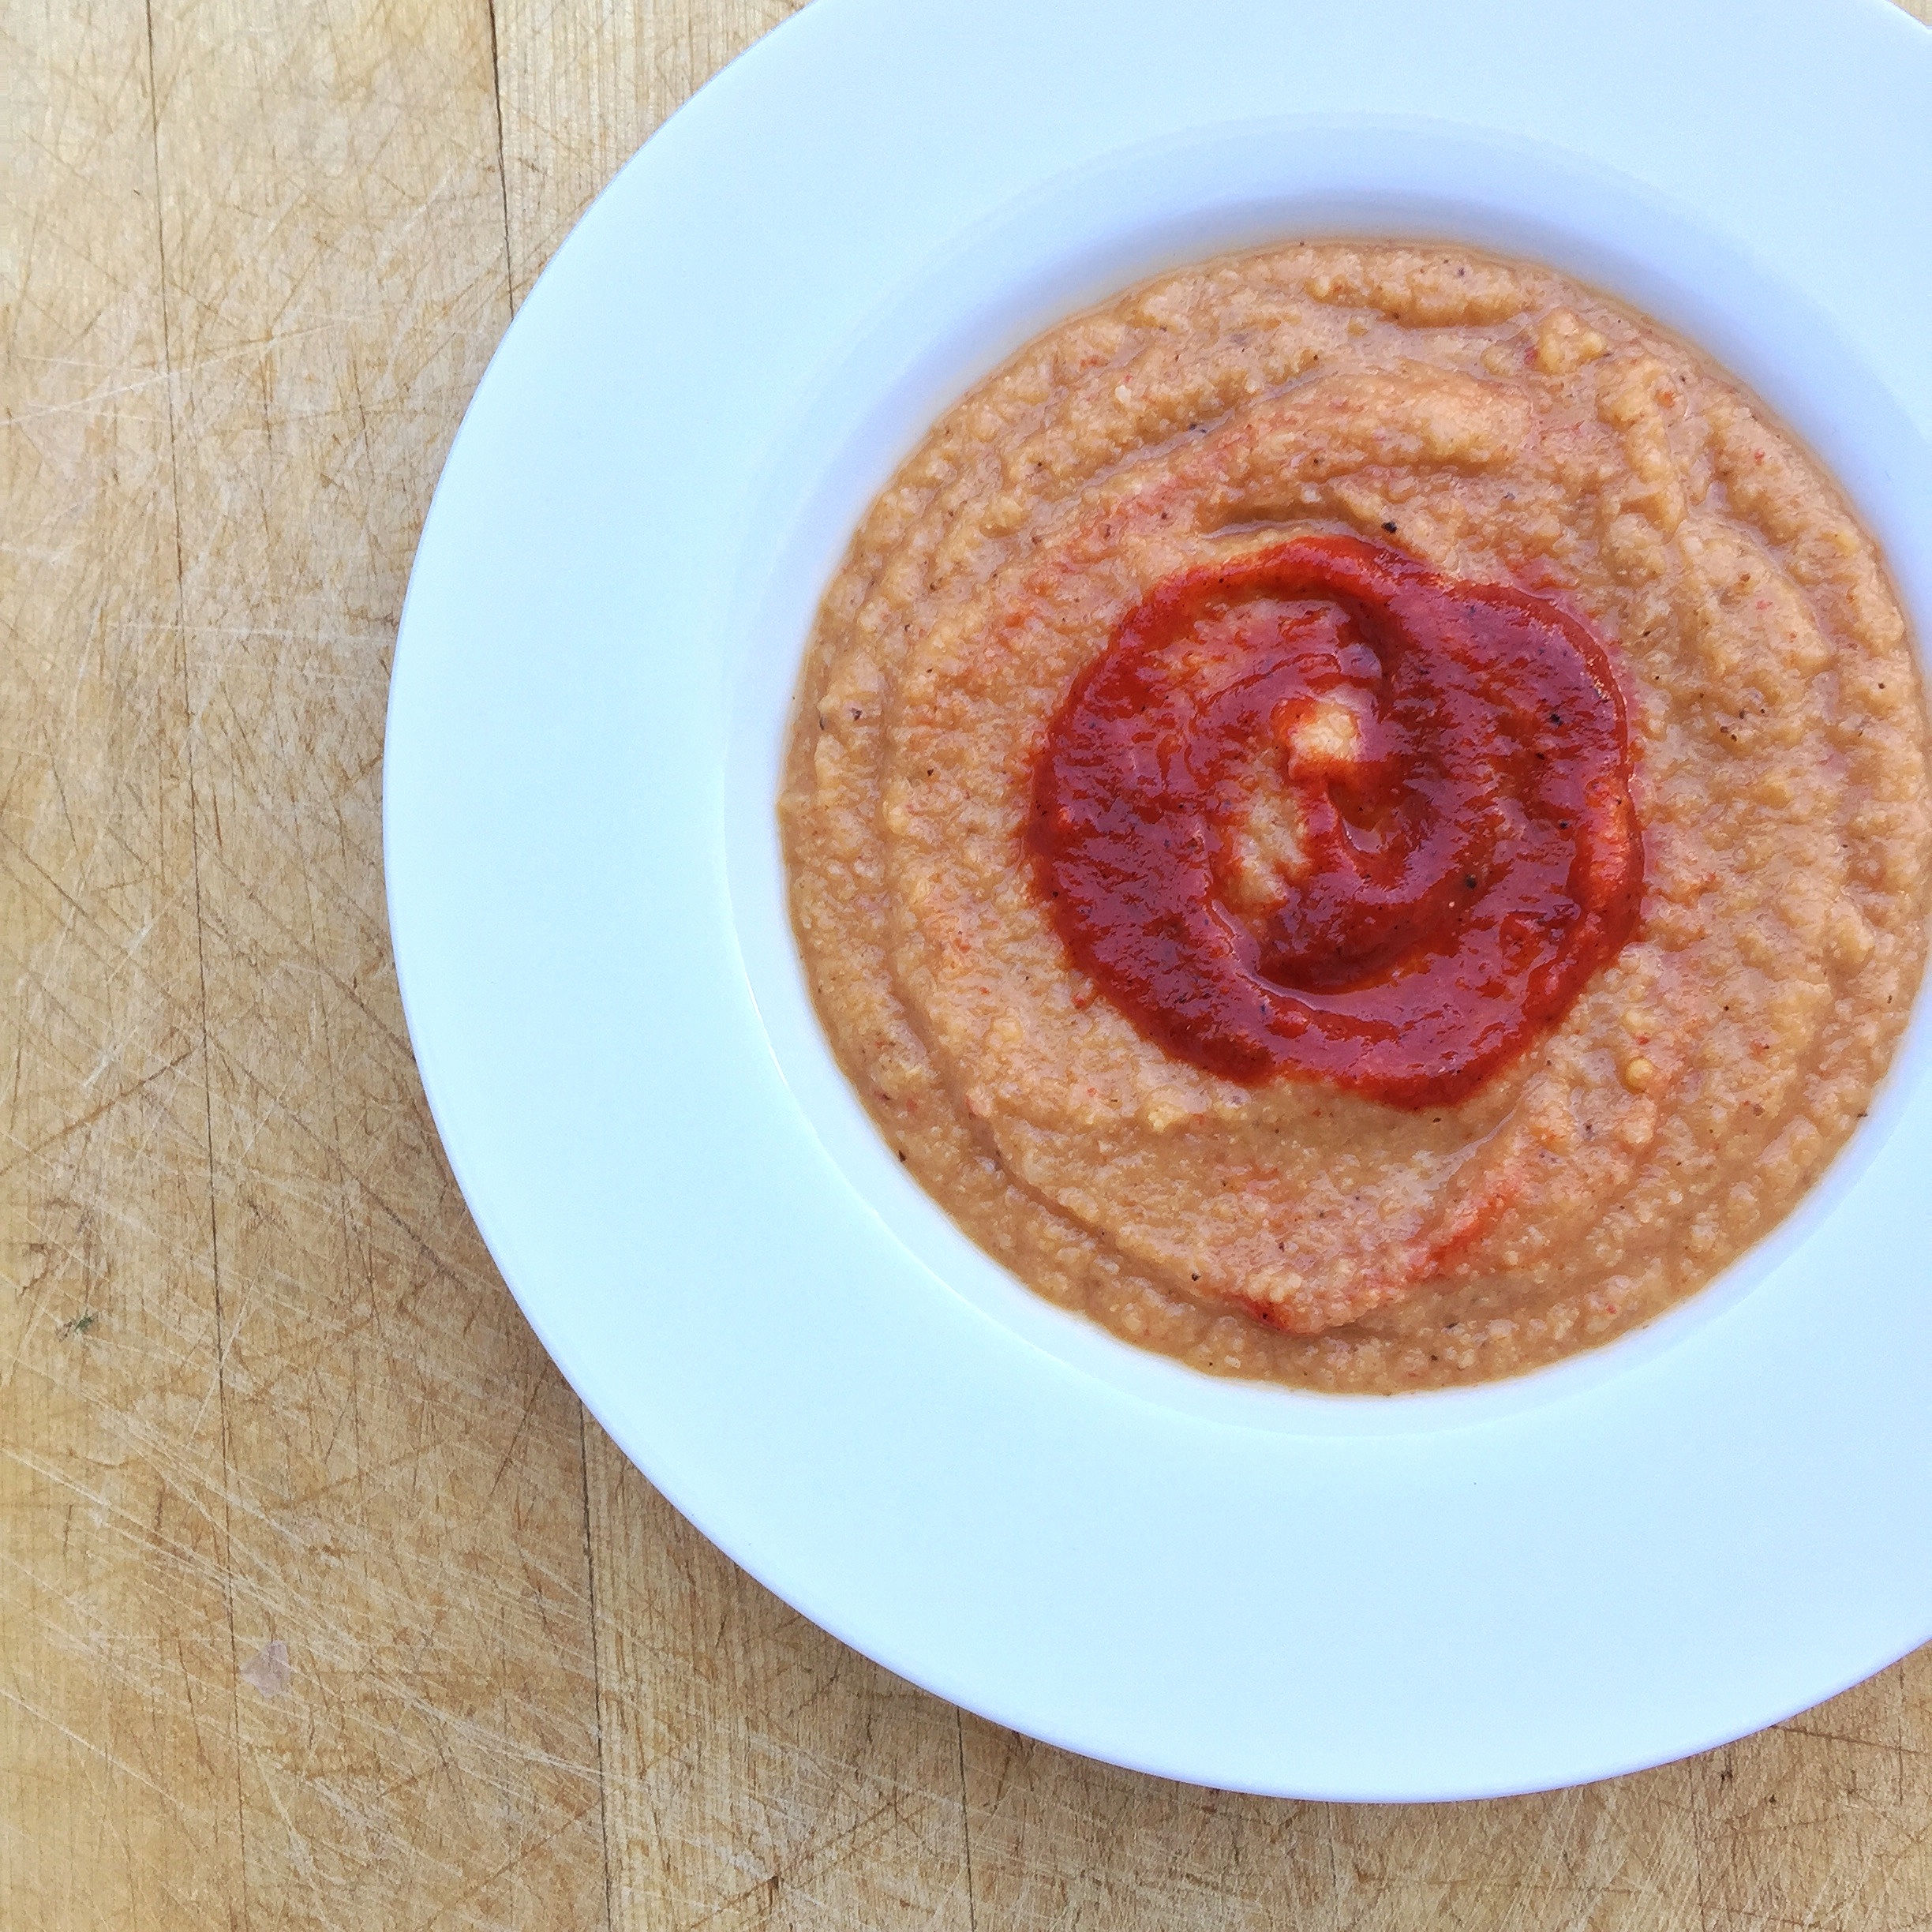
Last week I received a text from my mom, with a photo very similar to the one above, that read:

"OK so if you want a guest blog item...cream of roasted cauliflower, parsnip and piquillo pepper soup!"

YUM. I immediately reply back, asking for the recipe ASAP. Her response was no surprise to me.

"Well you know me..." and she proceeded to tell me her process and the ingredients, but of course didn't measure anything out. 

Roasted Cauliflower and Parsnips | My Engineered Nutrition

This is exactly how I learned how to cook. Doing everything on the fly, tasting along the way, and then creating a dish that was delicious...but I could never tell you how exactly it all came together. 

Starting My Engineered Nutrition has helped me combat this problem and I've gotten much better at my recipe documentation. I'd best describe this soup as roasted and smokey, having a texture similar to potato soup. However, unlike potato soup which is thick, heavy and usually high in fat, this soup is creamy yet light and low in both carbs and fat! So without further ado, here is Dorinda Gunther's recipe (with measurements and interpretation by yours truly) for Roasted Cauliflower and Piquillo Pepper soup.

Roasted Cauliflower & Piquillo Pepper Soup

Prep Time: 15 minutes

Cook Time: 45 minutes 

Servings: 6 cups

Ingredients

  • 2 medium parsnips
  • 1 small head of cauliflower
  • 1 1/4 tbsp extra virgin olive oil
  • 1/2 tsp salt (I used BACON SALT I found at a local spice shop, Kosher salt will also work here)
  • 2 tsp garlic, chopped
  • 3 roasted piquillo peppers (these come in a jar in the grocery aisle with the pickled condiments), chopped
  • 1/2 tsp cumin
  • 1/4 tsp black pepper
  • 3 cups chicken stock
  • 1/2 cup coconut milk
  • Optional: additional pureed piquillo peppers to garnish soup

Directions

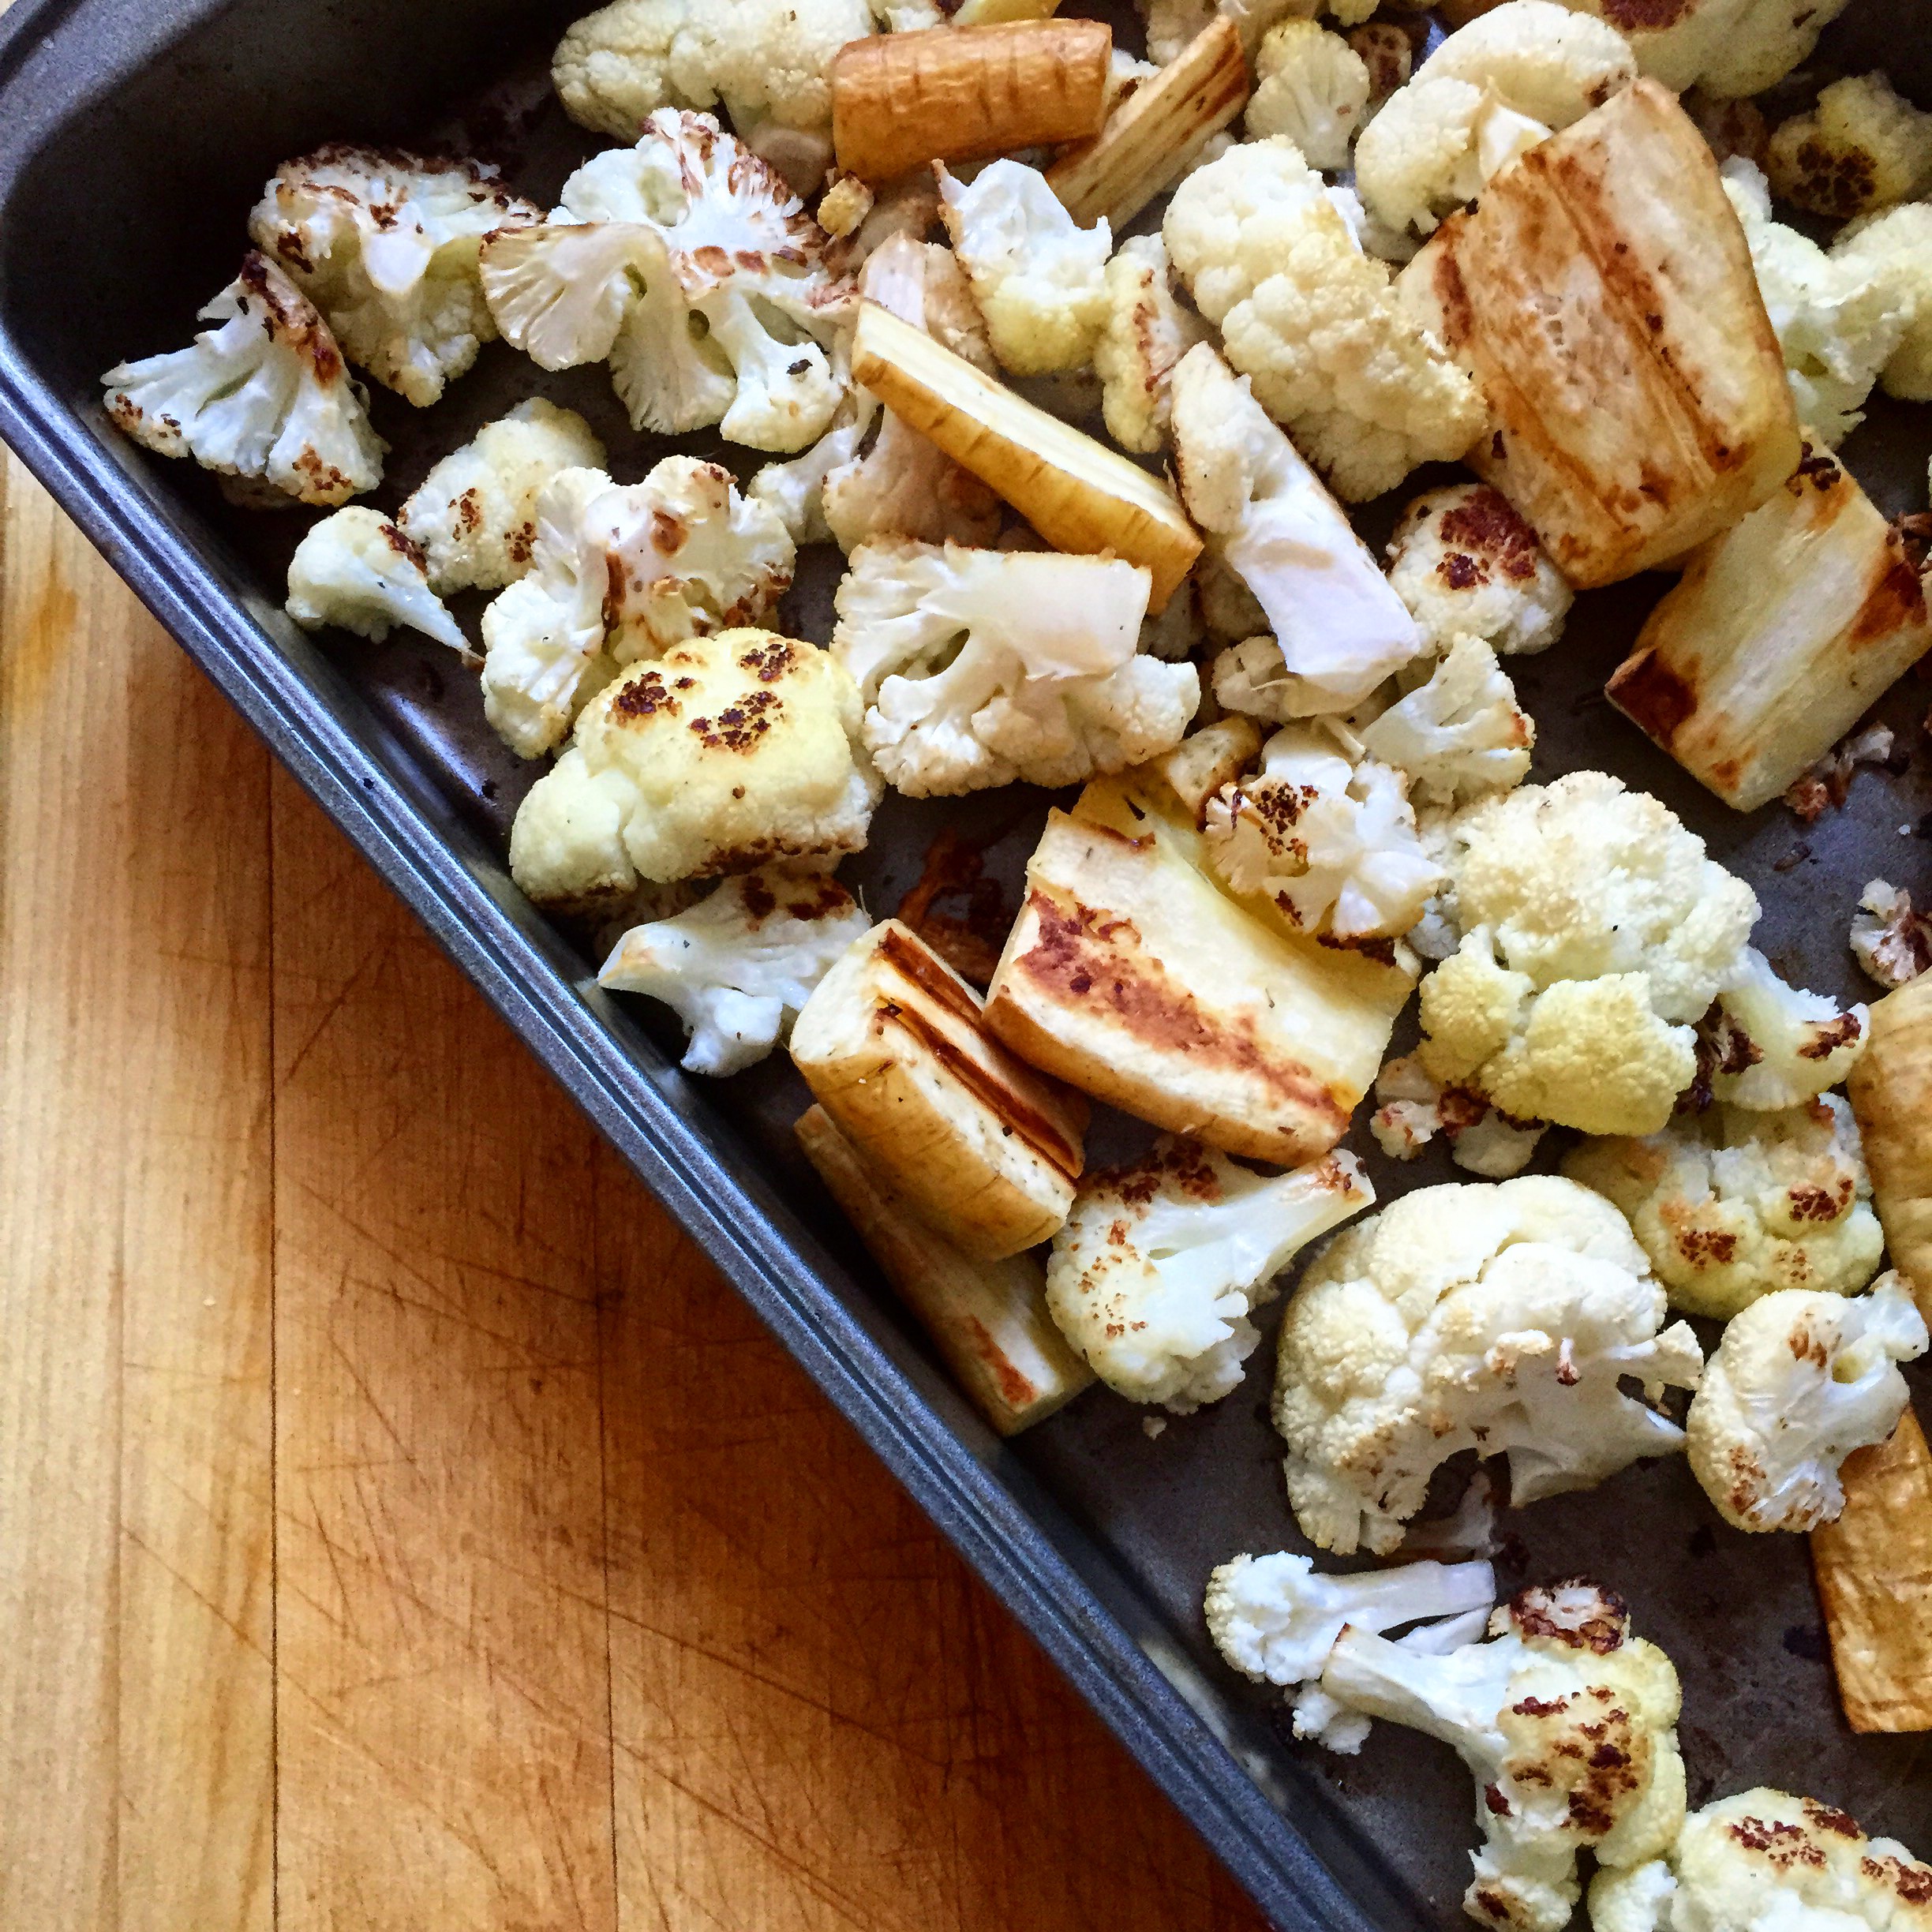
  1. Preheat oven to 400F. Loosely chop parsnips and cauliflower into large pieces and toss with 3/4 tbsp olive oil and salt. Spread evenly in a single layer on a parchment lined baking sheet. Roast for about 25 minutes or until vegetables have turned golden brown. 

  2. In a large soup pot over medium high heat, sauté garlic in remaining olive oil for 1 minute. Add cauliflower, parsnips, piquillo peppers, cumin and pepper. Stir in chicken stock and bring mixture to a boil. Once at a boil, cover pot and reduce heat to a simmer for 15 minutes. 

  3. Once the soup has reduced down, carefully blend mixture until pureed (or reaches your desired consistency). This can be done in a blender, food processor or with a hand-held immersion blender. I used my blender and scooped the soup cup by cup from the pot to the blender. 

  4. Return soup to pot and mix in coconut milk. No need to turn on heat for this step. Soup is now complete! I also topped my soup with a spoonful of additional purée of the remaining jar of piquillo peppers.

Nutritional info (1 serving)

160 Calories - 5 g Protein, 17 g Carbs, 8 g Fat


Posted on July 14, 2015 and filed under Recipes, Soup.

Jambalaya

Jambalaya | My Engineered Nutrition

Looking for a dish to JAZZ up your dinners? :) Then look no further than this lightened up jambalaya! 

This dish is based off of Emeril Lagasse's recipe for Cajun Jambalaya. Emeril is the very FIRST chef I ever watched on television. This was back before Food Network actually published their recipes online for you to download. No, it wasn't that easy, you actually had to work for the recipes. I remember watching the show with my mom, her and I sitting in front of the television with notepad and pen in hand, listening ever so closely and writing down every ingredient as fast as we could. Was that 1 clove or 50 cloves of gah-lick!? I trust his recipes, especially when it comes to Creole cooking. 

In true Emeril style, this isn't the lightest of dishes. This is my take on his dish, cutting the fat in half from the original recipe! You'll be surprised with how quick and easy this seemingly complex dish is. I was able to bang this meal out in 30 minutes - ideal for a weeknight dinner!

Jambalaya | My Engineered Nutrition

Shrimp and Sausage Jambalaya

Prep Time: 10 minutes

Cook Time: 25 minutes 

Servings: 4

Ingredients

  • 1/2 tbsp olive oil
  • 1/3 cup yellow onion, chopped
  • 1/3 cup bell pepper, chopped  
  • 2 tsp garlic, chopped
  • 1/2 cup crushed red tomatoes (canned)
  • 1 bay leaf
  • 2 tsp hot sauce
  • 3 cups chicken stock
  • 3/4 cup white rice
  • 10 oz shrimp, uncooked and thawed
  • Creole seasoning (below)
  • 2 Andouille chicken or pork sausage links, lower in fat compared to traditional Andoullie sausage (I recommend Aidells all-natural sausages http://www.aidells.com/product/5) 

Emeril's Creole Seasoning

  • 1/2 tsp paprika
  • 1/2 tsp salt
  • 1/2 tsp garlic powder
  • 1/4 tsp cayenne pepper
  • 1/4 tsp black pepper
  • 1/4 tsp onion powder
  • 1/4 tsp dried oregano
  • 1/4 tsp dried thyme 

Directions

  1. In a large saucepan over medium heat, heat olive oil and sauté onion and peppers until softened, about 3 minutes.
  2. Add garlic, tomatoes, bay leaf and hot sauce. Stir to combine.
  3. Next stir in rice and chicken stock. Bring to a boil then reduce heat to medium low and cover. Continue to stir occasionally until all liquid has been absorbed, about 10-15 min. 
  4. While rice is cooking, combine Creole seasoning with shrimp until shrimp is evenly seasoned. Set aside. Slice sausage links. 
  5. Once all liquid has been absorbed, add shrimp and sausage, bringing the heat back up to medium. Stir occasionally until shrimp is cooked, about 10 minutes. Plate and enjoy! 

Nutritional info (1 serving)

304 Calories - 24 g Protein, 34 g Carbs, 8 g Fat


Posted on July 10, 2015 and filed under Recipes, Fish/Seafood, Chicken.

Patriotic Pops

Patriotic Pops | My Engineered Nutrition

Happy 4th of July!  I hope everyone's plans for the holiday include lots of delicious eats! I've traded my cold and foggy San Francisco weather for hot and humid Cincinnati for the weekend, meaning a cold and refreshing treat was a perfect compliment to our BBQ. 

Patriotic Pops | My Engineered Nutrition

These take a bit of planning ahead but I promise they are worth it! Red, white and blue popsicles made from fresh raspberry purée, a thin layer of coconut milk and topped of with a blackberry purée. Skip the artificial flavoring and food dye and make these for your cook out! 

Cheers!  


Patriotic Pops

Prep Time: 10 minutes

Freeze Time: 4 hours 

Servings: 8

Ingredients

  • 1 cup fresh raspberries 
  • 1 cup fresh blackberries 
  • 1 cup full fat coconut milk
  • 1/2 cup simple syrup (to make boil 1 part sugar & 2 parts water, cool before using)
  • 1 lime
  • 1 Popsicle mold or 8 paper cups and Popsicle sticks  

Directions

  1. Purée raspberries with 2 tbsp simple syrup and juice of 1/2 lime. Pour first layer of popsicle into mold and set popsicle sticks. Put in freezer for 45 min to allow for first layer to set.
  2. Whip 1 cup coconut milk with 2 tbsp simple syrup just to incorporate the two ingredients. Remove popsicles from freezer and pour thin layer of coconut milk on top of the raspberry layer. Return to freezer for another 45 min. 
  3. Repeat step 1 with blackberries for the last layer of the popsicles. Return to the freezer to allow all layers to set for another 2.5 hours.  

Happy Fourth of July! 


Posted on July 4, 2015 and filed under Recipes, Sweet Treats.

Bison Pesto Meatballs with Zucchini Ribbons

Bison Pesto Meatballs with Zucchini Ribbons | My Engineered Nutrition

OK. So it may be a stretch to call this a "recipe". I mean, it is so simple and I didn't make everything completely from scratch (gasp!). However, this combination of flavors is just too good not to share. 

The zoodle craze (zucchini noodles, for those not in "the know") has really taken over. I had yet to jump on the zoodle train, merely because I couldn't justify spending $50 on a kitchen tool that could do just one task: spiral slice vegetables. However, the more and more I saw new recipes involving zucchini noodles, the more I really wanted to try them. Enter: my mandoline slicer. 

Zucchini Ribbons | My Engineered Nutrition

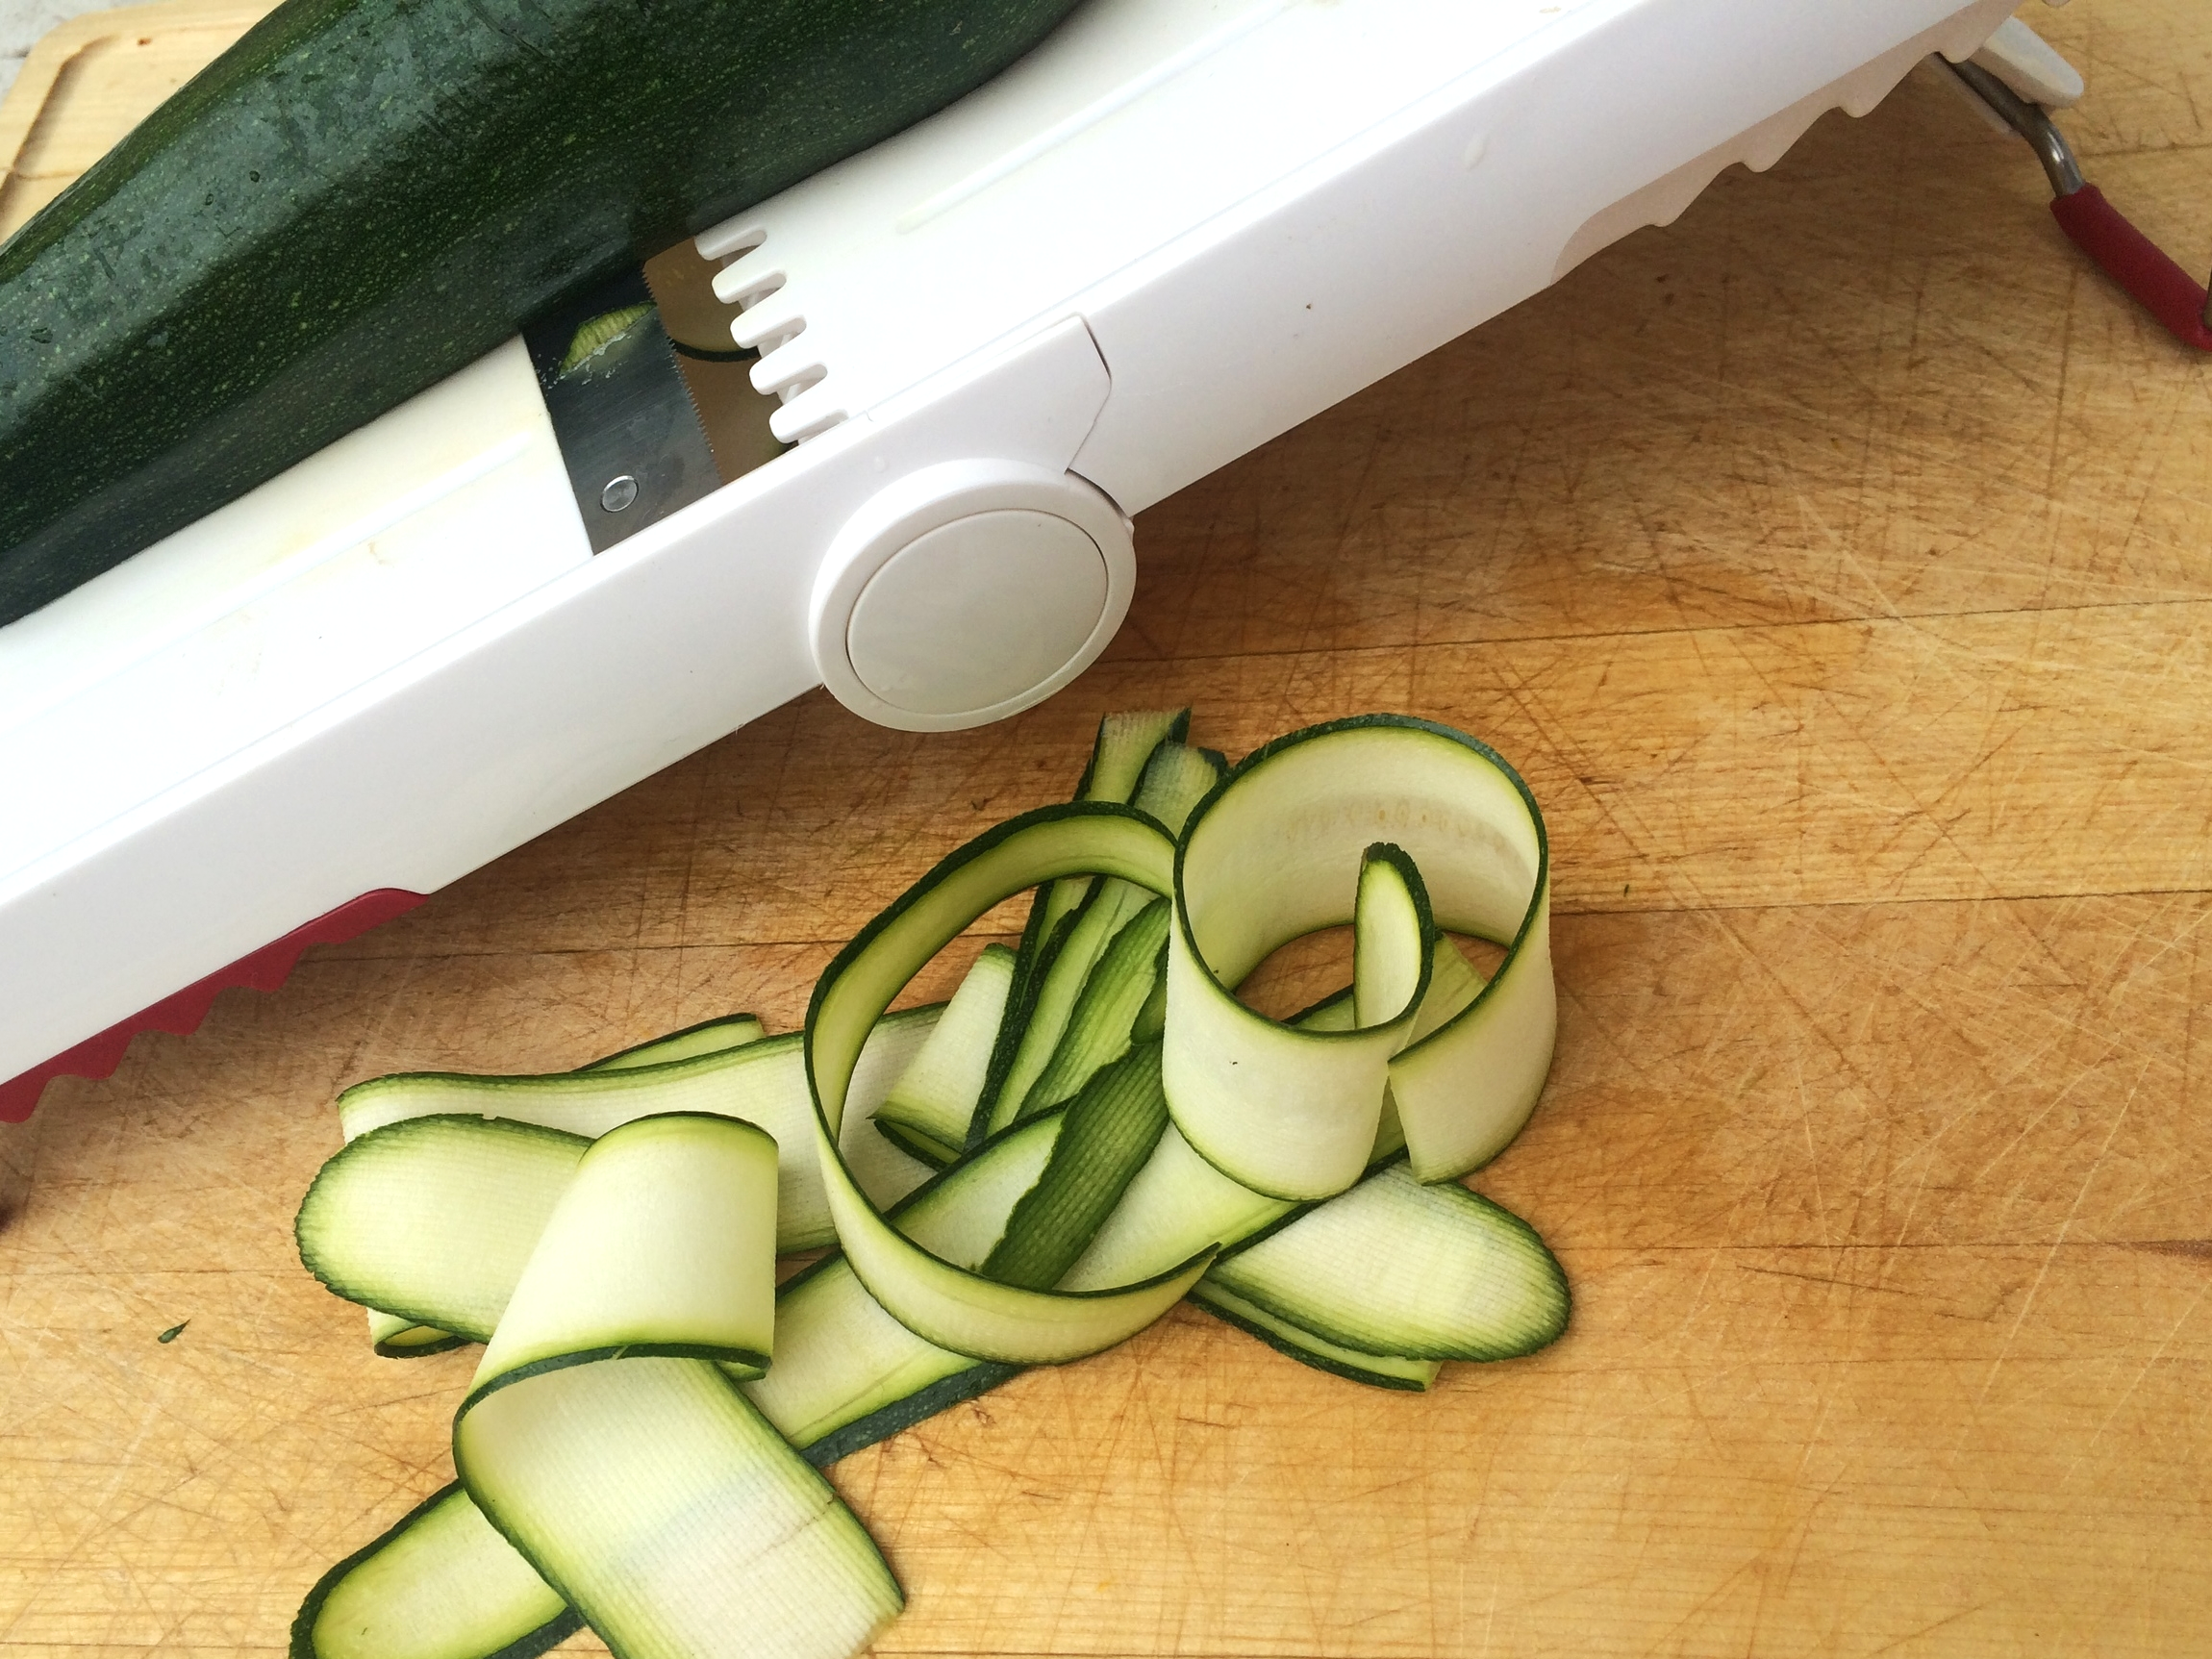
THIS kitchen tool has many uses, and I find myself using it more and more lately. I set my mandoline to the thinnest setting and sliced my zucchini length-wise. The result were these delicate and elegant zucchini ribbons. The thought of weighing these down with heavy marinara meat sauce seemed just wrong. These noodles needed something lighter and vibrant. Zucchini is a summer squash after all, they needed a summertime flavor profile! 

Zucchini Ribbons | My Engineered Nutrition

The pesto still allows their zucchini ribbons to keep their shape, unlike a heavy tomato based sauce which would weigh the ribbons down. The lemon zest really sets this dish apart, in my opinion! It adds an element of brightness and awakens all the flavors. 

This dish is simple, elegant and light - try it tonight!

Bison Pesto Meatballs with Zucchini Ribbons | My Engineered Nutrition


Bison Pesto Meatballs with Zucchini Ribbons

Prep Time: 10 minutes

Cook Time: 10 minutes 

Servings: 4

Ingredients

  • 1 lb ground bison (if you want to make this extra lean use 93/7 ground beef but I highly recommend bison)
  • 4 zucchini
  • 1 bunch of asparagus
  • 2 tsp garlic, minced
  • 1 tbsp olive oil
  • 3 oz pesto, pre-made or homemade
  • Zest of one lemon
  • Salt and pepper

Directions

  1. Prepare your zucchini ribbons. Slice all 4 zucchini length-wise on the thinnest setting of your mandoline. You could also use a spiralizer or in a pinch, you can thinly slice your zucchini.  Once you have your ribbons, thinly slice your asparagus into 1" pieces (not with the mandoline), cutting the thicker parts in half length-wise. 
  2. Heat your cast iron (or metal) skillet over medium heat.
  3. Mix together bison and 1/3 of pesto. Form into 12 meatballs.
  4. Evenly space meatballs in hot skillet. Brown for about 2 minutes each side, turning until all sides are cooked and a nice crust has formed. 
  5. While meatballs are cooking, sauté garlic in the olive oil in a separate pan over medium heat until garlic begins to brown, about 3 minutes. Add zucchini and asparagus and toss. Cook for another 2 minutes. Add remaining pesto and mix thoroughly. Turn off heat to skillet. 
  6. Zest lemon over the vegetables and lightly toss. Plate your zucchini mixture and top with meatballs and additional lemon zest, if desired. 

Nutritional info (1 serving = 1/4 of vegetables and 3 meatballs)

370 Calories - 28 g Protein, 12 g Carbs, 23 g Fat

*This may seem to be high in fat but these are healthy fats! Remember, we need to be sure to include enough in our diets. This is a great meal option for when you are eating low carb for a day. 

Posted on June 30, 2015 and filed under Recipes, Beef.

Bacon Wrapped BBQ Meatloaf

Bacon Wrapped BBQ Meatloaf | My Engineered Nutrition

Today I bring to you a comfort food classic: meatloaf. This isn't just any regular meatloaf, however. It is wrapped in bacon and coated in BBQ sauce. Traditionally, meatloaf is made with full fat ground beef, whole eggs and bread crumbs. I've lightened this dish up AND added bacon, all while keeping the total fat lower than the original recipe but not skimping on any of the flavor. You're welcome.

Bacon Wrapped BBQ Meatloaf | My Engineered Nutrition

My favorite way to develop recipes is to ask my family and friends what they feel like eating...and then I will create that with my own twist. That is exactly how this recipe came about. This is my idea of a fun game! I was staying with my sister, Greta, in LA last weekend and to show my thanks I offered to cook dinner for us. I asked her to think of something (anything!) that is normally unhealthy (but delicious) and I would make her a healthy version. Some may not agree with my idea of fun, but hey - we all have our thing. 

Bacon Wrapped BBQ Meatloaf | My Engineered Nutrition

She requested "comfort food" which for me means a rich, meat and potatoes type dish. I offered up meatloaf (which she gladly agreed to) and then decided to one up myself and make it (turkey) bacon wrapped meatloaf brushed with BBQ sauce instead of boring ol' ketchup. And to top it all off - make it lighter and gluten free. I came up with this recipe on the fly as I was chopping and mixing. The end result was better than I could have ever imagined. Lucky for you all I remembered to write the recipe down in my iPhone immediately following dinner. 

Bacon Wrapped BBQ Meatloaf | My Engineered Nutrition

So what makes this "lighter"? I used 93% lean ground beef instead of 80/20 ground beef, turkey bacon instead of regular bacon, egg whites instead of whole eggs and coconut flour as the binder instead of bread crumbs. The end result was juicy and moist but definitely tasted rich and full of comfort. 

Thanks to Greta for requesting this meal or I may never thought of this recipe :) Enjoy! 

Bacon Wrapped BBQ Meatloaf

Prep Time: 10 minutes

Cook Time: 50 minutes (30 minutes at 400F and 20 minutes at 350F)

Servings: 4

Ingredients

  • 1 lb ground beef or bison (if you want to make this extra lean use 93/7 ground beef!)
  • 5 strips turkey bacon
  • 2 egg whites
  • 4 tbsp coconut flour
  • 1/4 c yellow onion, diced
  • 1/4 c green bell peppers, diced
  • 2 cloves garlic, diced
  • 1 tbsp olive oil
  • 1 tbsp worcestershire sauce
  • 4 tbsp BBQ sauce, divided 
  • Salt and pepper

Directions

  1. Preheat oven to 4000F. 
  2. In a skillet over medium high heat, sauté onion, peppers and garlic in olive oil for 3-5 minutes or until onions become golden brown. Remove mixture from heat to a small bowl to cool. 
  3. In a mixing bowl combine  the onion and pepper mixture with the ground beef, egg whites, coconut flour, worcestershire sauce, 2 tbsp of BBQ sauce plus salt and pepper to season. Using your hands, mix until all ingredients are well incorporated. 
  4. Transfer the mixture to a baking dish and form into a loaf. Wrap with strips of turkey bacon so that meatloaf is fully covered. 
  5. Place meatloaf into oven and allow to cook at 400F for 10 minutes. After the first 10 minutes, brush the meatloaf with the remaining 2 tbsp of BBQ sauce and return to oven for an additional 20 minutes at 4000F. 
  6. After 30 minutes total at 400F, reduce oven temperature to 350F and continue to cook for another 20-30 minutes or until meatloaf is cooked through.
  7. Remove from oven and allow to rest for 10 minutes before cutting. Slice into 4 equal pieces and serve with additional BBQ sauce if desired. 

Nutritional info (1 serving = 1/4 of recipe)

310 Calories - 33.5 g Protein, 10 g Carbs, 15 g Fat

Posted on June 23, 2015 and filed under Recipes, Beef.