Posts filed under Recipes

How to Build an Epic Cheese and Charcuterie Board

How to build an EPIC cheese and charcuterie board | My Engineered Nutrition

Anyone who knows me knows I LOVE to entertain. 

LOVE IT. In fact, I find more joy in feeding and entertaining other people than I do cooking just for myself.

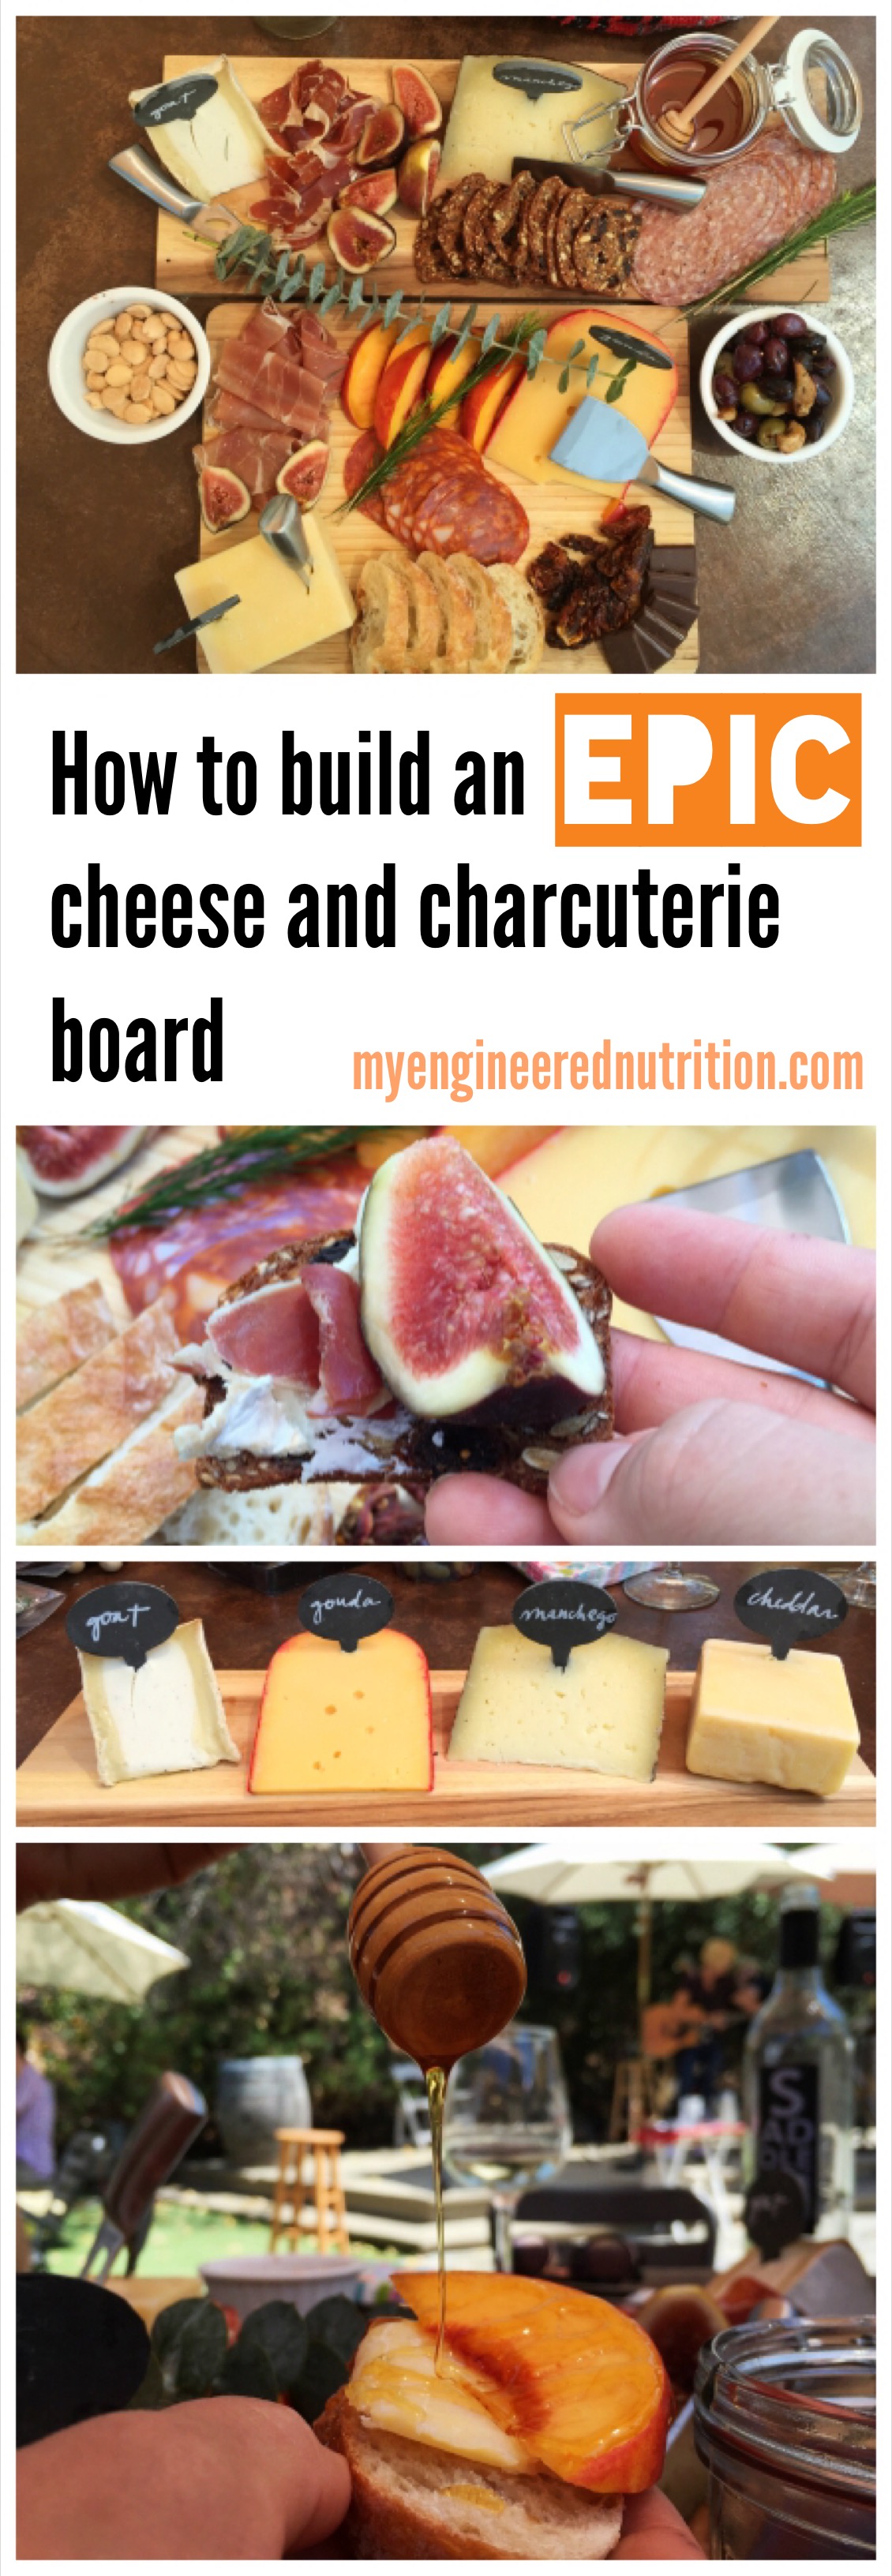
With Labor Day this coming weekend, I figured this was the perfect time for me to share how I build an EPIC cheese and charcuterie board. The holidays are always a time which calls for gathering, celebrating and entertaining.

 I recently went to Malibu Wines in Malibu (duh) and decided that occasion called for a cheese and charcuterie board. Follow along as I break down how you too can assemble this epic board. 

How to build an EPIC cheese and charcuterie board | My Engineered Nutrition

Wine tasting or not, cheese and charcuterie are ideal for any occasion. It is the perfect start to a dinner, fantastic addition to a party, a great option for a picnic, or simply "just because". My components for assembling the perfect board include:

  1. Cheeses
  2. Charcuterie
  3. Something Salty
  4. Something Sweet
  5. Bread and Crackers

And of course, let's not forget the serving platter,small dishes, name makers and cheese knives!

1. Cheeses

How to build an EPIC cheese and charcuterie board | My Engineered Nutrition

My general rule is 3 oz of cheese per person if the board is the main food for the event. If you are serving multiple appetizers or want this to be a lighter snack, then scale back the amount of cheese you buy. 

I like to select 3 - 4 different types of cheeses. If you are having a large party (8+ people) you can opt for even more choices. When I am thinking about what cheese to serve, I try and select a soft, semi-soft, semi-hard and hard cheese. You should plan on allowing your cheeses to sit at room temperature for at least an hour before serving. Their flavors are best when they are at room temperature and not as hard blocks straight from the refrigerator (which mutes the flavor)! 

Soft: These are soft and creamy cheese which are spreadable. Goat, Brie, Chevre, Camembert

Semi-soft: More firm than soft cheeses but still has a high moisture content and tend to be mild in taste. Munster, Gruyere, Blue-veined cheeses (although these aren't mild but much  more distinct and "stinky")

Semi-hard: These cheese are much lower in moisture than soft cheese and aged for a longer time. Cheddar (which there are so many varieties of based on aging length), Gouda

Hard: These are the cheeses that are packed very firmly, aged for months or years, and when cut are very crumbly  due to their low moisture content. Manchego, Asiago, Parmigiano-Reggiano 

For my board I selected Truffle Tremor as my soft cheese (from Cypress Grove Chevre) as it is a wonder balance of goat cheese and Italian black summer truffles. If you haven't ever tried this cheese I highly recommend it! I wasn't necessarily in the mood for a semi-soft cheese for this occasion, so instead I selected 2 semi-hard cheeses - Gouda and Irish Cheddar. Lastly, for my hard cheese I chose Manchego. 

You'll notice that all of my cheeses have name tags. It is important to let your guests know what they are eating! I bought these adorable chalkboard markers off Amazon but even just paper name tags will do.

2. Charcuterie

How to build an EPIC cheese and charcuterie board | My Engineered Nutrition

Similar rules apply here for the amount of meats to serve. I aim for 2-3 oz of meat per person but again, if you are looking for something lighter you can decrease the amount of meats you buy. 

I am by no means an expert on different types of dry-cured meats and sausages. I found this article on The Savory very helpful and informative - Charcuterie Study Guide: A Meat-by-Meat Breakdown.  Charcuterie varies from region to region, but below are a few popular choices. 

Dry-Cured Meat:  

Italy: Prosciutto, Speck, Bresaola

Spain: Jamon Iberico, Jamon Serrano

Dry-Cured Sausage:  

Italy: Mortadella, Salami, Soppressata, Coppa

Spain: Chorizo

Other:

France: Pate comes in many different textures and compositions. They can be made from pork, rabbit, duck or chicken liver. 

Italy: Ciccioli is a pressed cake of fatty pork made from lard renderings. This is by no means good for you in large quantities...but it is hands down the most delicious thing I've ever had on a charcuterie board. I've never made it myself (only had it at a restaurant) but there are plenty of recipes out there should you want to try making!

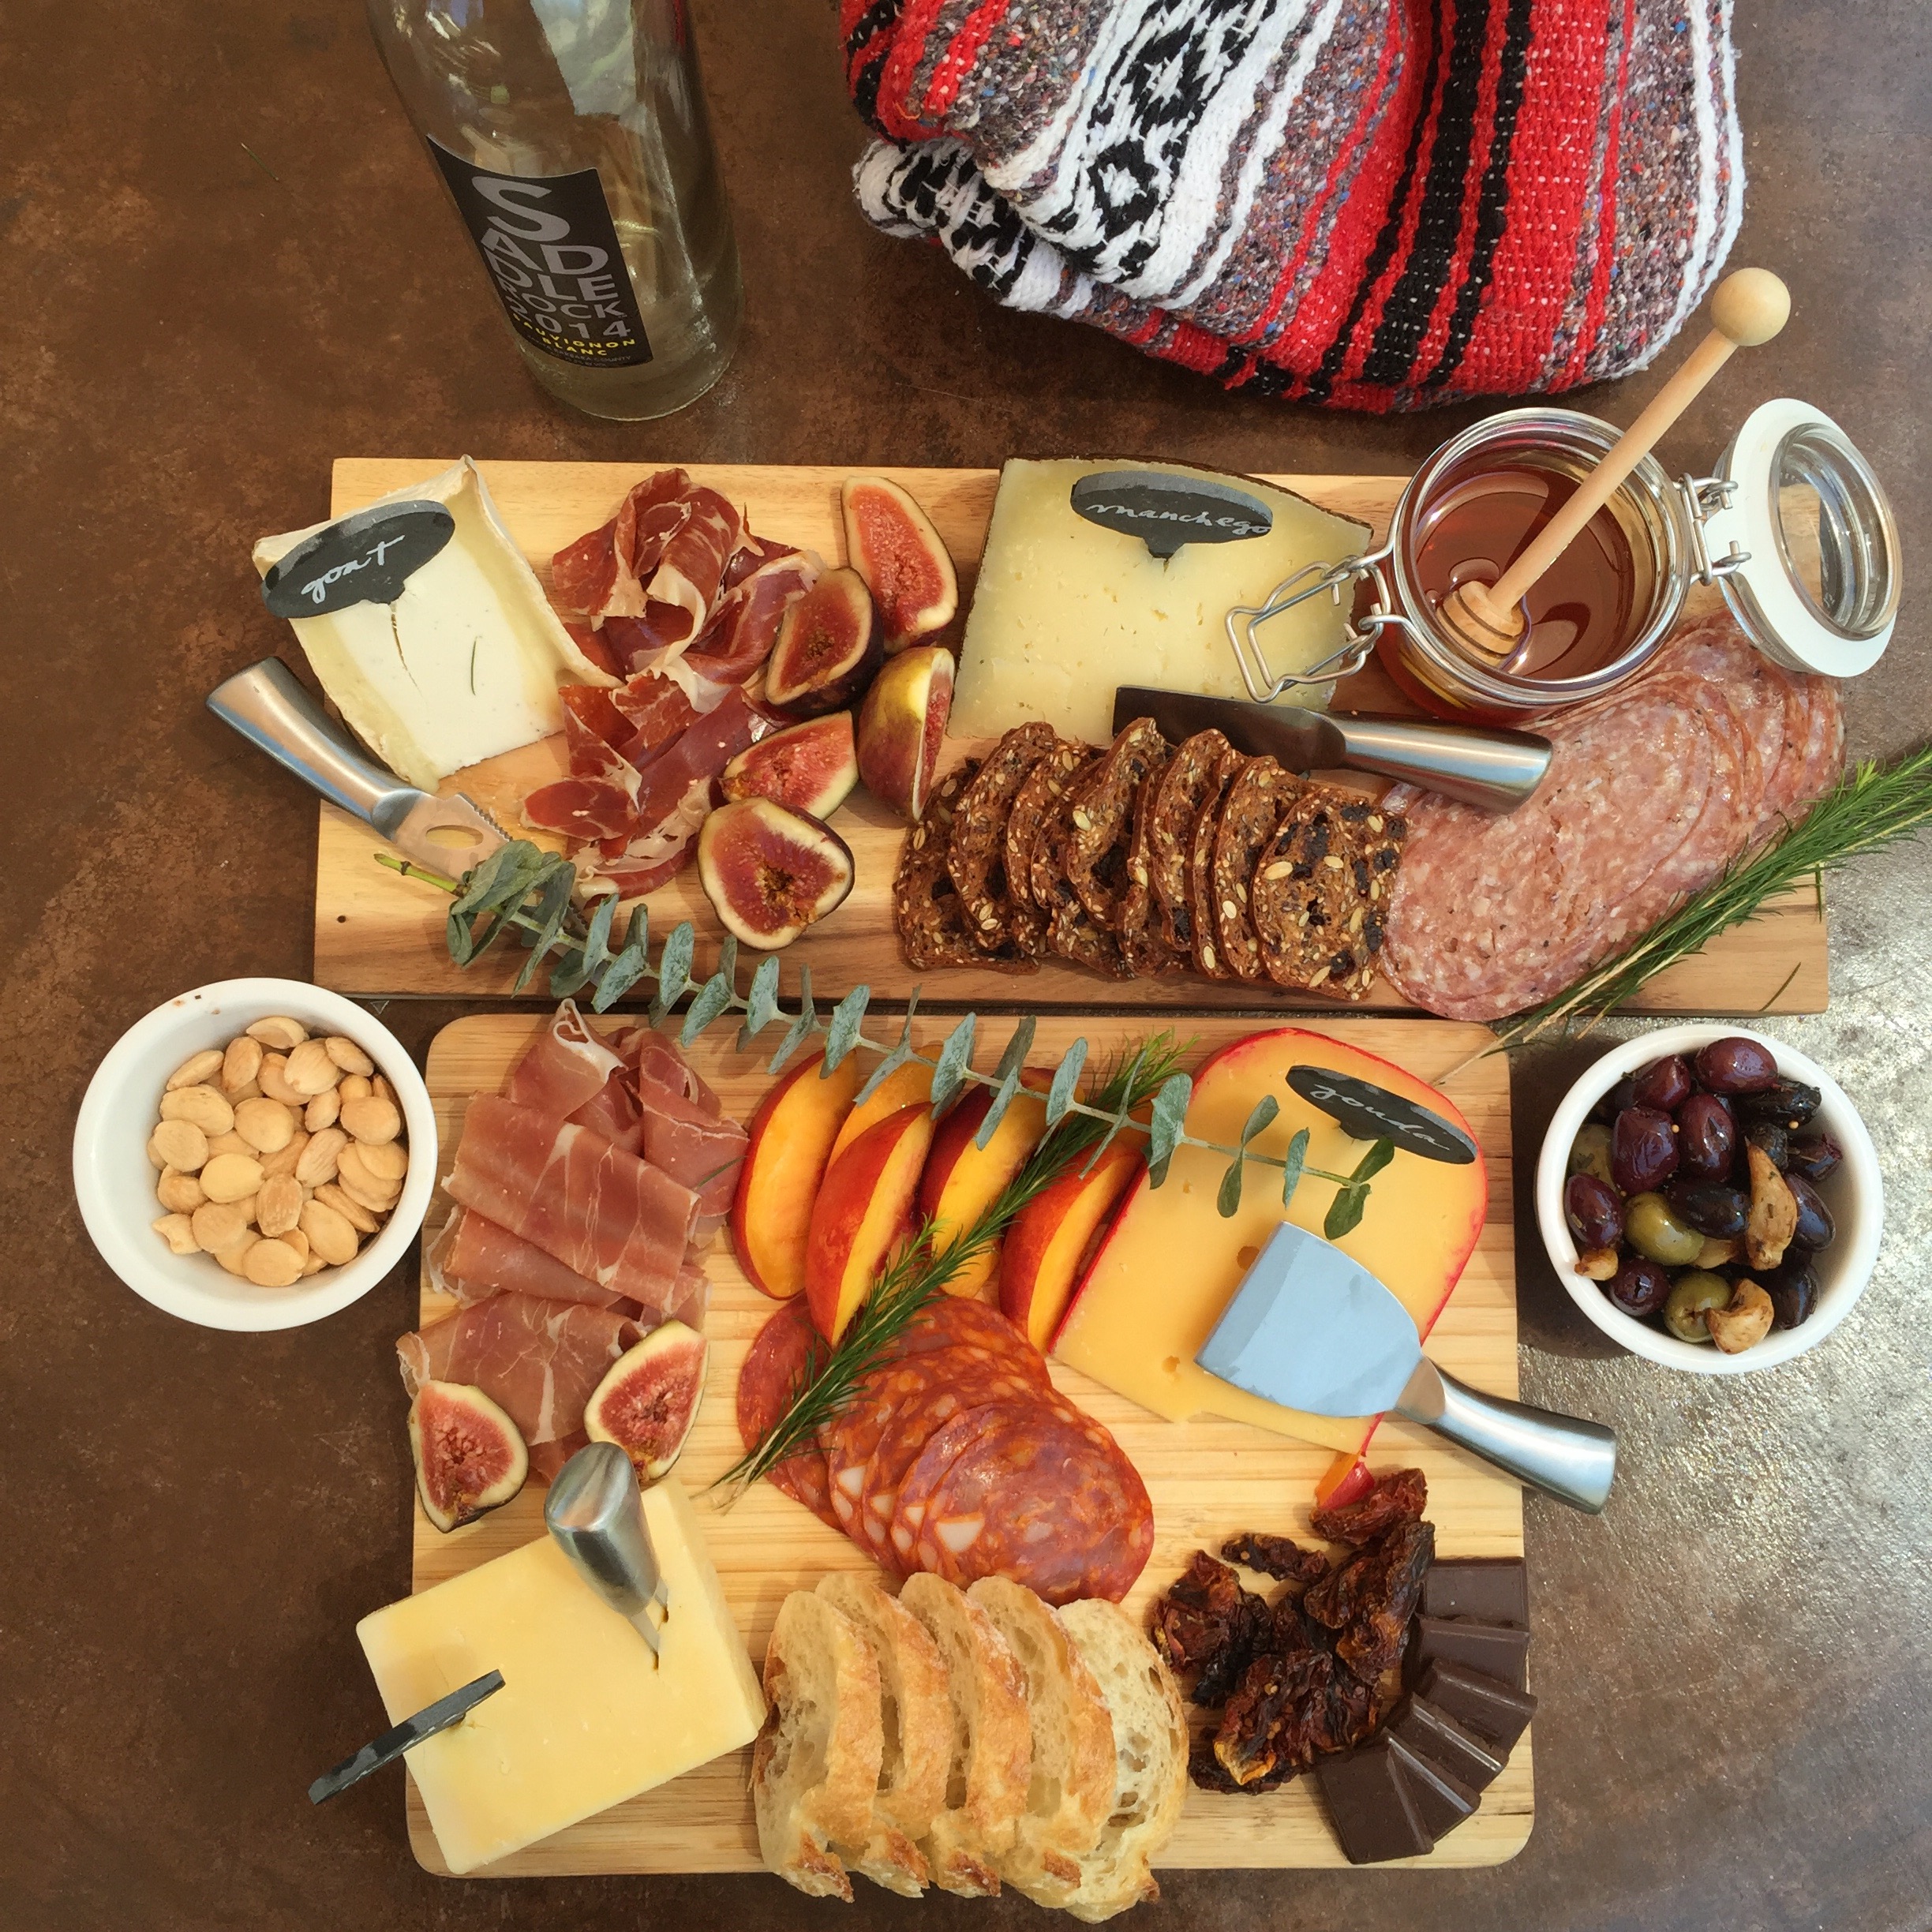
For my board, I selected (from left to right) Prosciutto, Jamon Iberico, Chorizo and Sopressata. 

How to build an EPIC cheese and charcuterie board | My Engineered Nutrition

The main components of our board are now in place, but the accompaniments are equally as important to bring good balance. 

3. Something Salty

How to build an EPIC cheese and charcuterie board | My Engineered Nutrition

The salty components I chose for my board included Marcona almonds, an assortment of olives and sun-dried tomatoes. A good mix of crunchy and salty goodness. 

4. Something Sweet

How to build an EPIC cheese and charcuterie board | My Engineered Nutrition

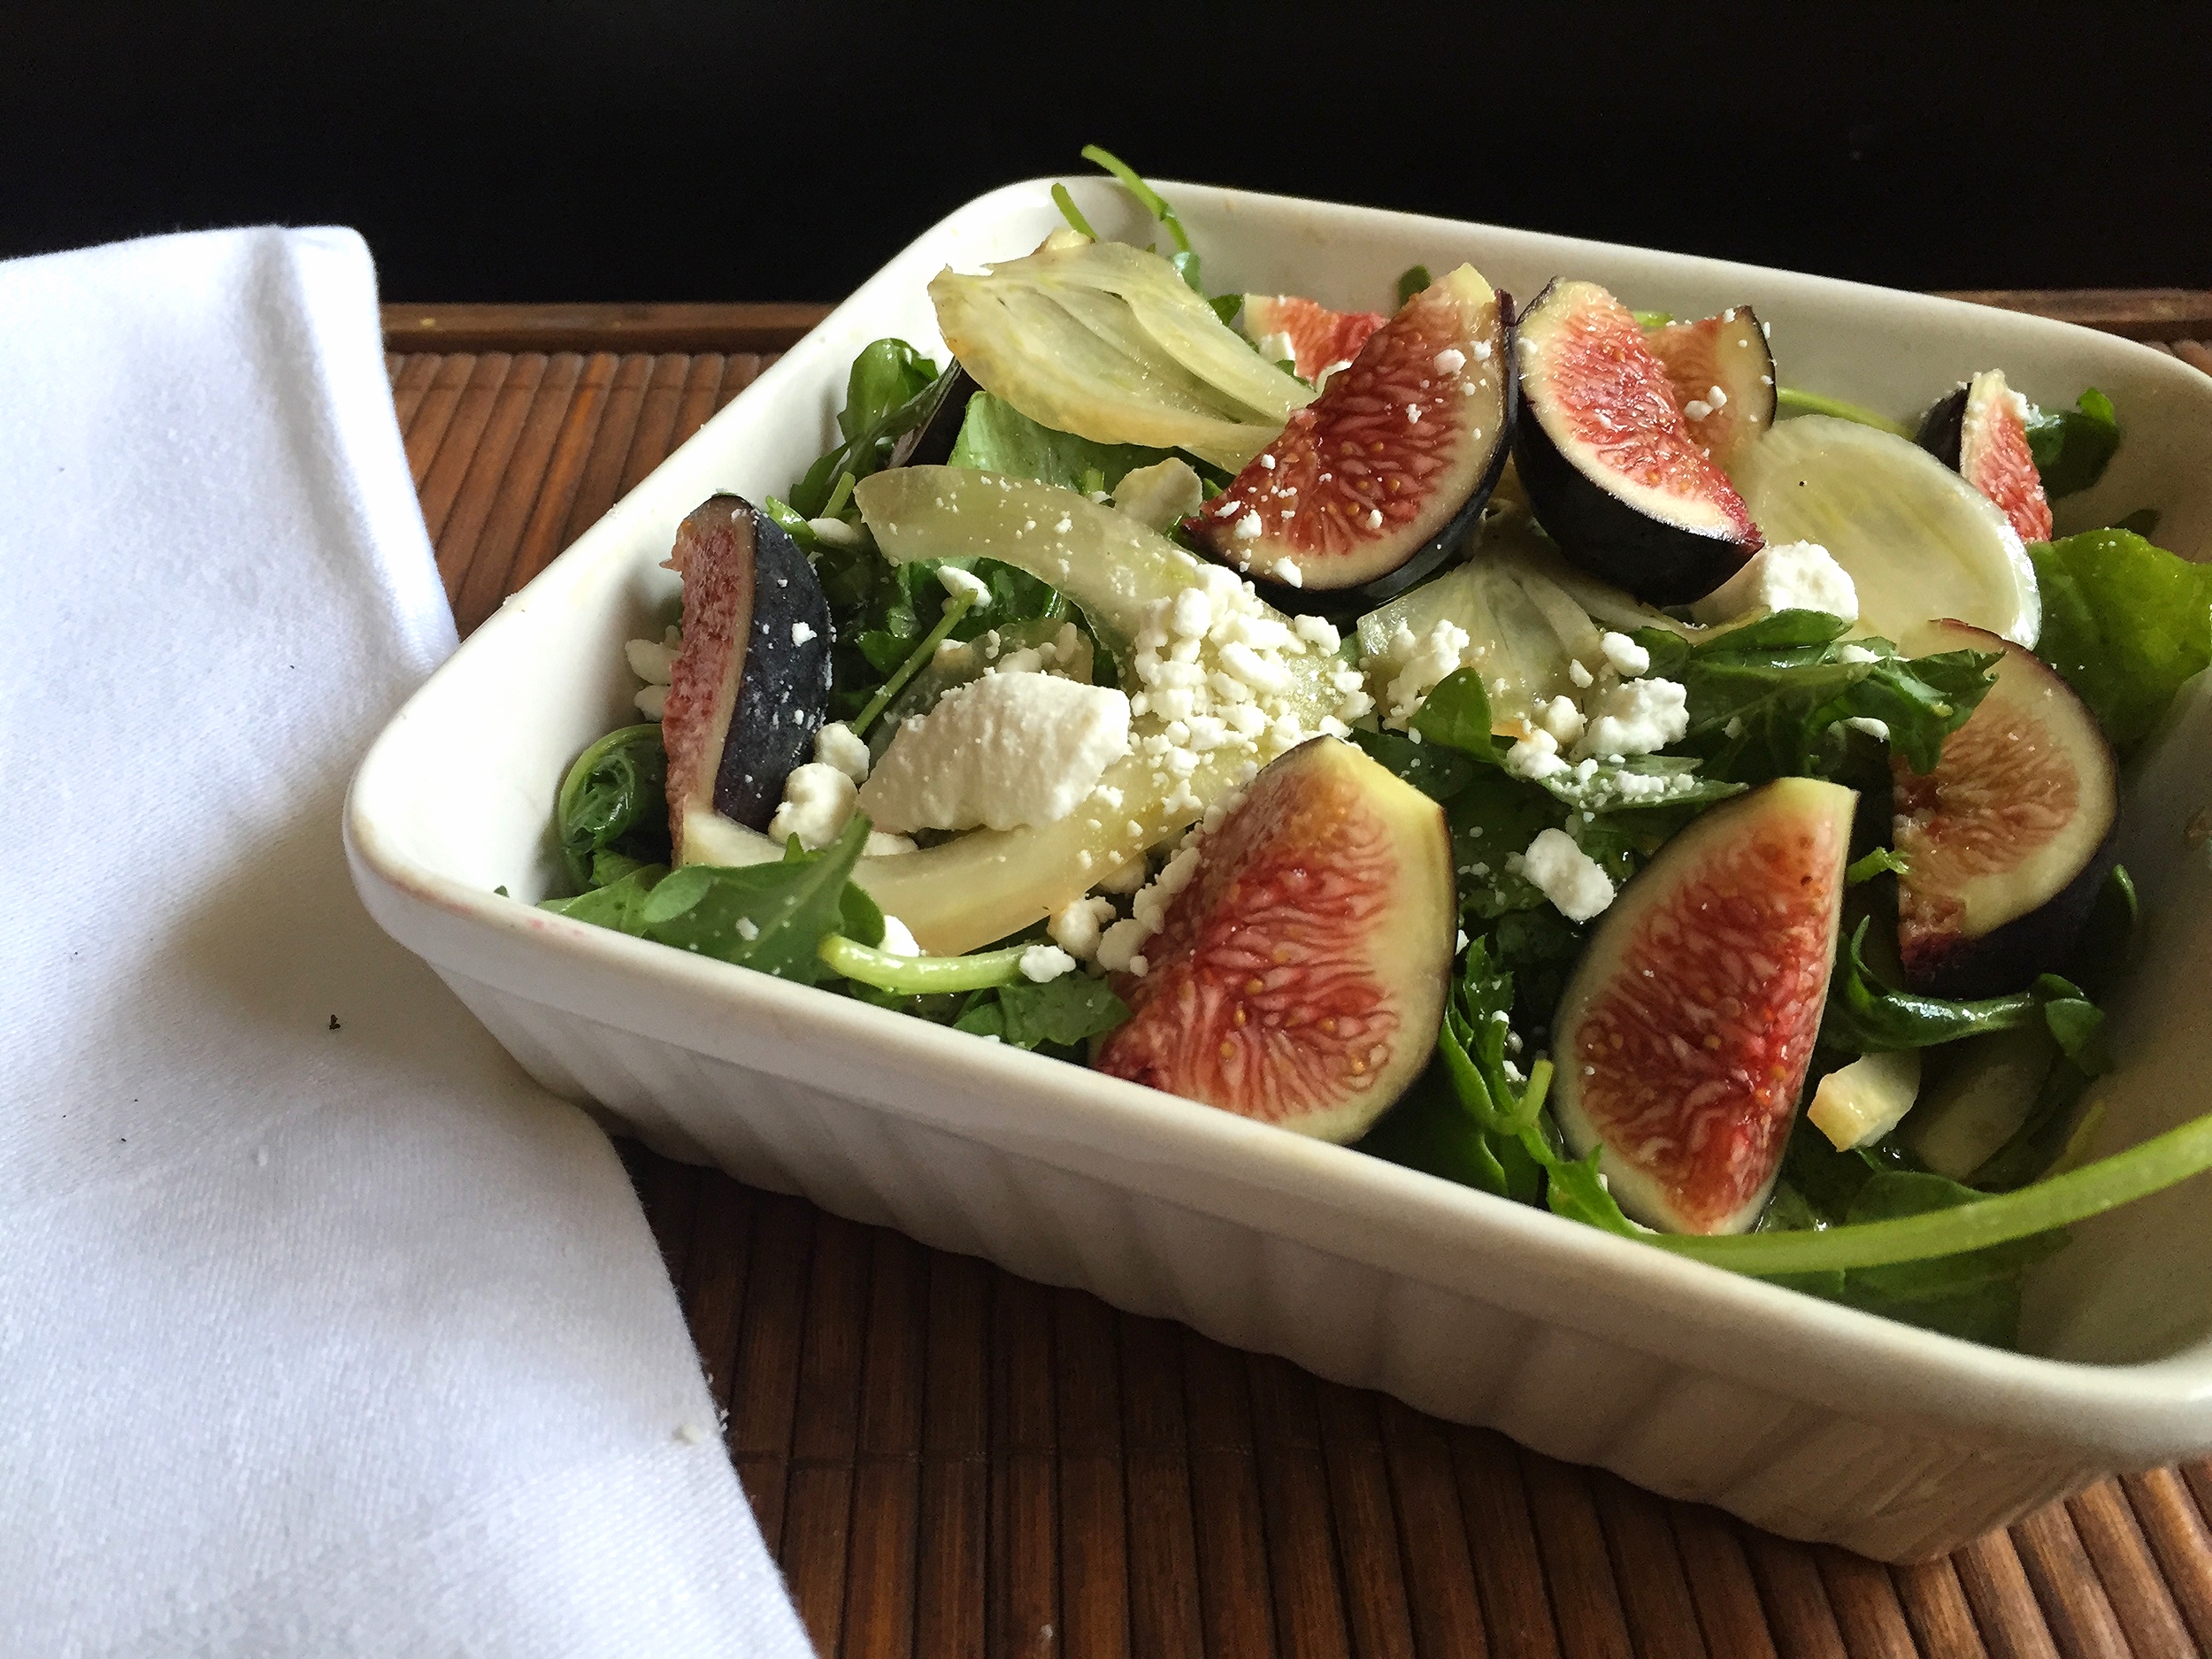
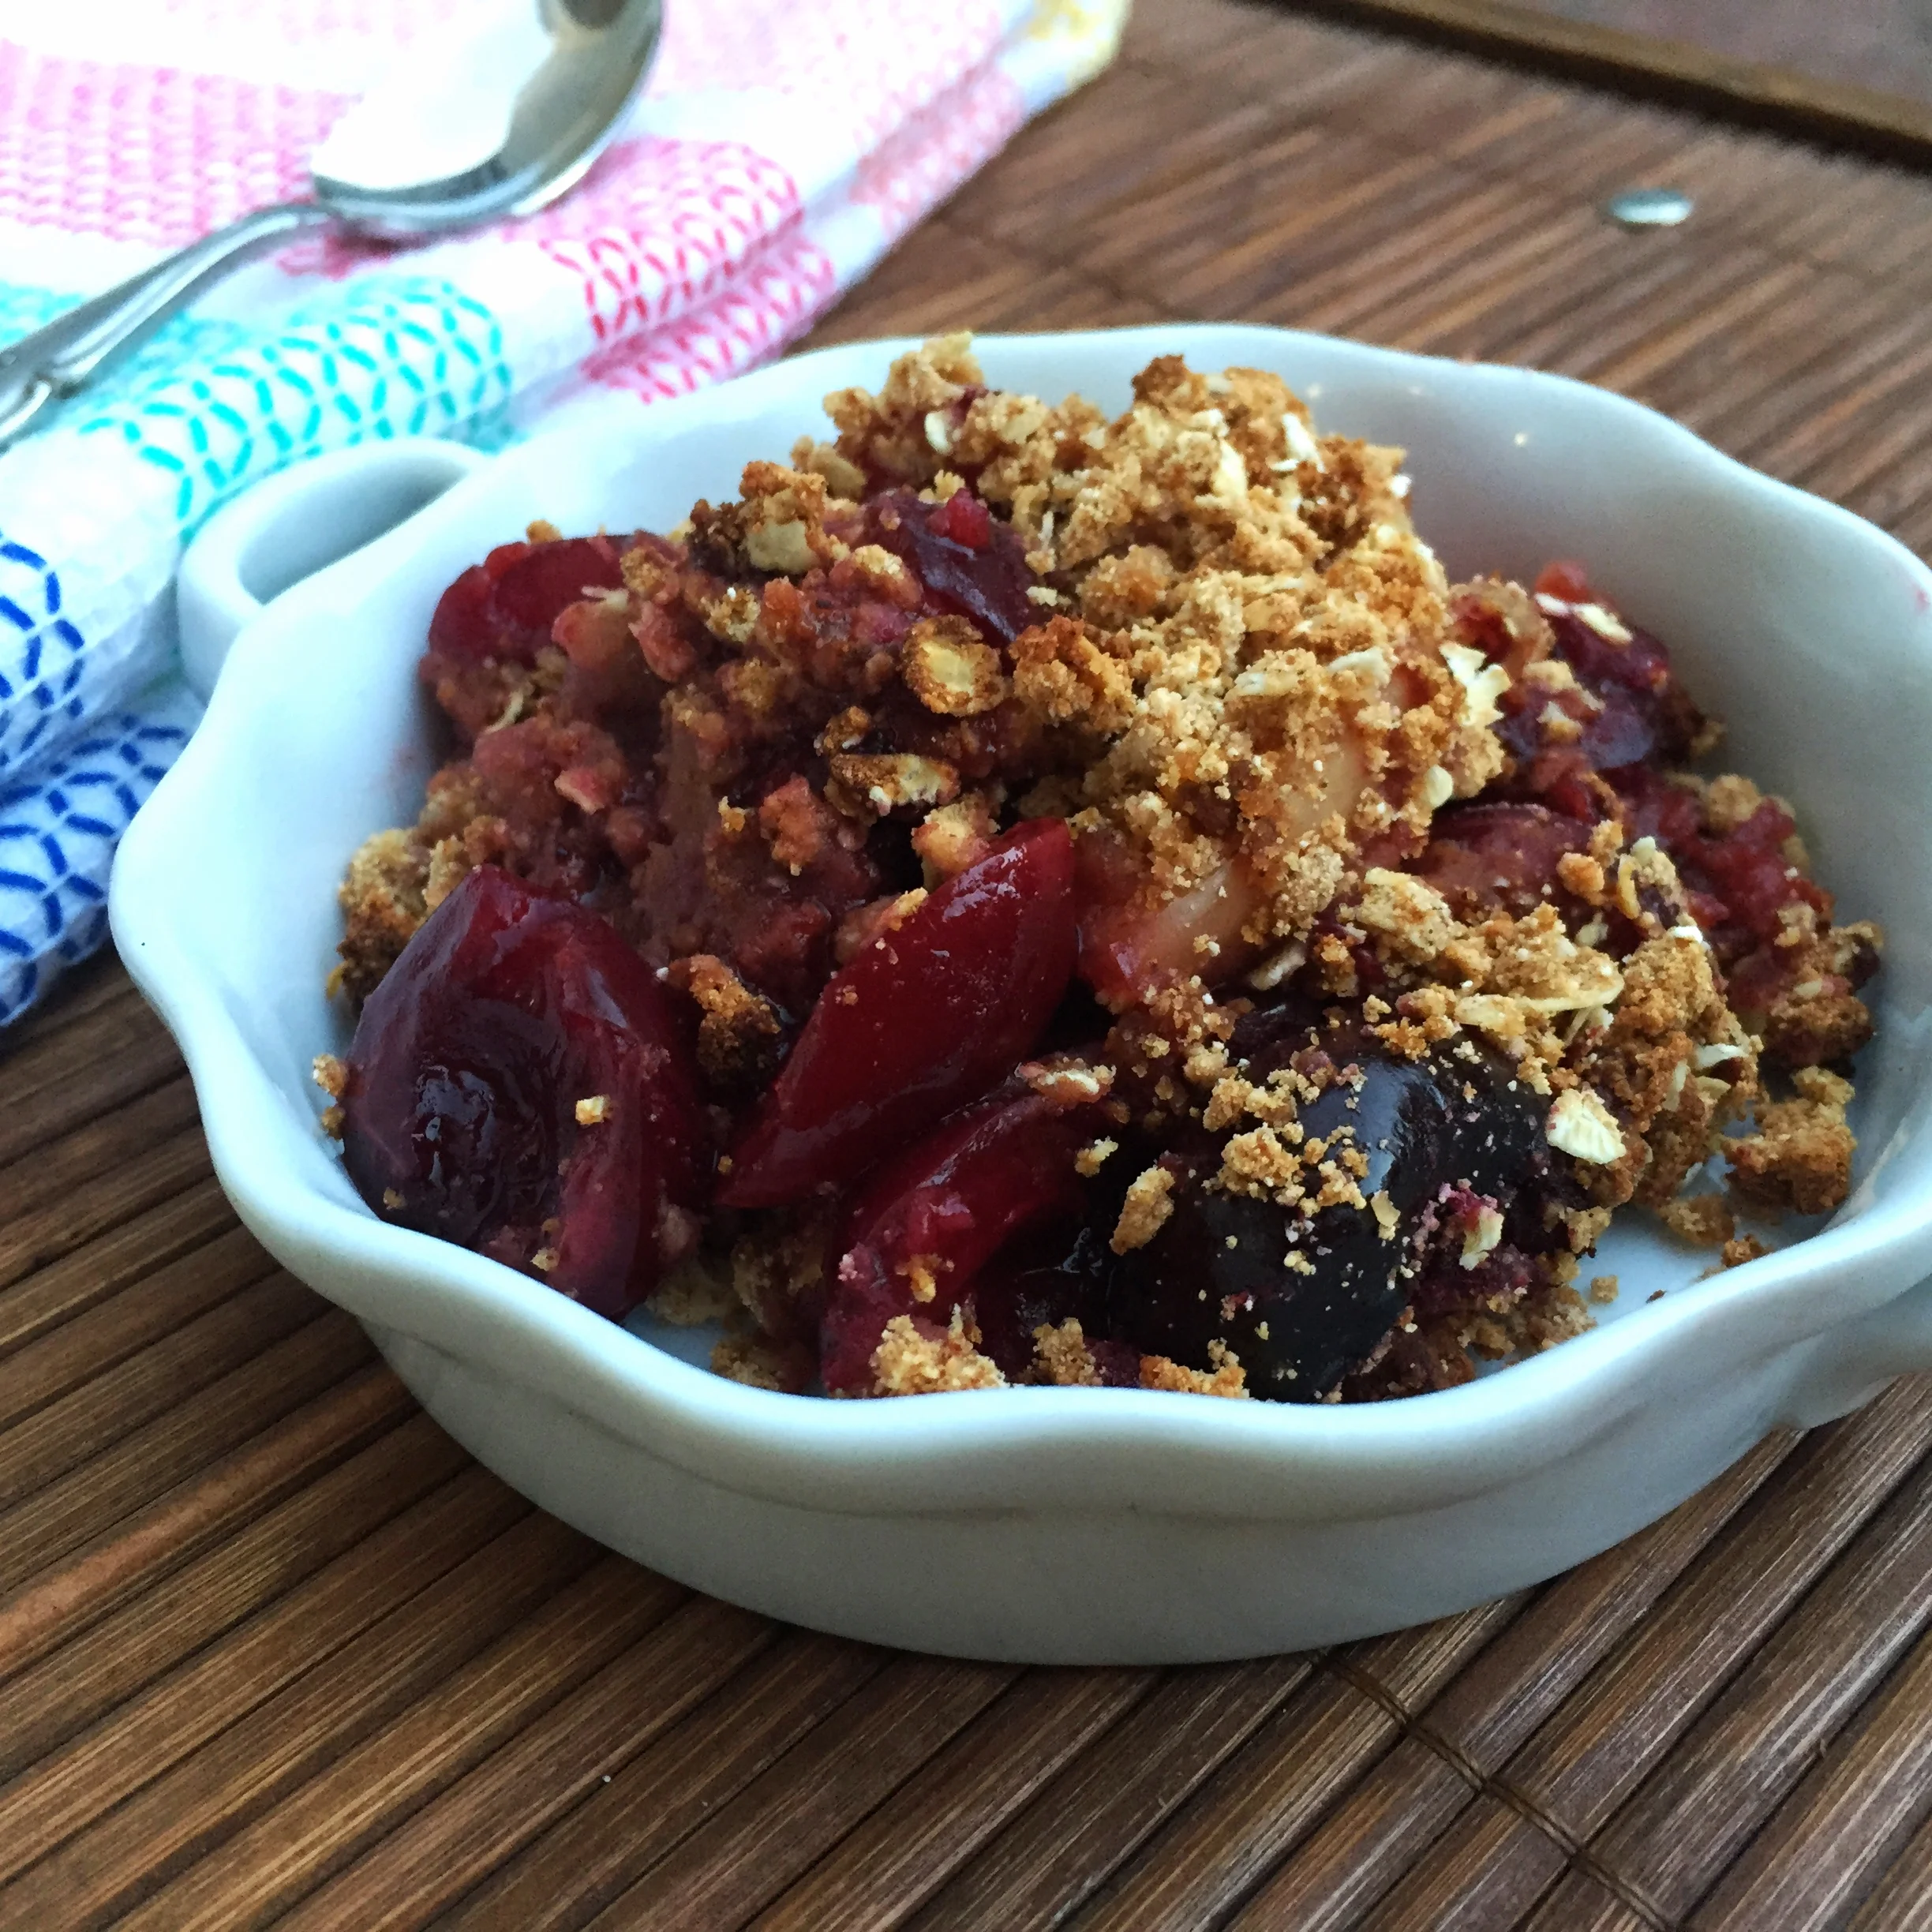
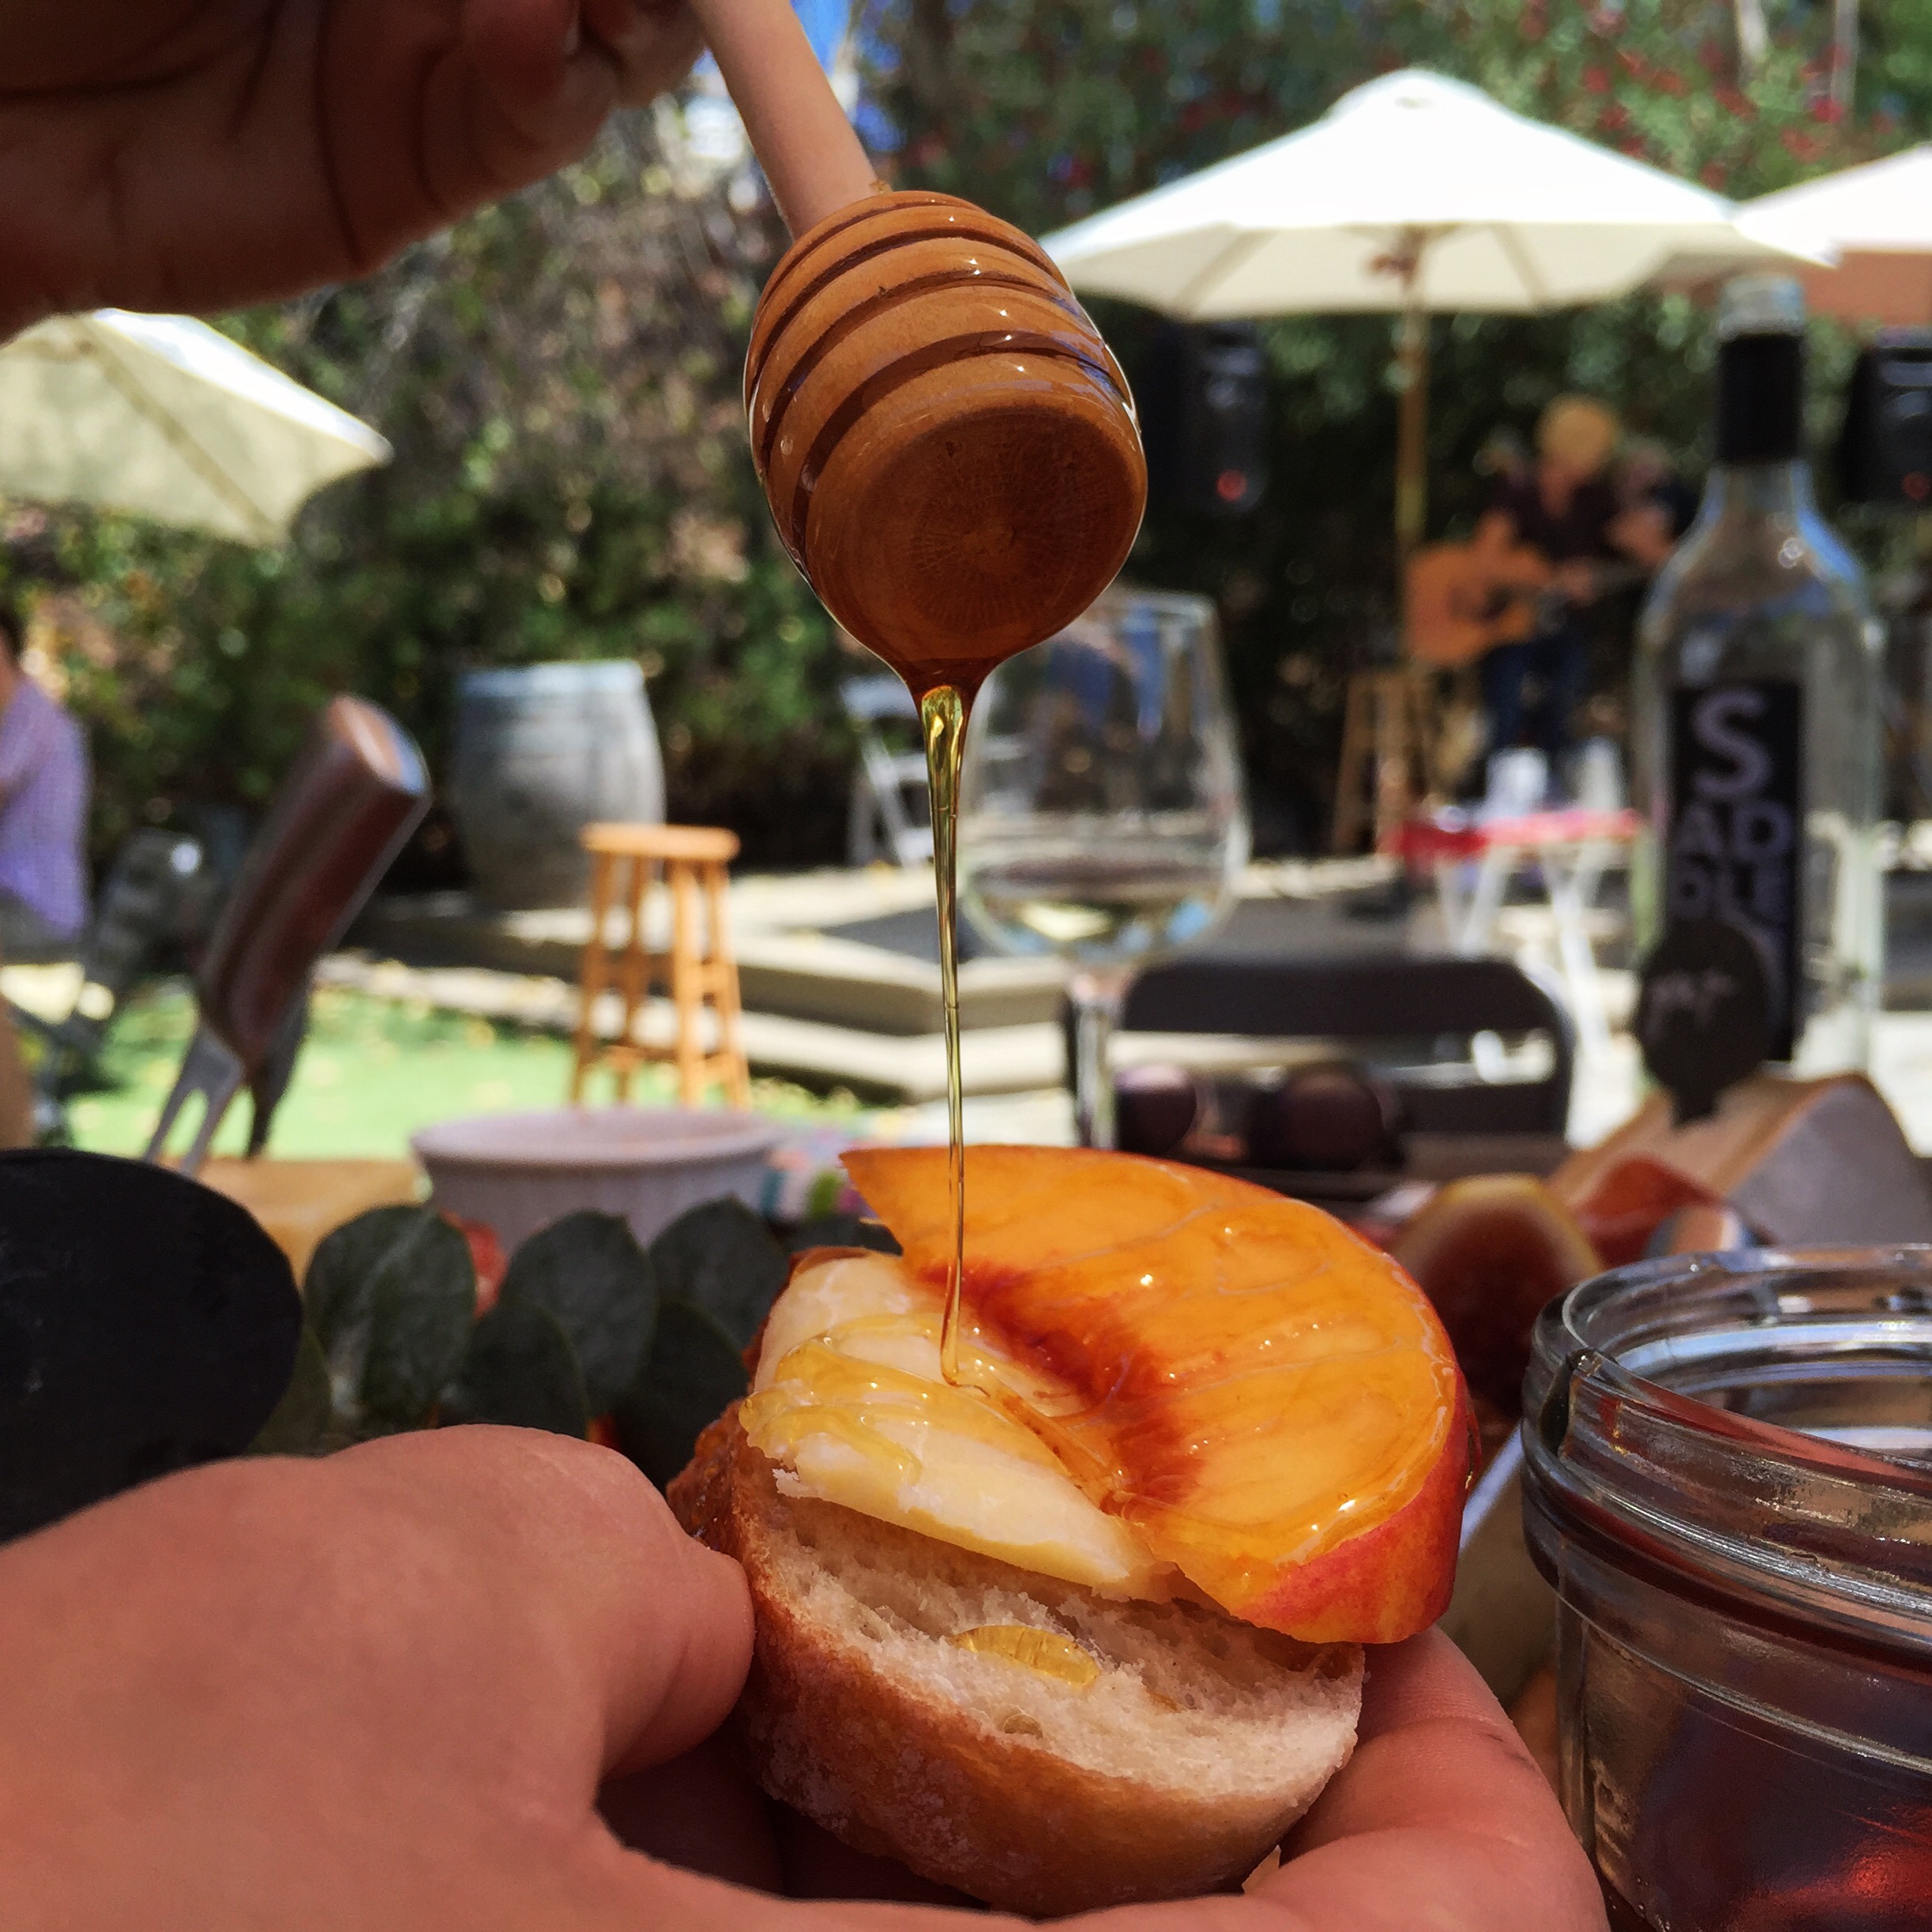
For the sweet, I added raw organic honey, fresh figs, nectarines and a few squares of dark chocolate. This can really change based on the types of cheese and wine you pair for the occasion. If you were drinking full-bodied red wines, I may opt for cherries, plums and chocolate. We were eating this during a hot day so I knew we would be drinking a crisp, cold white wine so figs, nectarines and honey were a great pairing!

How to build an EPIC cheese and charcuterie board | My Engineered Nutrition

5. Bread and Crackers

Last, but certainly not least, you need to choose what type of bread or cracker you will eat all of these delicious meats and cheeses on! You can go simply with just bread or just crackers, but I personally prefer a mix of both.

Cracker, goat cheese, prosciutto and fig

Cracker, goat cheese, prosciutto and fig

Crackers are a great base for your soft, spreadable cheeses

 Baguette, cheddar, chorizo and sun-dried tomato

 Baguette, cheddar, chorizo and sun-dried tomato

Once you have all of your components, it is time to assemble. This is the part I love! You can use a mix and match of cutting boards/serving platters or just choose one large board. Cutting boards are recommended so that your guests can easily slice the cheese directly on them. 

You should separate the stronger smelling cheeses from the milder ones - you don't want to interfere with the flavors of your cheeses. I also make sure that the charcuterie is divided about board. Once the charcuterie and cheese are in place, fill in the gaps with your accompaniments. If everything doesn't fit on the board - that's OK! You can see I used small bowls for the nuts and olives. If you want to get really creative (and why wouldn't you) garnish the board with some greenery to finish off.

How to build an EPIC cheese and charcuterie board | My Engineered Nutrition

You literally cannot go wrong. Whatever you choose, it is guaranteed to be tasty. Have fun and enjoy the company of those you share this with! Cheers!

My Engineered Nutrition

Pin Me!

How to build an EPIC cheese and charcuterie board | My Engineered Nutrition


Posted on September 3, 2015 and filed under Recipes, Entertaining.

Fennel, Fig and Arugula Salad

Fennel, Fig and Arugula Salad | My Engineered Nutrition

Fennel, fig and arugula - oh my! If you follow me on Instagram  (and if you don't...then what are you waiting for?) you KNOW I'm already loving fig season.

I decided I needed a recipe where FIGS were the star. This salad is so simple, but it allows you to appreciate the natural goodness of the ingredients. I absolutely love arugula in my salads. It is peppery and crisp! I add a bit more volume to the salad with baby kale - not as harsh and fibrous as standard kale. It is lovely and delicate in salads and provides a great balance to your mix of greens. 

Fennel, Fig and Arugula Salad | My Engineered Nutrition

Next let's talk salad toppings. Raw fennel bulb adds crunch with a subtle sweetness and provides a hint of licorice to the salad. Figs add such a great texture and flavor to this salad. I'm using Black Mission Figs in this salad, but really any variety will do. They have a smooth skin with a soft and chewy body filled with bursts of crunchiness from their seeds. The goat cheese rounds out this salad, providing a creaminess to the mix. 

The dressing is just as simple as the salad. I didn't want to overpower the raw goodness of the salad components. All I've used to dress this salad is a simple Honey Balsamic Vinaigrette: olive oil, balsamic vinegar and honey. That's it. Celebrate the beauty of figs and try this salad ASAP!

Fennel, Fig and Arugula Salad | My Engineered Nutrition


Fennel, Fig and Arugula Salad

Prep Time: 10 minutes

Servings: 4

Ingredients

For the salad:

  • Arugula, 3 cups 
  • Baby Kale, 1 cup
  • Fennel bulb, shaved or thinly sliced, 1 cup 
  • Figs, 8 (cut into halves or quarters)
  • Goat Cheese, 4 oz
  • Honey Balsamic Vinaigrette 

For the Honey Balsamic Vinaigrette:

  • Extra Virgin Olive Oil, 3 tbsp
  • Balsamic Vinegar, 1.5 tbsp
  • Honey (preferably Raw Honey), 1 tsp
  • Water, 1 tbsp

Directions

  1. Mix together ingredients for the Vinaigrette. 
  2. In a mixing bowl, combine arugula, baby kale and fennel. Toss with Honey Balsamic Vinaigrette. 
  3. Plate salads and top with figs and goat cheese. 

Nutritional info (Salad)

180 Calories - 5 g Protein, 26 g Carbs, 6 g Fat

Nutritional info (Dressing)

105 Calories - 0 g Protein, 3 g Carbs, 10.5 g Fat

Posted on August 25, 2015 and filed under Recipes, Vegetables/Sides.

Crunchy Asian Slaw

Crunchy Asian Slaw | My Engineered Nutrition

I've never been a huge fan of coleslaw. First off, I don't really like mayonnaise all that much and secondly, it usually doesn't have any sort of texture - basically a creamy, mushy mess. Some people dig it...I am not one of those people. I DO however LOVE this Crunchy Asian Slaw!

Crunchy Asian Slaw | My Engineered Nutrition

In my opinion, vinegar based coleslaw is far superior to mayonnaise based. I also think having a crunch and texture to your coleslaw makes a world of difference. The combination of red cabbage, napa cabbage, carrots and scallions with a dressing made from rice vinegar, sesame oil and lime juice is my definition of a good slaw.

Crunchy Asian Slaw | My Engineered Nutrition

This slaw is fantastic just on its own OR you could served it as a side with my Seared Ahi Tuna.  Need a bright and colorful dish to bring to a party or friend's barbecue? This is a great option! Its quick and easy. I love meals like this because they are delicious, filling and still an excellent healthy meal choice. Could you say the same after eating your traditional mayo-based coleslaw? 

Crunchy Asian Slaw | My Engineered Nutrition

Crunchy Asian Slaw

Cook Time: 15 minutes

Servings: 5 cups

Ingredients

For the slaw:

  • Red cabbage, 3.5 cups shredded 
  • Napa cabbage, 1.5 cups shredded
  • Carrots,1 cup shredded
  • Scallions, 3 sliced
  • Cilantro, 1/4 cup chopped
  • Sesame seeds, optional for garnish

For the dressing:

  • Lime, 1 oz juiced
  • Sesame oil, 1 tbsp
  • Rice Vinegar, 2 tbsp
  • Coconut Aminos, 1 tbsp (you could sub for soy sauce if you don't have coconut aminos)
  • Sunflower butter, 1 tbsp (you could sub almond or peanut butter here as well)
  • Ginger, 1/2 tsp grated
  • Garlic, 1/4 tsp chopped

Directions

  1. Mix together ingredients for the dressing. 
  2. Combine all ingredients for the slaw (except for sesame seeds) in a large mixing bowl and toss with the dressing.  Plate and garnish with sesame seeds.

Nutritional info (1 serving, approximately 1 cup)

85 Calories - 2 g Protein, 9 g Carbs, 4.5 g Fat

Posted on August 20, 2015 and filed under Recipes, Vegetables/Sides.

Seared Ahi Tuna

Seared Ahi Tuna | My Engineered Nutrition

 On more than one occasion, I've thought to myself: that is far too basic to post, of course everyone knows how to do that. However, after asking a few close friends I realized quickly that in fact, not everyone knows some of the basic cooking techniques! I have quite a few of these "How To" recipes to share with you and I will be posting these more frequently along with a paired recipe post for that week. 

Seared Ahi Tuna | My Engineered Nutrition

To start things off we have: Seared Ahi Tuna. This pairs fantastically with my Crunchy Asian Slaw - but that recipe will be posted later this week!

It would be a stretch to call this a "recipe" as it really is no more than how to prepare ahi tuna. The ingredients are simple: ahi tuna steak, salt, pepper, sesame seeds and cooking oil of your preference - I use sesame oil but olive, coconut, etc will work just as well. 

Seared Ahi Tuna | My Engineered Nutrition

The preparation may be even  more simple than the ingredient list! Give the steak a healthy coating of salt, pepper and sesame seeds on both sides. 

Seared Ahi Tuna | My Engineered Nutrition

In a medium skillet over medium high heat, heat the oil until it is just about to reach its smoking point. Sear the ahi tuna for no more than 60 seconds on the first side, depending on thickness. It may only need 30 seconds if it is a thin cut and depending on level of rareness you like your ahi tuna. 

Seared Ahi Tuna | My Engineered Nutrition

Flip and cook on the other side for same amount of time. 

Seared Ahi Tuna | My Engineered Nutrition

Remove from skillet, slice and serve immediately! The beauty of something like this is that it is SO easy to scale the number of portions. My rule is 4-6 oz of tuna per serving, so if you are serving 4 people, buy 16-24 oz total. It is also important to remember not to overcrowd your skillet. If you can only fit one steak at a time comfortably, then only cook one steak at a time. I use enough oil to coat the bottom of the skillet (roughly 1 tbsp oil for every 8 oz of fish I cook). 

Seared Ahi Tuna

Prep Time: 5 minutes

Cook Time: 1 - 2 minutes

Servings: Varies

Ingredients

  • Ahi Tuna Steak, fresh (the best quality you can find from your fishmonger)
    • General rule: Plan for 4-6 oz per serving
  • Sesame Oil (Olive or Coconut Oil work just as well)
    • General rule: 1 tbsp for every 2 servings - enough to coat the bottom of your skillet
  • Salt
  • Pepper
  • Sesame Seeds (optional)

Directions

  1. Coat both sides of ahi tuna steak with salt, pepper and sesame seeds. 
  2. Heat oil in skillet over medium high heat until just before reaching smoking point. Sear ahi tuna for 30 - 60 seconds per side (30 seconds for thin and 60 seconds for a thick steak). This is a VERY quick cooking time - be sure to watch the steak so that you don't over cook it! Flip and cook on opposite side for same amount of time.
  3. Remove from skillet, slice and serve immediately. 

Nutritional Info (4 oz tuna steak + 1/2 tbsp oil for cooking)

175 calories - 28 g Protein, 0 g Carbs, 7 g Fat

Posted on August 18, 2015 and filed under Recipes, Fish/Seafood.

Cherry Nectarine Crumble

Cherry Nectarine Crumble | My Engineered Nutrition

I have a serious love for stone fruits. Peaches, plums, nectarines, cherries, apricots - I don't discriminate. I make sure I take full advantage of them when they are in season (roughly June - August). Some how it is already August (WHEN did that happen?!) and our beloved stone fruits are coming to the end of their season. Before it is too late and we have to wait until next year, you MUST try this recipe for a Cherry Nectarine Crumble. 

Cherry Nectarine Crumble | My Engineered Nutrition

First things first, I highly recommend investing in a cherry pitter (pictured above) or else the pitting process will go much slower for your cherries. I can't imagine trying to pit nearly a pound of cherries without one of these bad boys. 

Since I am an advocate of purchasing whatever produce is most ripe and in season, I will say this recipe is by no means limited to just cherries and nectarines. In fact, I made this recipe a 2nd time and used almost all nectarines (I only had about a cup of cherries on hand at the time) and it came out just as delicious. Let's be honest, you could put this crumble topping on anything and I'm pretty sure it would turn out delectable. 

Cherry Nectarine Crumble | My Engineered Nutrition

This is recipe is truly a creation of my own. Every recipe I looked to for inspiration was either A) high in fat or B) not gluten free. This version offers hints of coconut flavor throughout, which I think adds a unique depth of flavor to this crumble! The light coconut milk helps in making this recipe lower in fat than traditional fruit crisps or crumbles yet also keeps it from becoming too dry. 

Cherry Nectarine Crumble | My Engineered Nutrition

Before you have to wait until next stone fruit season, head out and buy the most ripe fruit you can find and indulge in this low fat, gluten free, so good you'll want to eat the whole thing - crumble TONIGHT!

Cherry Nectarine Crumble

Prep Time: 15 minutes

Cook Time: 30 min 

Servings: 6 

Ingredients

Crumble Topping

  • 2/3 cup gluten free rolled oats (instant can work in a pinch)
    • NOTE: All pure oats are gluten free but read HERE for clarification on the issue
  • 1/3 cup coconut flour
  • 2 tbsp coconut palm sugar (or brown sugar could work here)
  • 1/2 tsp cinnamon
  • 1/4 tsp salt
  • 2 tbsp butter
  • 1/4 cup light coconut milk (could also use full fat but will not yield same nutritional info below)

Filling

  • 3 cups dark sweet cherries, pitted (amount yielded after pitting)
  • 1 1/2 cups nectarines, sliced (about 2 small nectarines)
  • 1 tbsp tapioca or arrowroot flour (could also use cornstarch)
  • 1 tbsp lemon juice
  • 2 tsp coconut palm sugar

Directions

  1. Preheat oven to 400⁰F. 
  2. Begin by preparing the fruit. A cherry pitter will save you LOADS of time in this step. Pit cherries and cut in half, placing them in a medium mixing bowl with sliced nectarines. Dust fruit with tapioca flour and palm sugar, followed by lemon juice. Mix to combine. Transfer fruit mixture to a baking dish and create an even layer. I used an 8" x 8" glass baking dish but you can use anything comparable you have on hand. Set aside. 
  3. Combine dry ingredients of crumble topping (oats, flour, sugar, cinnamon and salt) together in a small mixing bowl. Melt butter and combine with coconut milk. Mix wet ingredients into dry until a crumbly mixture forms and the butter/coconut milk is well incorporated. 
  4. Cover fruit mixture with crumble topping. Make sure you create an even layer over the entire surface of the fruit, you don't want to cheat someone on that crumble topping!
  5. Bake for 30 minutes, until the top begins to turn golden and the fruit begins to bubble up from below. I've been told that for others who have tried this recipe that 30 minutes wasn't quite enough time. Use your best judgement and you can always bake for an additional 5-10 minutes - just be watchful!
  6. Allow to cool for 10 minutes before cutting into the crumble (this is the hardest part!) to ensure it doesn't fall apart when you slice and serve. Serve warm on its own or add a dollop of whipped cream of ice cream! 

Nutritional info (1 serving)

184 Calories - 3.5 g Protein, 29 g Carbs, 6 g Fat

Posted on August 11, 2015 and filed under Recipes, Sweet Treats, Baking.