

In case you haven't heard, I am now a Guest Blogger and Athlete for True Nutrition! This is such an exciting opportunity for me as I've been using True Nutrition products for years. I've already created a handful of recipes using various True Nutrition protein powders and you can now find all of those and future recipes on the newly created Protein Powder page!
So what exactly does being a Guest Blogger entail, you may ask? It means I get to flex my creativity by using the wide range of True Nutrition proteins in new tasty recipes!
Let's get started, shall we?
Bananas are a staple grocery item in my house, as I love eating them after I lift. The problem is, sometimes I overbuy and I end up with overly ripened bananas that I don't want to waste...but also lose their appeal to eat as is.
Enter: Baking
Baking with bananas is amazing because:
1. They act as a natural sweetener (no added sugar required for these muffins!)
2. They can be used as a substitute for butter or oil in baking, thus lightening up the fat
3. They keep your baked goods incredibly moist and tender

Baking with whey protein can be tricky. It isn't a simple 1-for-1 substitution with flour in a recipe. Often times baked goods using whey protein turn out spongy or dry, neither of which is a way I want to describe a muffin! The key is to make you balance the dry ingredients with enough wet, and ensure there is some cooking fat. Luckily, the bananas in the recipe play a roll as both, adding moisture and tenderness to your baked goods. In addition to vanilla whey protein, I'm also using coconut and almond flours for my "dry", which will help give volume to our magnificent muffins.
The result? Flavorful tender muffins that are hardly distinguishable from its non-protein packed alternative. Not only are these high in protein, they are also gluten-free and low in fat! They are amazing with your morning coffee as a great breakfast option, especially if you are looking for a way to shake up your normal routine. Or, if you are more like me and don't eat breakfast normally, these are an amazing guilt free dessert option, especially when warmed and served along side a scoop of ice cream!

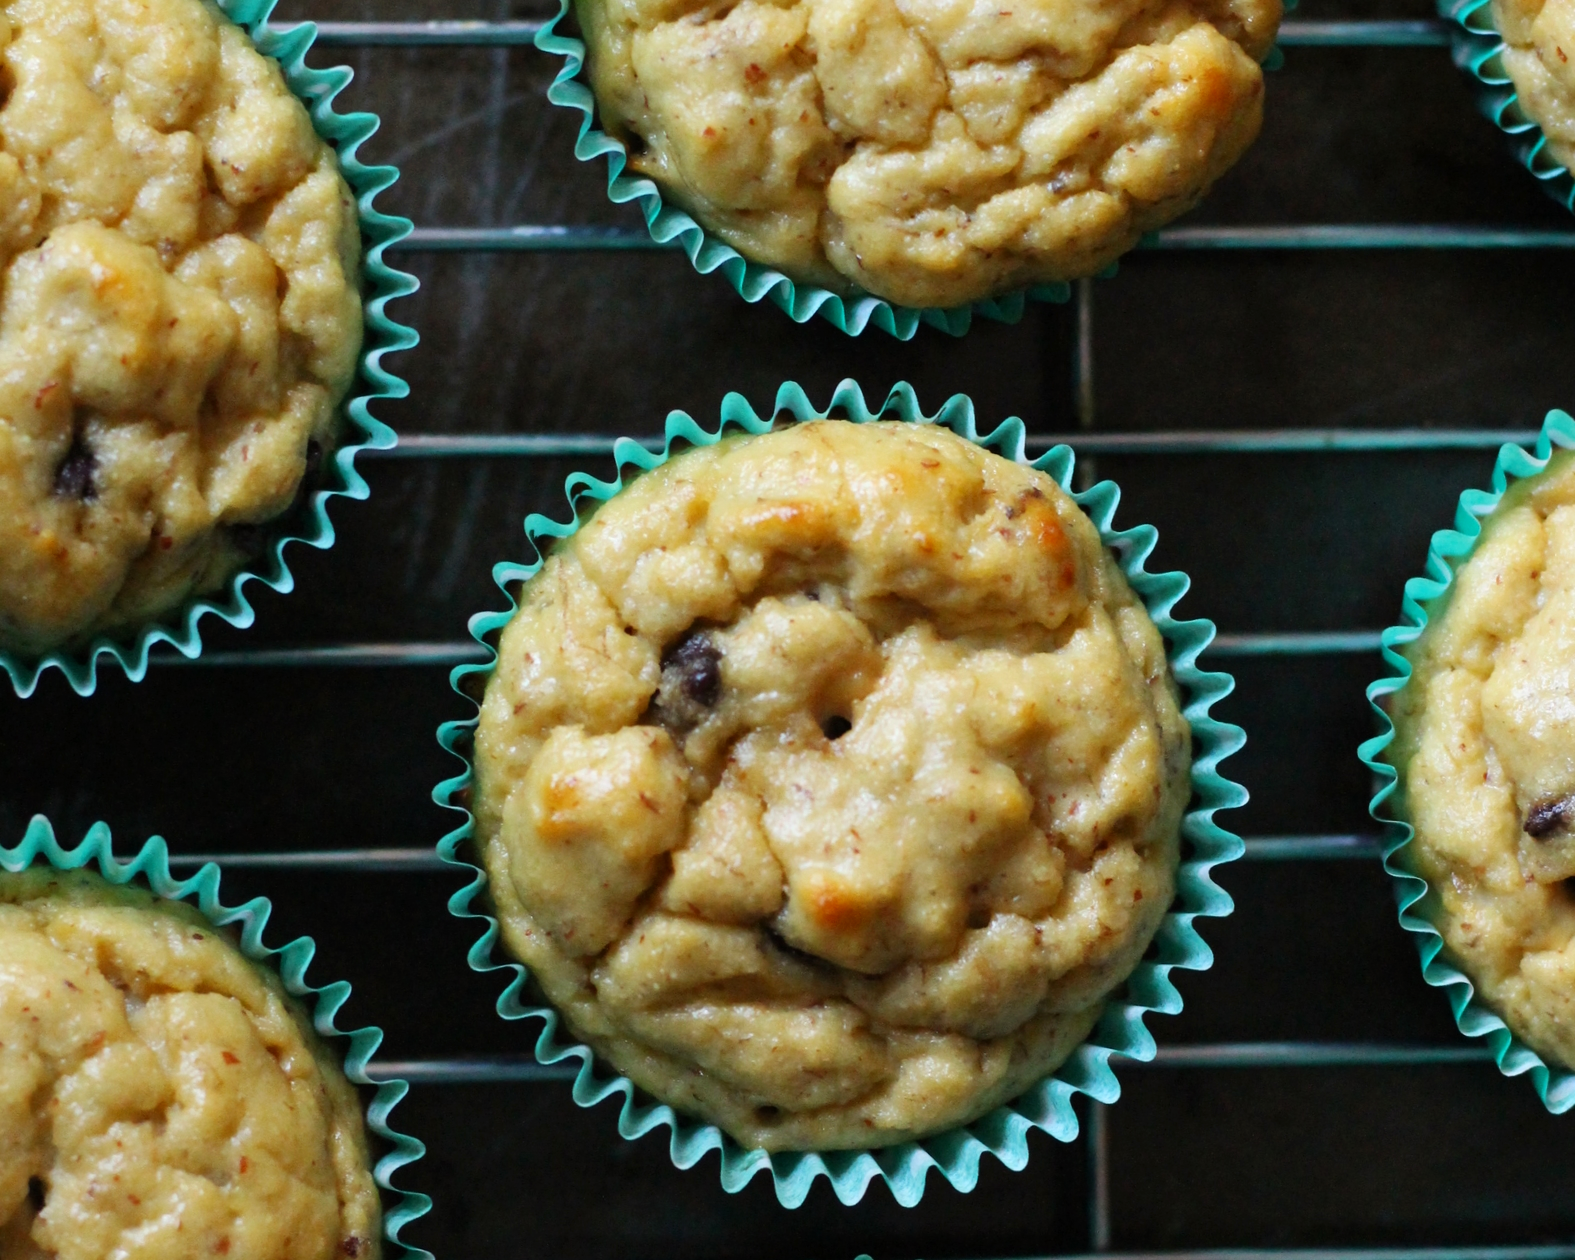
Banana Chocolate Chip Protein Muffins
Prep Time: 15 minutes
Bake Time: 20 minutes
Servings: 8 muffins
Ingredients:
- 2 scoops True Nutrition Vanilla Whey Protein (60 g)
- 1/4 cup coconut flour (28 g)
- 1/4 cup almond flour (28 g)
- 2 tsp baking powder
- 1 cup mashed ripened bananas, about 2-3 bananas (225 g)
- 1 egg
- 1 egg white
- 1 tsp vanilla
- 1/3 cup chocolate chips (45 g) - I like to use Sunspire 42% Cacao Semi-Sweet Baking Chips
Baking Accessories:
- Muffin tin
- Muffin/Cupcake liners
Directions:
- Preheat oven to 375°F. Prepare muffin tin with 8 liners. In a mixing bowl combine your dry ingredients: whey protein, coconut flour, almond flour and baking powder. Set aside.
- In a stand mixer or large mixing bowl with hand mixer, combine your wet ingredients: banana, eggs and vanilla. Mix at medium speed until light and fluffy. Add dry ingredients and mix and medium speed until well combined. Add chocolate chips and hand fold into batter with spatula.
- Spoon batter evenly among 8 muffin liners. Bake for 20 mins or until a toothpick inserted into muffin comes out clean. Allow to cool 5 minutes in tin before eating...this is the hardest part of the whole recipe! Serve warm or store in air-tight container for later.
Nutritional Information (1 muffin):
140 calories - 10 g Protein, 15 g Carbohydrates, 4.5 g Fat


