Posts tagged #Pumpkin

Pumpkin Pecan Protein Cake

Pumpkin Pecan Protein Cake | My Engineered Nutrition

I don't know what it is about this time of the year, but without fail it always seems to FLY by. Back in October I looked at my calendar and saw that my project deadlines were nicely spaced out and would carry out between November and December, all wrapping up conveniently in mid-December prior to my holiday time at home. Well wouldn't you know, ALL of my projects decided they wanted to move up the deadlines and get things completed before the end of November. 

(Cue madness and insane amounts of work to be completed in half the time)

Pumpkin Pecan Protein Cake | My Engineered Nutrition

I had every intention of posting this recipe for you a few weeks ago, but then my day job called and I had to work around the clock just to finish those deadlines, leaving zero time for My Engineered Nutrition. No good! I just couldn't WAIT to share this with you. I know that most of you who follow my recipes like protein powder recipes that are quick and on-the-go. Since it is the holiday season, this is a bit of a special treat:

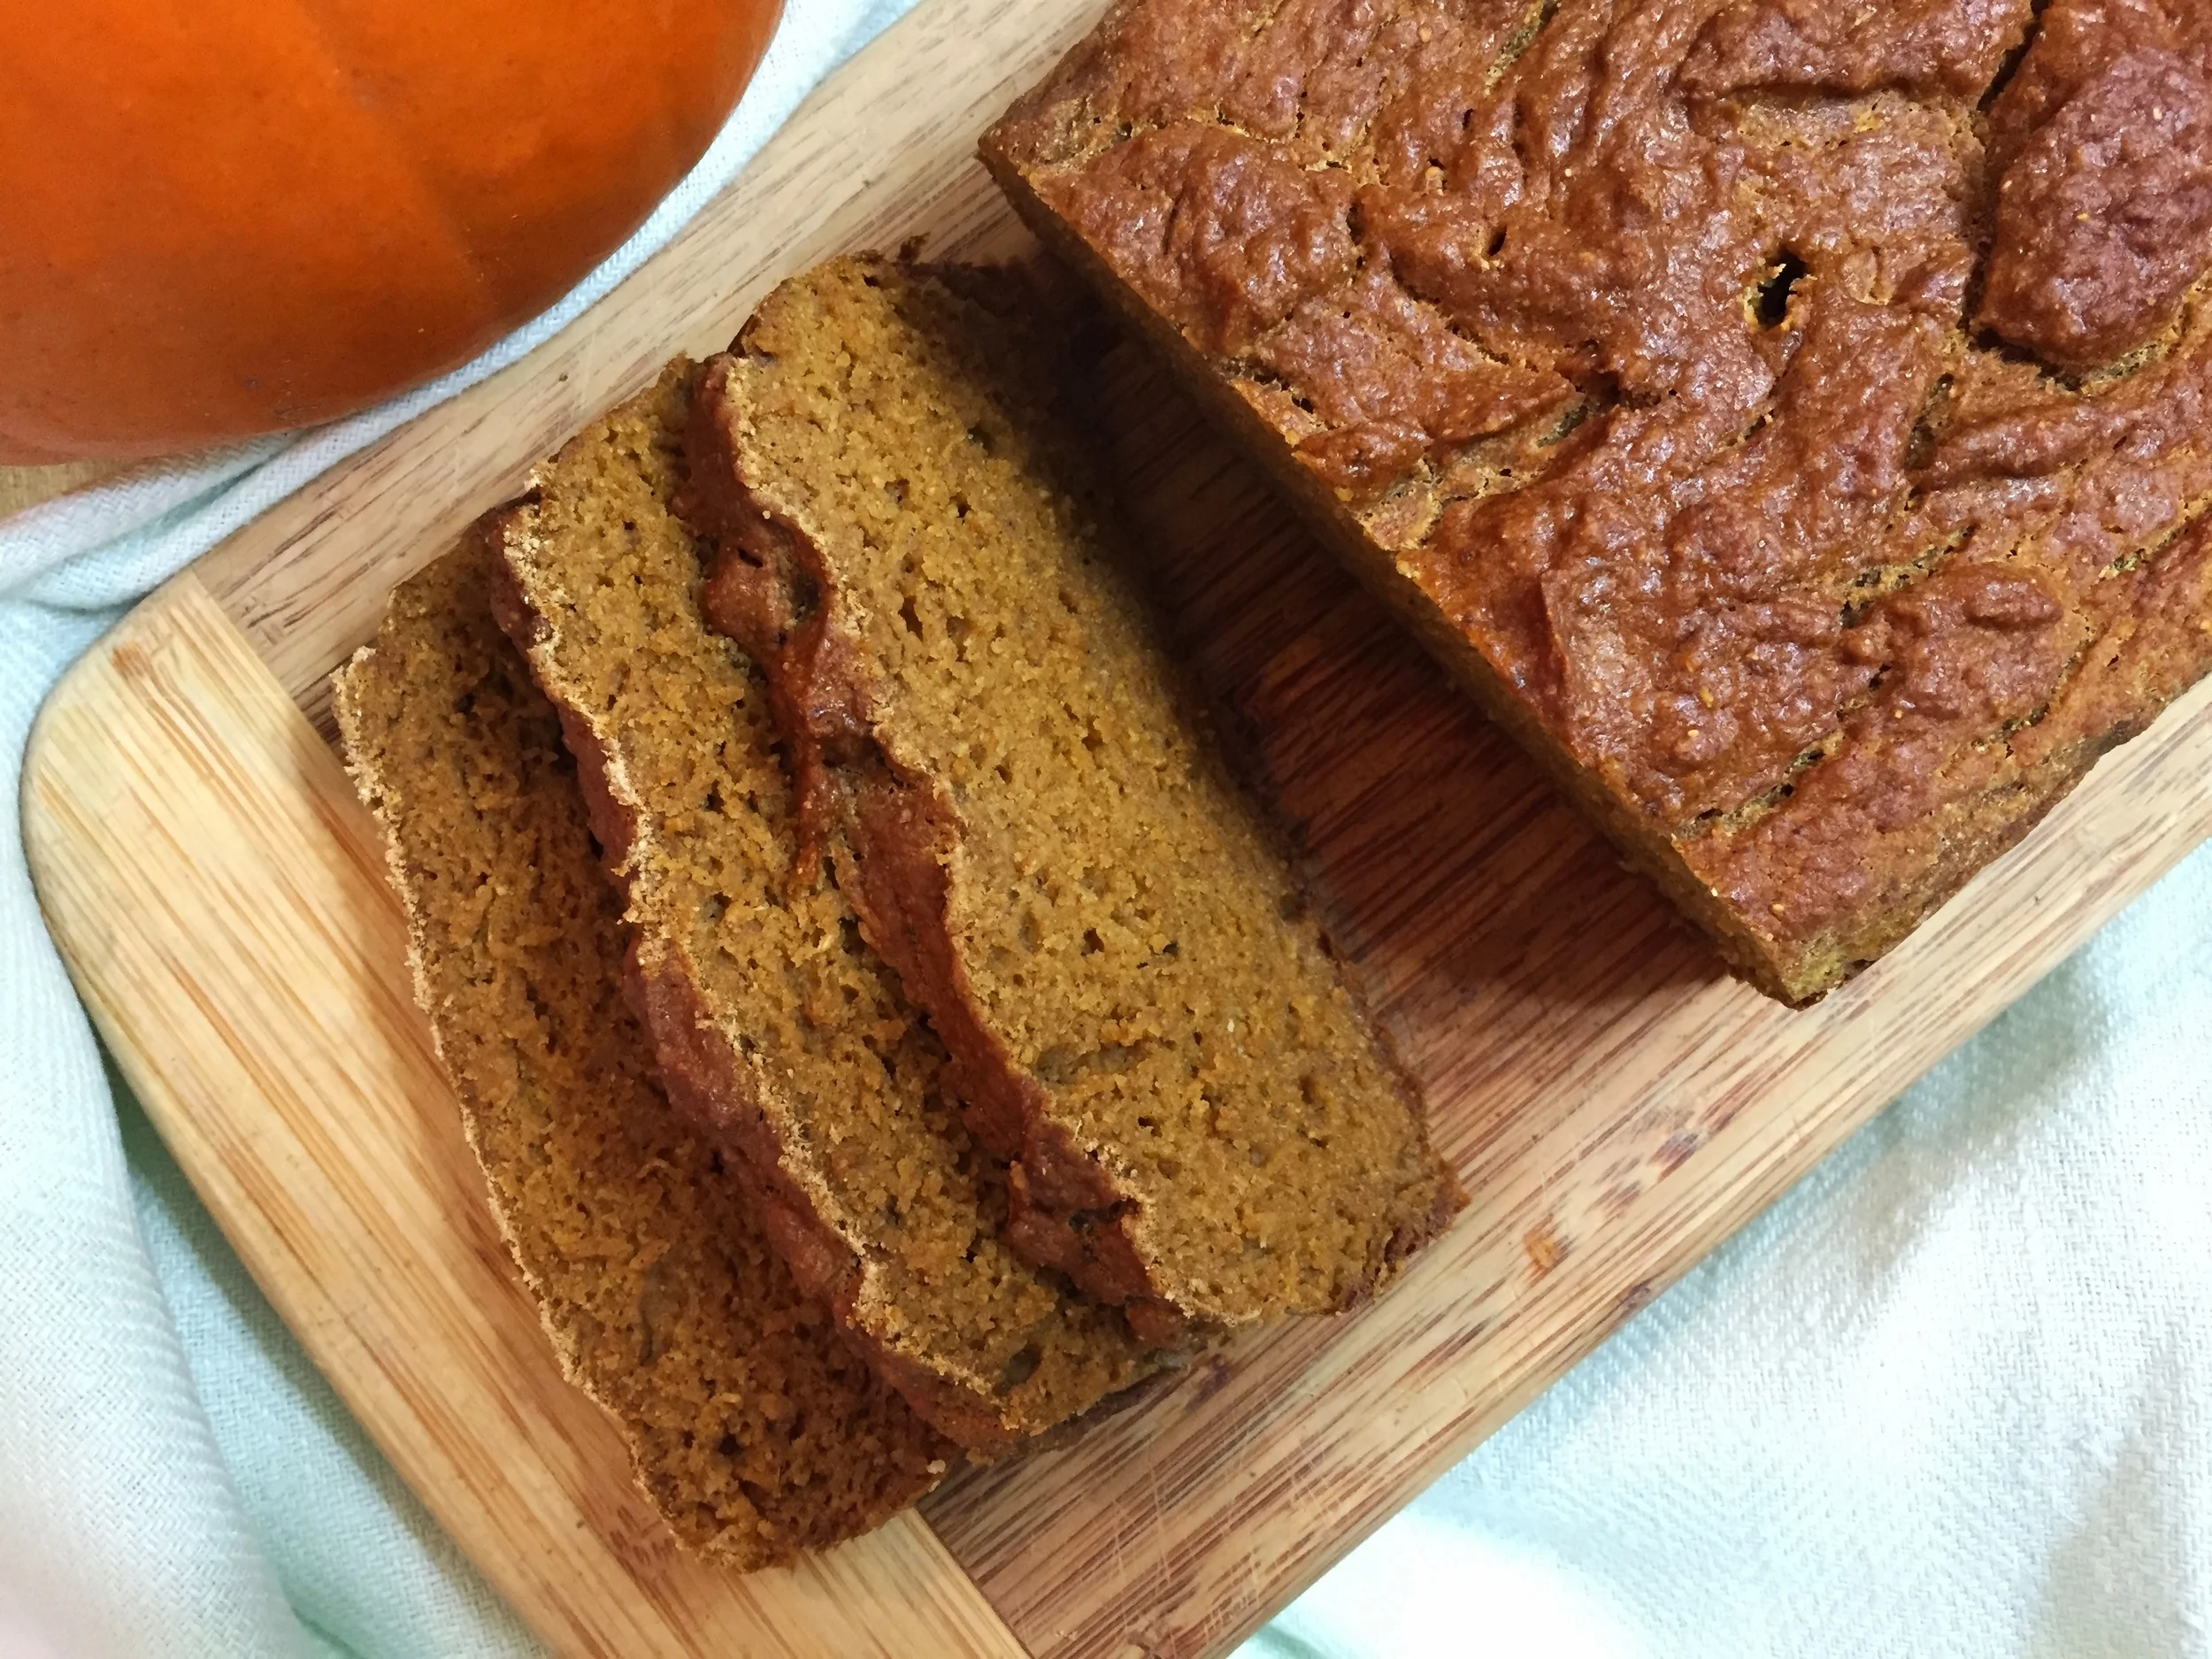
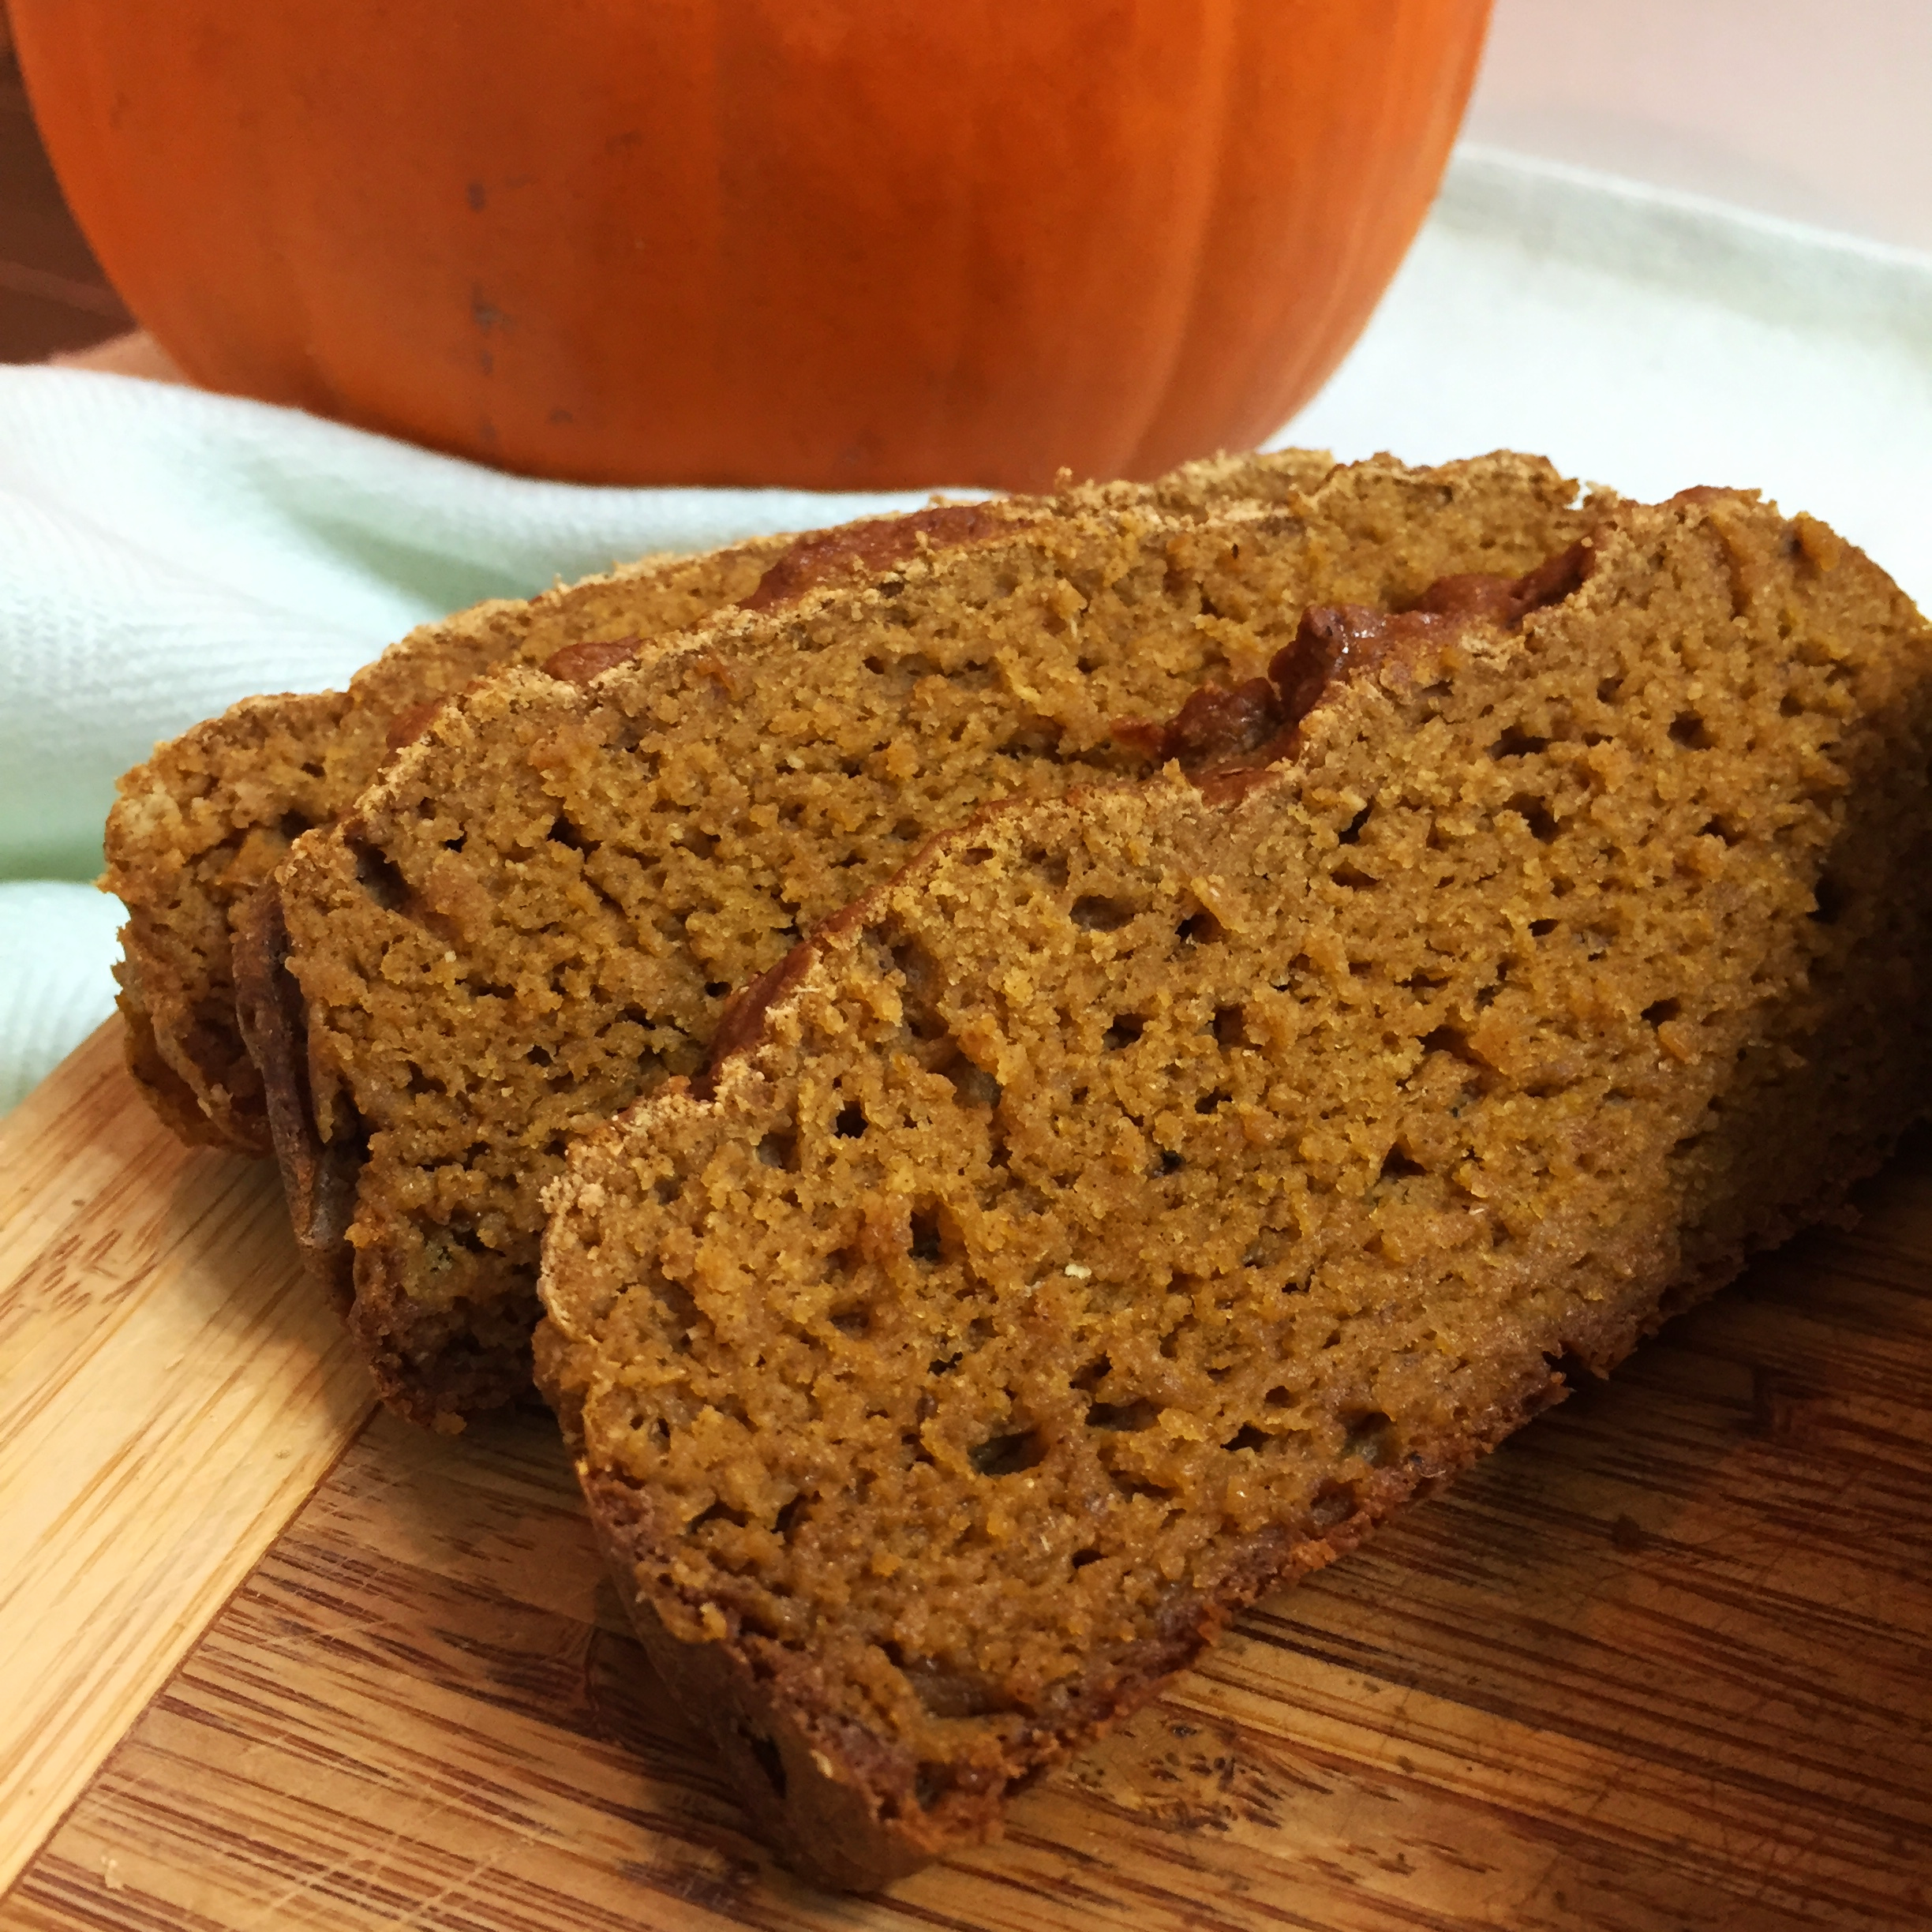
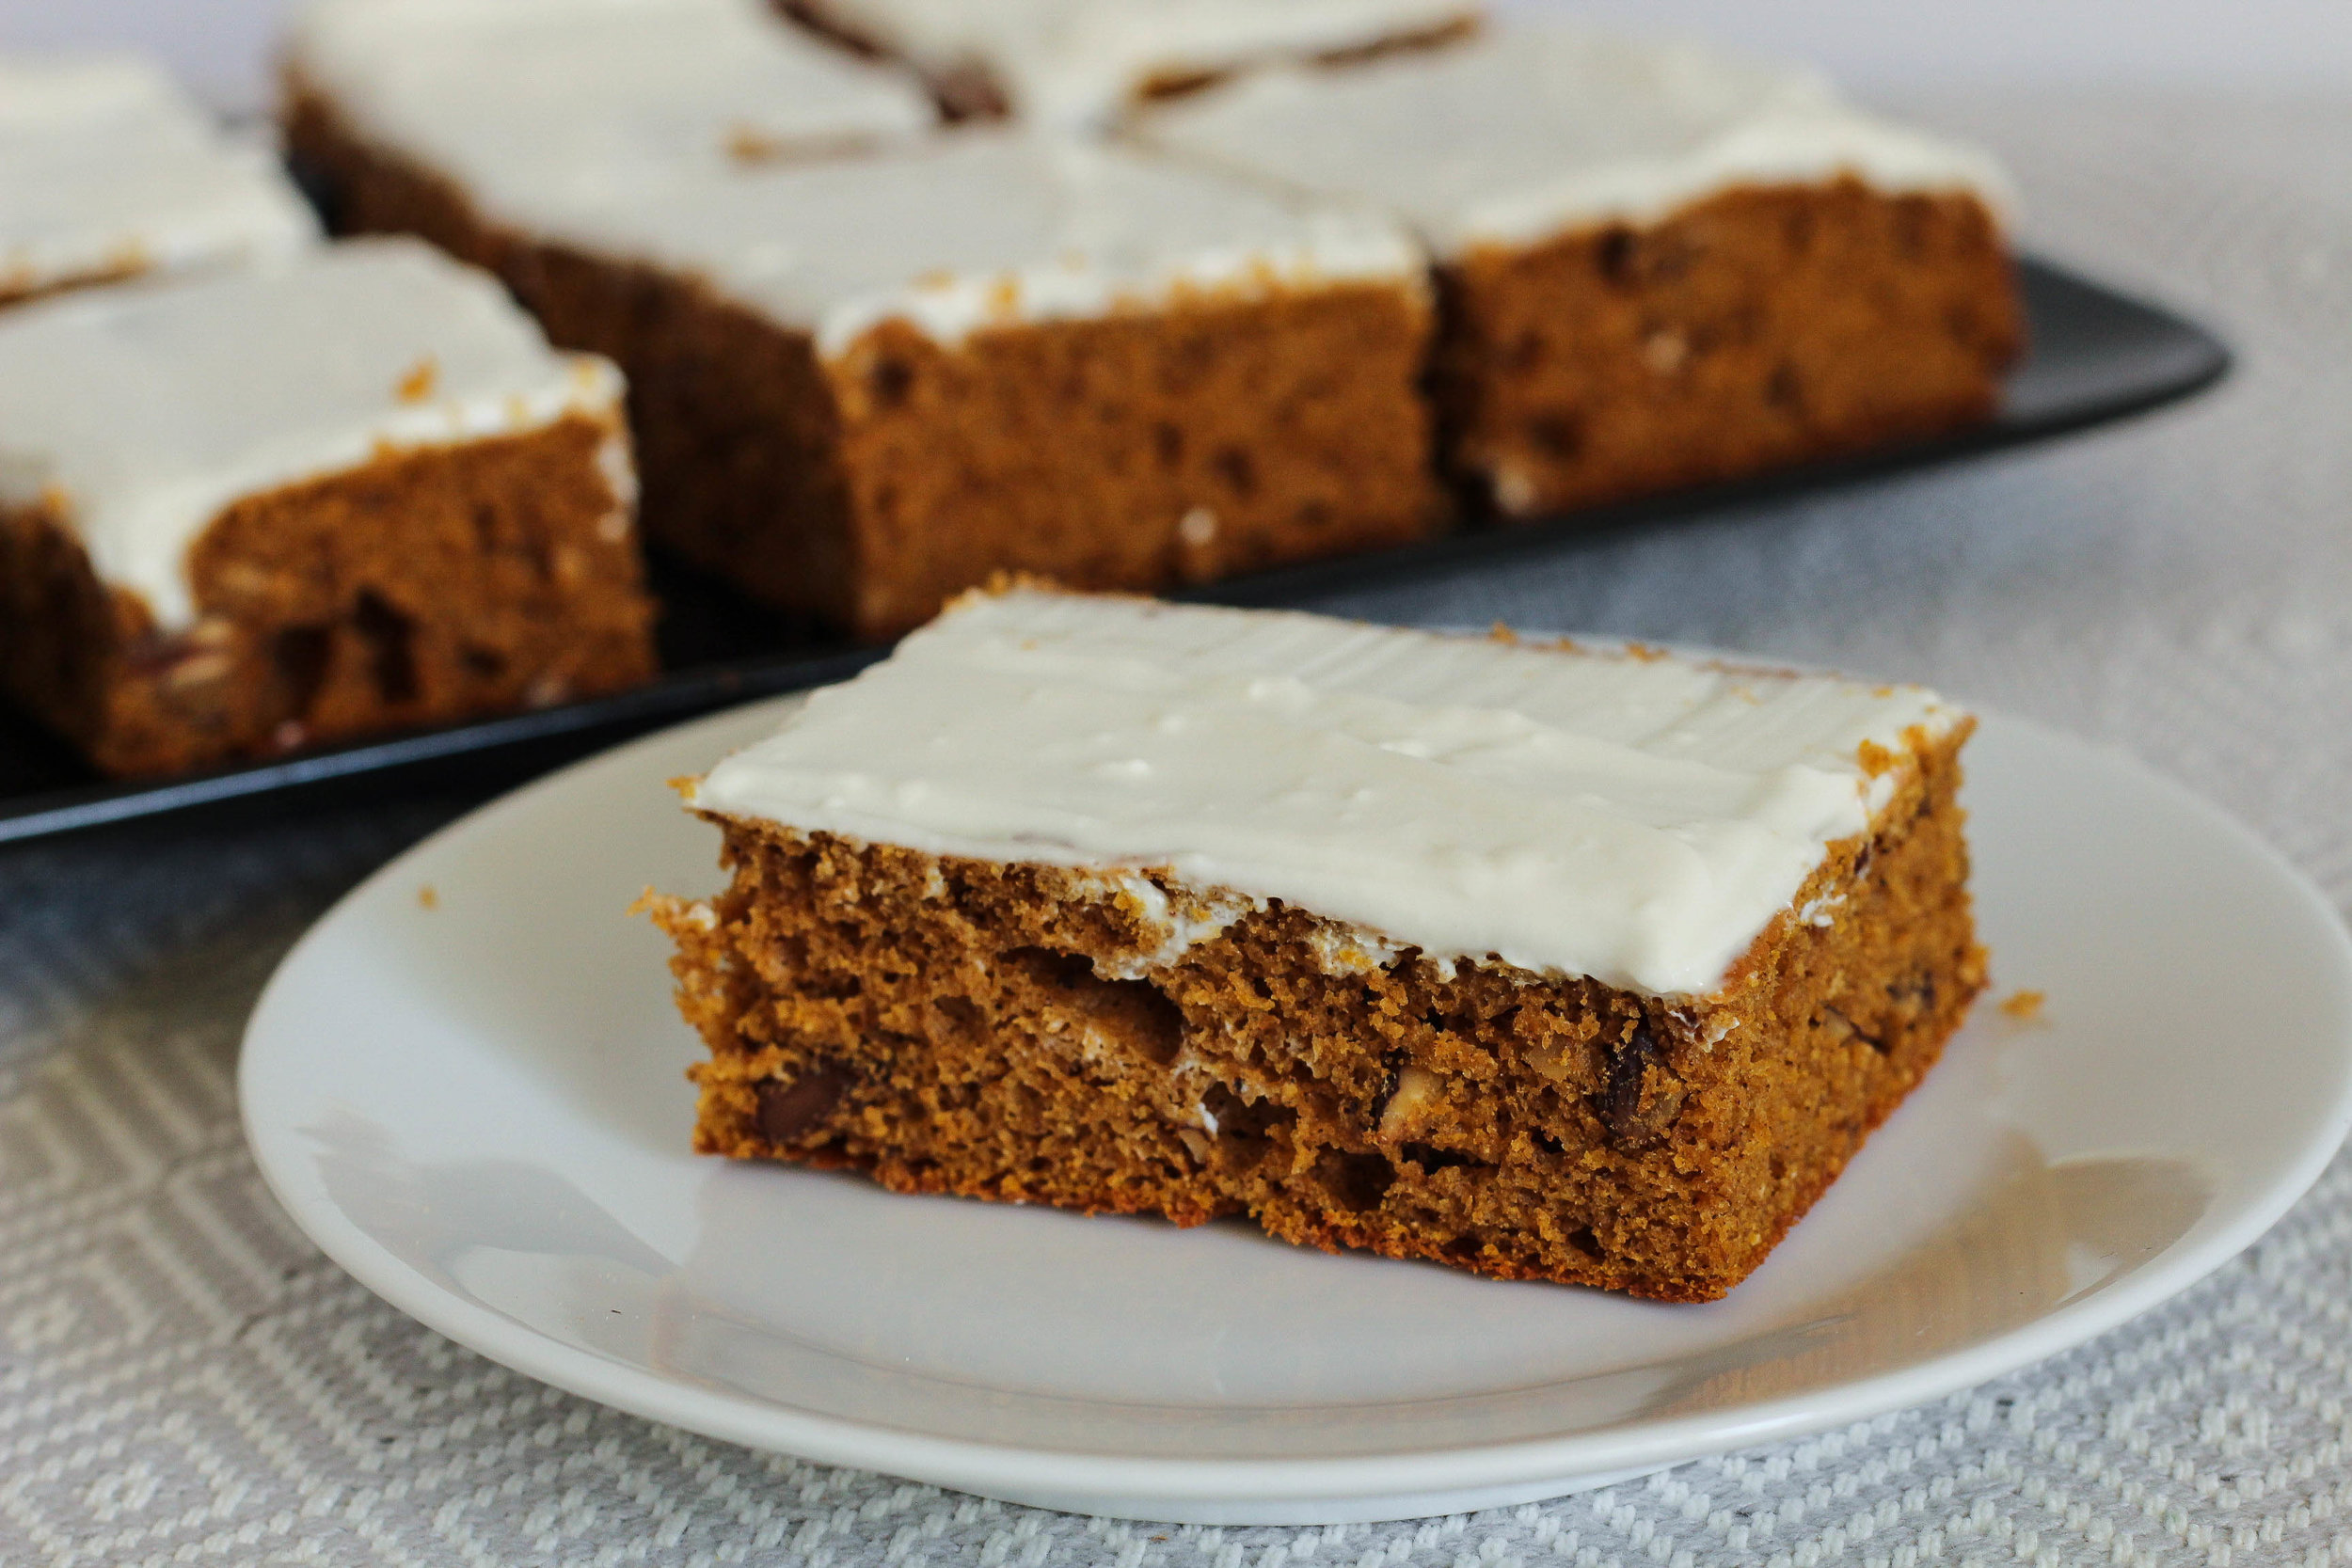
Pumpkin Pecan Protein Cake!

Pumpkin Pecan Protein Cake | My Engineered Nutrition

The holidays are filled with gatherings of family and friends, which are great, but usually they are also filled with decadent foods and sweet treats. Don't get me wrong, I love it as much as the next person, but I'd also love to be able to lighten things up if I can. This cake is the perfect treat! I bet you wouldn't even guess it was made with protein powder unless someone told you, it's that good! 

Compared to most sweets, it is low in fat, carbohydrates and sugar. What's not to love about that? As an added bonus, I'm also going to go out there on a limb and say you can eat this as breakfast cake as well. No judgement here.

I hope you give this a try and let me know how you like it. Happy Holidays!

Pumpkin Pecan Protein Cake | My Engineered Nutrition

Pumpkin Pecan Protein Cake

Prep Time: 30 minutes

Bake Time: 20-25 minutes

Servings: 16 slices

Ingredients: 

  • 2 scoops True Nutrition Cinnamon Bun Whey Protein (1/2 cup)
  • 1-1/2 cup gluten free all-purpose flour (I used Gluten Free Baking Flour but typical all-purpose flour will work as well)
  • 1/4 cup coconut palm sugar
  • 1/4 tsp baking powder
  • 1 tsp baking soda
  • 3/4 tsp salt
  • 1 tbsp pumpkin pie spice
  • 1 cup pumpkin puree 
  • 3/4 cup lowfat Greek yogurt (2%)
  • 1 egg
  • 4 tbsp butter, melted
  • 2 tsp vanilla
  • 1/2 cup pecans, toasted and chopped

Cream Cheese Frosting

  • 1/4 cup light cream cheese (2 oz)
  • 3/4 cup lowfat Greek yogurt (2%)
  • 1 tsp pure maple syrup

Baking Accessories:

  • 13 inch x 9 inch baking pan
  • Parchment paper

Directions:

  1. Preheat oven to 350°F. Prepare cake pan by greasing with coconut oil or butter and lining with parchment paper. Set aside.
  2. Toast pecans by spreading them out on a baking sheet and placing in oven for 5-10 minutes. Be sure to keep a close watch on them so not to burn! Once toasted, roughly chop pecans. Set aside.
  3. In a mixing bowl combine your dry ingredients: whey protein, flour, coconut palm sugar, baking powder, baking soda, salt and pumpkin pie spice.
  4. In a stand mixer or large mixing bowl with hand mixer, combine your wet ingredients: pumpkin puree, Greek yogurt, egg, melted butter and vanilla. Mix at medium speed until well combined. Add dry ingredients in 3 batches, mixing at medium speed until incorporated. 
  5. Fold pecans into batter with a spatula until evenly mixed in.
  6. Pour batter into baking pan. Bake for 20 - 25 mins or until a toothpick inserted into center comes out clean. Be sure not to over bake the cake since there is whey protein in the batter and it could easily become dry and rubbery. Allow to cool 10 minutes before icing. 
  7. While the cake is cooling, combine light cream cheese, Greek yogurt and maple syrup in small bowl and mix with a hand mixer. Once cake has cooled, ice with cream cheese frosting and slice into 16 pieces and enjoy! Store remaining cake in refrigerator to keep fresh.

Nutritional Information (1 slice):

145 calories - 8 g Protein, 14 g Carbohydrates, 7 g Fat

Posted on November 20, 2017 and filed under Baking, Protein Powder, Sweet Treats.

Pumpkin Protein Pancakes

Pumpkin Protein Pancakes | My Engineered Nutrition

October is mere days away, which can only mean one thing: PUMPKIN SEASON! Let’s kick the season off right and make a big stack of these Pumpkin Protein Pancakes together, shall we?

Pumpkin Protein Pancakes | My Engineered Nutrition

Protein pancakes are a fickle thing. If you’ve been a follower of MEN, then you know my feelings towards them back when I posted my Fluffy Protein Pancakes using egg white protein powder. I still love those pancakes (seriously, try them if you haven’t already!) but it seems without fail I get questions about replacing other protein powder types with whey in my protein powder recipes. I get it, whey is the most popular protein powder type, but mannn is it tough to work with at times.

Pumpkin Protein Pancakes | My Engineered Nutrition

These pancakes were definitely a labor of love but the result is so worth it! I tweaked this recipe (no joke) 5 or 6 times to get it right. Unlike most protein powder pancakes I’ve tried, which can turn rubbery and dry, these stay soft and moist! The pumpkin definitely helps in that regard. These are low in fat, thanks to the applesauce and pumpkin acting as butter and egg substitutes, AND low carb/gluten free since we’re using coconut flour. You’ll have zero guilt eating the whole stack and if you’re really adventurous...drizzle a little pure maple syrup on top!

Happy Fall, y’all! 

Pumpkin Protein Pancakes | My Engineered Nutrition

Pumpkin Protein Pancakes

Prep Time: 5 minutes

Cook Time: 2 minutes

Servings: 6 pancakes

Ingredients: 

  • 1 scoop Cinnamon Whey Protein Powder (1/4 cup), vanilla would work as well
  • 2 tbsp coconut flour
  • 1/2 tsp baking powder
  • 1/4 tsp baking soda
  • Pinch of salt
  • 1/2 tsp cinnamon
  • 1/2 tsp pumpkin pie spice
  • 1/4 cup pure pumpkin puree
  • 1/4 cup unsweetened applesauce
  • 1 egg
  • 1 egg white
  • 1 tbsp almond milk (or milk of choice)
  • 1/2 tsp vanilla extract
  • Optional: Pure maple syrup for serving!

Directions:

  1. In a mixing bowl combine your dry ingredients: whey protein, coconut flour, baking powder, baking soda, salt and spices. Whisk to fully mix ingredients.
  2. In a small bowl combine all wet ingredients: pumpkin, applesauce, eggs, almond milk and vanilla. Whisk together and then add to dry ingredients. Whisk until all ingredients are incorporated.
  3. Heat a non-stick pan (I love my ceramic non-stick Greenpan) over medium heat - you don't want the pan too hot that it burns your pancakes! Scoop batter (approximately 1/4 c) onto pan. Cook the first side until you begin to see bubbles form, about 1-1/2 minute. Flip and continue to cook until both sides are browned, about another 30-45 seconds. Serve while hot! 

Nutritional Information (1 pancake):

50 calories - 7 g Protein, 4 g Carbohydrates, 1.2 g Fat


Looking for MORE pumpkin recipes? Here are few more My Engineered Nutrition favorites! 

Posted on September 28, 2017 and filed under Protein Powder, Breakfast, Recipes.

Pumpkin Pie

Pumpkin Pie | My Engineered Nutrition

You can't have Thanksgiving without pumpkin pie. You just can't, and I certainly wasn't planning on skipping my slice of pie (or 2) this year! I've shown you just how much I love pumpkin with my Pumpkin Bread, Pumpkin Bolognese, Chocolate Pumpkin Brownies, Pumpkin Protein Waffles and of course, my Pumpkin Protein Donuts

All of these recipes are great, but can you really beat a simple slice of pumpkin pie?

Pumpkin Pie | My Engineered Nutrition

Like many of my holiday recipes, I've taken the traditional recipe and adapted it to fit my diet. Traditionally, pumpkin pie is made with either evaporated milk and loads of sugar or condensed milk. Call me crazy, but something about canned dairy just doesn't appeal to me. I also want to feel good after eating my dessert, instead of worse because of the amount of sugar I've ingested. My pumpkin pie uses light coconut milk and a bit of pure maple syrup for sweetening. The result is the most delicious light and creamy pumpkin pie - you have to trust me on this one.

Pumpkin Pie | My Engineered Nutrition

While my pie is in no way "healthy" - that would take away the fun of the holidays - it definitely has reduced guilt when eating ;)

image.jpg

Pumpkin Pie

Prep Time: 15 minutes

Bake Time: 1 hr 10 minutes

Servings: 1 pie, 8-10 slices

Ingredients:

  • 1 Mamaw's Pie Crust
  • 1 can (15 oz.) pumpkin puree
  • 1 cup light coconut milk
  • 1/4 cup pure maple syrup
  • 2 eggs
  • 1/2 tsp salt
  • 1 tsp cinnamon
  • 1/4 tsp nutmeg
  • 1/2 tsp ginger
  • 1/2 tsp cloves
  • 1/2 tsp vanilla
  • Optional topping: Coconut whipped cream

Directions:

  1. Preheat oven to 425°F. 
  2. Prepare pie crust per directions. Once completed place in refrigerator to keep chilled while you continue on with the rest of the recipe. 
  3. In a large mixing bowl, combine pumpkin, spices (salt, cinnamon, nutmeg, ginger, cloves) and vanilla. Mix to incorporate spices. 
  4. In a medium mixing bowl combine coconut milk, maple syrup and eggs. Whisk to combine. Pour mixture into the pumpkin, continuing to whisk to fully incorporate. 
  5. Remove pie crust from refrigerator and pour filling into crust. 
  6. Bake in preheated oven for 15 minutes. After 15 minutes, loosely cover with aluminum foil, to prevent the crust from becoming too brown, and reduce heat to 350°F. Bake for an additional 50-60 minutes or until a knife inserted into center comes out clean. 
  7. Allow pie to cool for at least 2 hours before slicing. This can easily be made the day before you plan on eating. 

Nutritional Information (1 slice out of 10 slices)

170 calories - 3 g Protein, 22 g Carbohydrates, 8 g Fat

Posted on November 18, 2015 and filed under Sweet Treats, Recipes, Baking.

Pumpkin Bread

Pumpkin Bread | My Engineered Nutrition

WARNING: This bread is HIGHLY addictive. May cause urges to eat entire loaf in one sitting.

You think I'm kidding? Wait until you have one bite of this deliciously moist, dense, pumpkin-spice-filled loaf of goodness. 

Did I mention this is also low fat, dairy free and gluten free? 

Pumpkin Bread | My Engineered Nutrition

I made this merely on a whim. With my competition prep in full swing, I wanted to create a dessert that could fit within my nutrition plan. This meant something that was low in fat for my training days, but at the same time not super high in carbohydrates either. Because I absolutely hate wasting food, I first investigated what I had in my refrigerator - an open can of pumpkin puree and an overly ripe banana. In addition to that, I also had a few newly acquired loaf pans (thanks mom!) that I was itching to use. I saw a great opportunity for a low fat treat as pumpkin and banana are regularly used as butter and oil substitutes in baking!

Baking is always tricky to do without a recipe, at least for me. Add in the fact that this was a low fat recipe and gluten free, I had absolutely no idea how this would turn out. The base of this bread is cassava flour. This flour has changed the way I approach gluten free baking. Cassava is a hard root vegetable, also called yuca (not to be confused with yucca), arrowroot or tapioca. This flour is 100% grain, nut and gluten free! Cassava flour, flour made from the cassava root, is almost indistinguishable from all-purpose flour. While I use cassava flour in my recipe (and I highly recommend and encourage you to give it a try!) you could probably substitute an alternative gluten-free flour blend like Cup 4 Cup, however not almond or coconut flour as they have very different baking characteristics. If you absolutely must have wheat based all-purpose, I'm sure that will work as well, although I haven't tried it with different flours.

This bread isn't overly sweet, which is just the way I like it. In fact, I've only added 1/4 cup of unrefined coconut palm sugar. When I was researching recipes for pumpkin bread I was surprised to find that most had upwards of 2 cups refined sugar! Not for me! The majority of the sweetness comes from a ripened banana - nature's sweetener. Rest assured, with all natural ingredients this is a guilt free treat! 

Pumpkin Bread | My Engineered Nutrition

Pumpkin Loaf

Prep Time: 10 min

Baking Time: 45-55 minutes

Servings: 12

Ingredients: 

  • 1-1/2 cup cassava flour (or Bob's 1-to-1 Gluten Free Flour or All-Purpose Flour works just as well!)
  • 1/2 tsp salt
  • 1 tsp baking soda
  • 1/2 tsp baking powder
  • 1-1/2 tsp pumpkin pie spice
  • 1/4 cup coconut palm sugar
  • 1 ripened banana (brown spotted) 
  • 1 cup pumpkin purée 
  • 2 eggs

Directions: 

  1. Preheat oven to 350F. Line a loaf pan with parchment paper or grease with a small bit of butter or coconut oil. 
  2. Whisk together cassava flour, salt, baking powder, baking soda and pumpkin pie spice in a small mixing bowl. Set aside. 
  3. In a large mixing bowl, beat banana and coconut palm sugar with a hand mixer or in a stand mixer until banana is 'creamed', much like if you were beating butter and sugar. Do this until light and fluffy and sugar is well incorporated.
  4. Add eggs, one at a time, and beat well until fluffy, about 5 minutes. Add pumpkin and mix to incorporate.
  5. Beat flour mixture into wet ingredients. Pour batter into prepared loaf pan.
  6. Bake for 45-55 minutes or until inserted toothpick comes out clean. Remove pan from oven and allow to cool 10 minutes in pan before removing. After 10 minutes, remove from pan to a board or plate and all to cool completely.

Nutritional Information (1 slice, total loaf makes 12 slices) 

90 calories - 1.5g Protein, 18g Carbohydrates, 1g Fat


Chocolate Pumpkin Brownies

Chocolate Pumpkin Brownies | My Engineered Nutrition

There are two types of people in this world: those that prefer cake-like brownies and those that prefer fudge-like brownies. 

I, for one, am a fudge-like brownie kinda gal. 

I love dense and intensely chocolate brownies. When they are made like this, you only need a small piece to satisfy your craving.

Chocolate Pumpkin Brownies | My Engineered Nutrition

These Chocolate Pumpkin Brownies were a bit of a self-imposed challenge. I wanted to make a dessert without refined sugar, eggs, butter or oil AND were also gluten-free. Quite the challenge, right?

Chocolate Pumpkin Brownies | My Engineered Nutrition

Both applesauce and pumpkin can be used as substitutes for eggs, oil and butter in baking. This provides a low fat alternative for an otherwise high fat, indulgent treat. These are sweetened with just a bit of pure maple syrup, instead of refined sugar. I also added full fat coconut milk to help bring the batter together and to add a healthier fat alternative.

You truthfully cannot taste the pumpkin overwhelmingly in these brownies - there is a hint of pumpkin and spice. Instead, these taste rich and chocolaty, but in actuality are much better for you than your typical brownies! These are so easy to make that the hardest part will be waiting for them to come out of the oven!

Chocolate Pumpkin Brownies | My Engineered Nutrition

Chocolate Pumpkin Brownies

Prep Time: 10 minutes

Bake Time: 45-55 minutes

Servings: 12

Ingredients:

Dry

  • 1 cup almond flour/meal
  • 3/4 cup cocoa powder (best to use a high quality cocoa!)
  • 3/4 cup coconut flour
  • 1/2 tsp salt
  • 2 tsp baking soda
  • 1 tsp pumpkin pie spice

Wet

  • 1-1/2 cup pumpkin puree
  • 1/2 cup unsweetened applesauce
  • 1/2 cup pure maple syrup
  • 1/2 cup full fat coconut milk
  • 1 tbsp vanilla

Directions:

  1. Preheat oven to 350°F. Grease an 8x8 baking dish and then line with parchment paper, this will help the paper stay in place. You could skip the parchment paper but it makes removing the brownies from the pan SO much easier and less messy.
  2. In a large mixing bowl, combine all dry ingredients and whisk together. Set aside. In a smaller mixing bowl, combine all wet ingredients, whisking together to combine. Add wet ingredients to dry and mix until well incorporated. Pour batter into prepare baking dish, ensuring to level out the top of the brownies.
  3. Place in oven and bake for 45-55 minutes, or until a toothpick comes out clean after testing. These are very dense brownies and do take some time to bake. Be sure the brownies are actually baked all the way through before removing.
  4. Remove brownies from oven and allow to cool in baking dish for about 15 minutes. After this point you can remove the brownies from the dish if you have lined it with parchment paper. It is a simple lift out of the baking dish and place on a cutting board or large plate to continue cooling fully. Cut brownies into 12 even pieces and serve.


Nutritional Information (1 brownie)

160 calories - 4.5 g Protein, 16 g Carbohydrates (6 g Fiber), 8.8 g Fat

Posted on October 16, 2015 and filed under Recipes, Sweet Treats, Baking.