Posts tagged #Low Fat

Low Carb Protein Biscuits

Low Carb Protein Biscuits | My Engineered Nutrition

In the time since I've started creating recipes with protein powders, I've experimented with a wide variety of different powder types. While each powder yielding a slightly different end product, but one constant remained: they were all sweet baked goods. This isn't really a surprise, however, given that most of the time you think of flavored powders, which have also been sweetened.

The beauty of baking with protein powder is the ability to substitute a flour with protein powder, sometimes significantly reducing the carbohydrates in a given recipe. Why should that only be limited to desserts and breakfast items? 

I've been on a mission answer this question by creating a savory protein-packed baked good!

Low Carb Protein Biscuits | My Engineered Nutrition

Not only is this recipe the FIRST of my experiments in the savory, non-sweet realm of baking with protein powder, it is also my first successful recipe attempt using Beef Protein Isolate!

Now, before you go getting skeptical of this recipe because of the fact it uses a protein powder you likely aren't familiar with, let me clear the air - NO, this does not taste like BEEF.

Low Carb Protein Biscuits | My Engineered Nutrition

In fact, I've found that unflavored Beef Protein Isolate is actually quite neutral in taste. This pairs so very nicely with the other main star of these biscuits: coconut flour. I personally love baked goods that use coconut flour - I'm a huge fan of the nutty flavor it brings to the final product. Coconut flour is gluten free, low in carbohydrates and high in fiber! Win win win!

These biscuits seriously couldn't be simpler. I know many times baking can be daunting because of the precise measurements and detailed preparation. Not with these. It is as easy as mixing the wet and dry ingredients together into a dough (Warning: it will be sticky!) and forming said dough into biscuits. That's it! It is important to not the main difference between gluten free baking from baking with a wheat flour: the absence of gluten also means that your baked good won't rise or expand as much (or at all) as you may be used to. Simply put, the shape and size you make your biscuits pre-baking is how they will look post-baking. 

Low Carb Protein Biscuits | My Engineered Nutrition

The nutritional information for each biscuit is so incredible that you will have a hard time not pacing yourself when it comes to eating these! They are high and protein and fiber plus low in carbs and fat. They are great on their own but are also a fantastic option for creating a sandwich and using the biscuit cut in half as a bun.

Here's your solution for wanting to have your [biscuit] and eat it too! 

Low Carb Protein Biscuits | My Engineered Nutrition

Low Carb Protein Biscuits

Prep Time: 10 minutes

Cook Time: 20 minutes

Servings: 4 biscuits

Ingredients: 

  • 1/4 cup Beef Protein Isolate (1 scoop), unflavored
  • 1/2 cup coconut flour 
  • 1 tsp baking powder
  • 1/2 tsp salt
  • 2 eggs
  • 1/4 cup water

Baking Accessories:

  • Baking Sheet
  • Parchment Paper 

Directions:

  1. Preheat oven to 375°F. Prepare baking sheet by lining with parchment paper. 
  2. In a mixing bowl combine your dry ingredients: beef protein, coconut flour, baking powder and salt. Whisk to fully mix ingredients. Add eggs and water to the bowl and whisk until batter is smooth. This can be done in a stand mixer, with an electric hand mixer or by hand with a whisk.
  3. When all is combined, dough will be sticky - don't fret! Form the dough into 4 equal biscuits on your parchment paper lined baking sheet. Because this is a gluten free batter, the biscuits won't rise much from the original shape you form them into. 
  4. Place in oven to bake for 18-20 minutes. Biscuits are done baking when a toothpick inserted into the center of a biscuit comes out clean. Serve immediately or allow to cool completely and store in an air tight container for later.

Special Note: I've created this recipe based upon using Beef Protein Isolate. I have not tried other powder types so I can not guarantee the recipe will turn out the same using a different powder type (i.e. whey, pea, egg, etc.)

Nutritional Information (1 biscuit):

125 calories - 12 g Protein, 8.5 g Carbohydrates (5 g Fiber), 4.5 g Fat
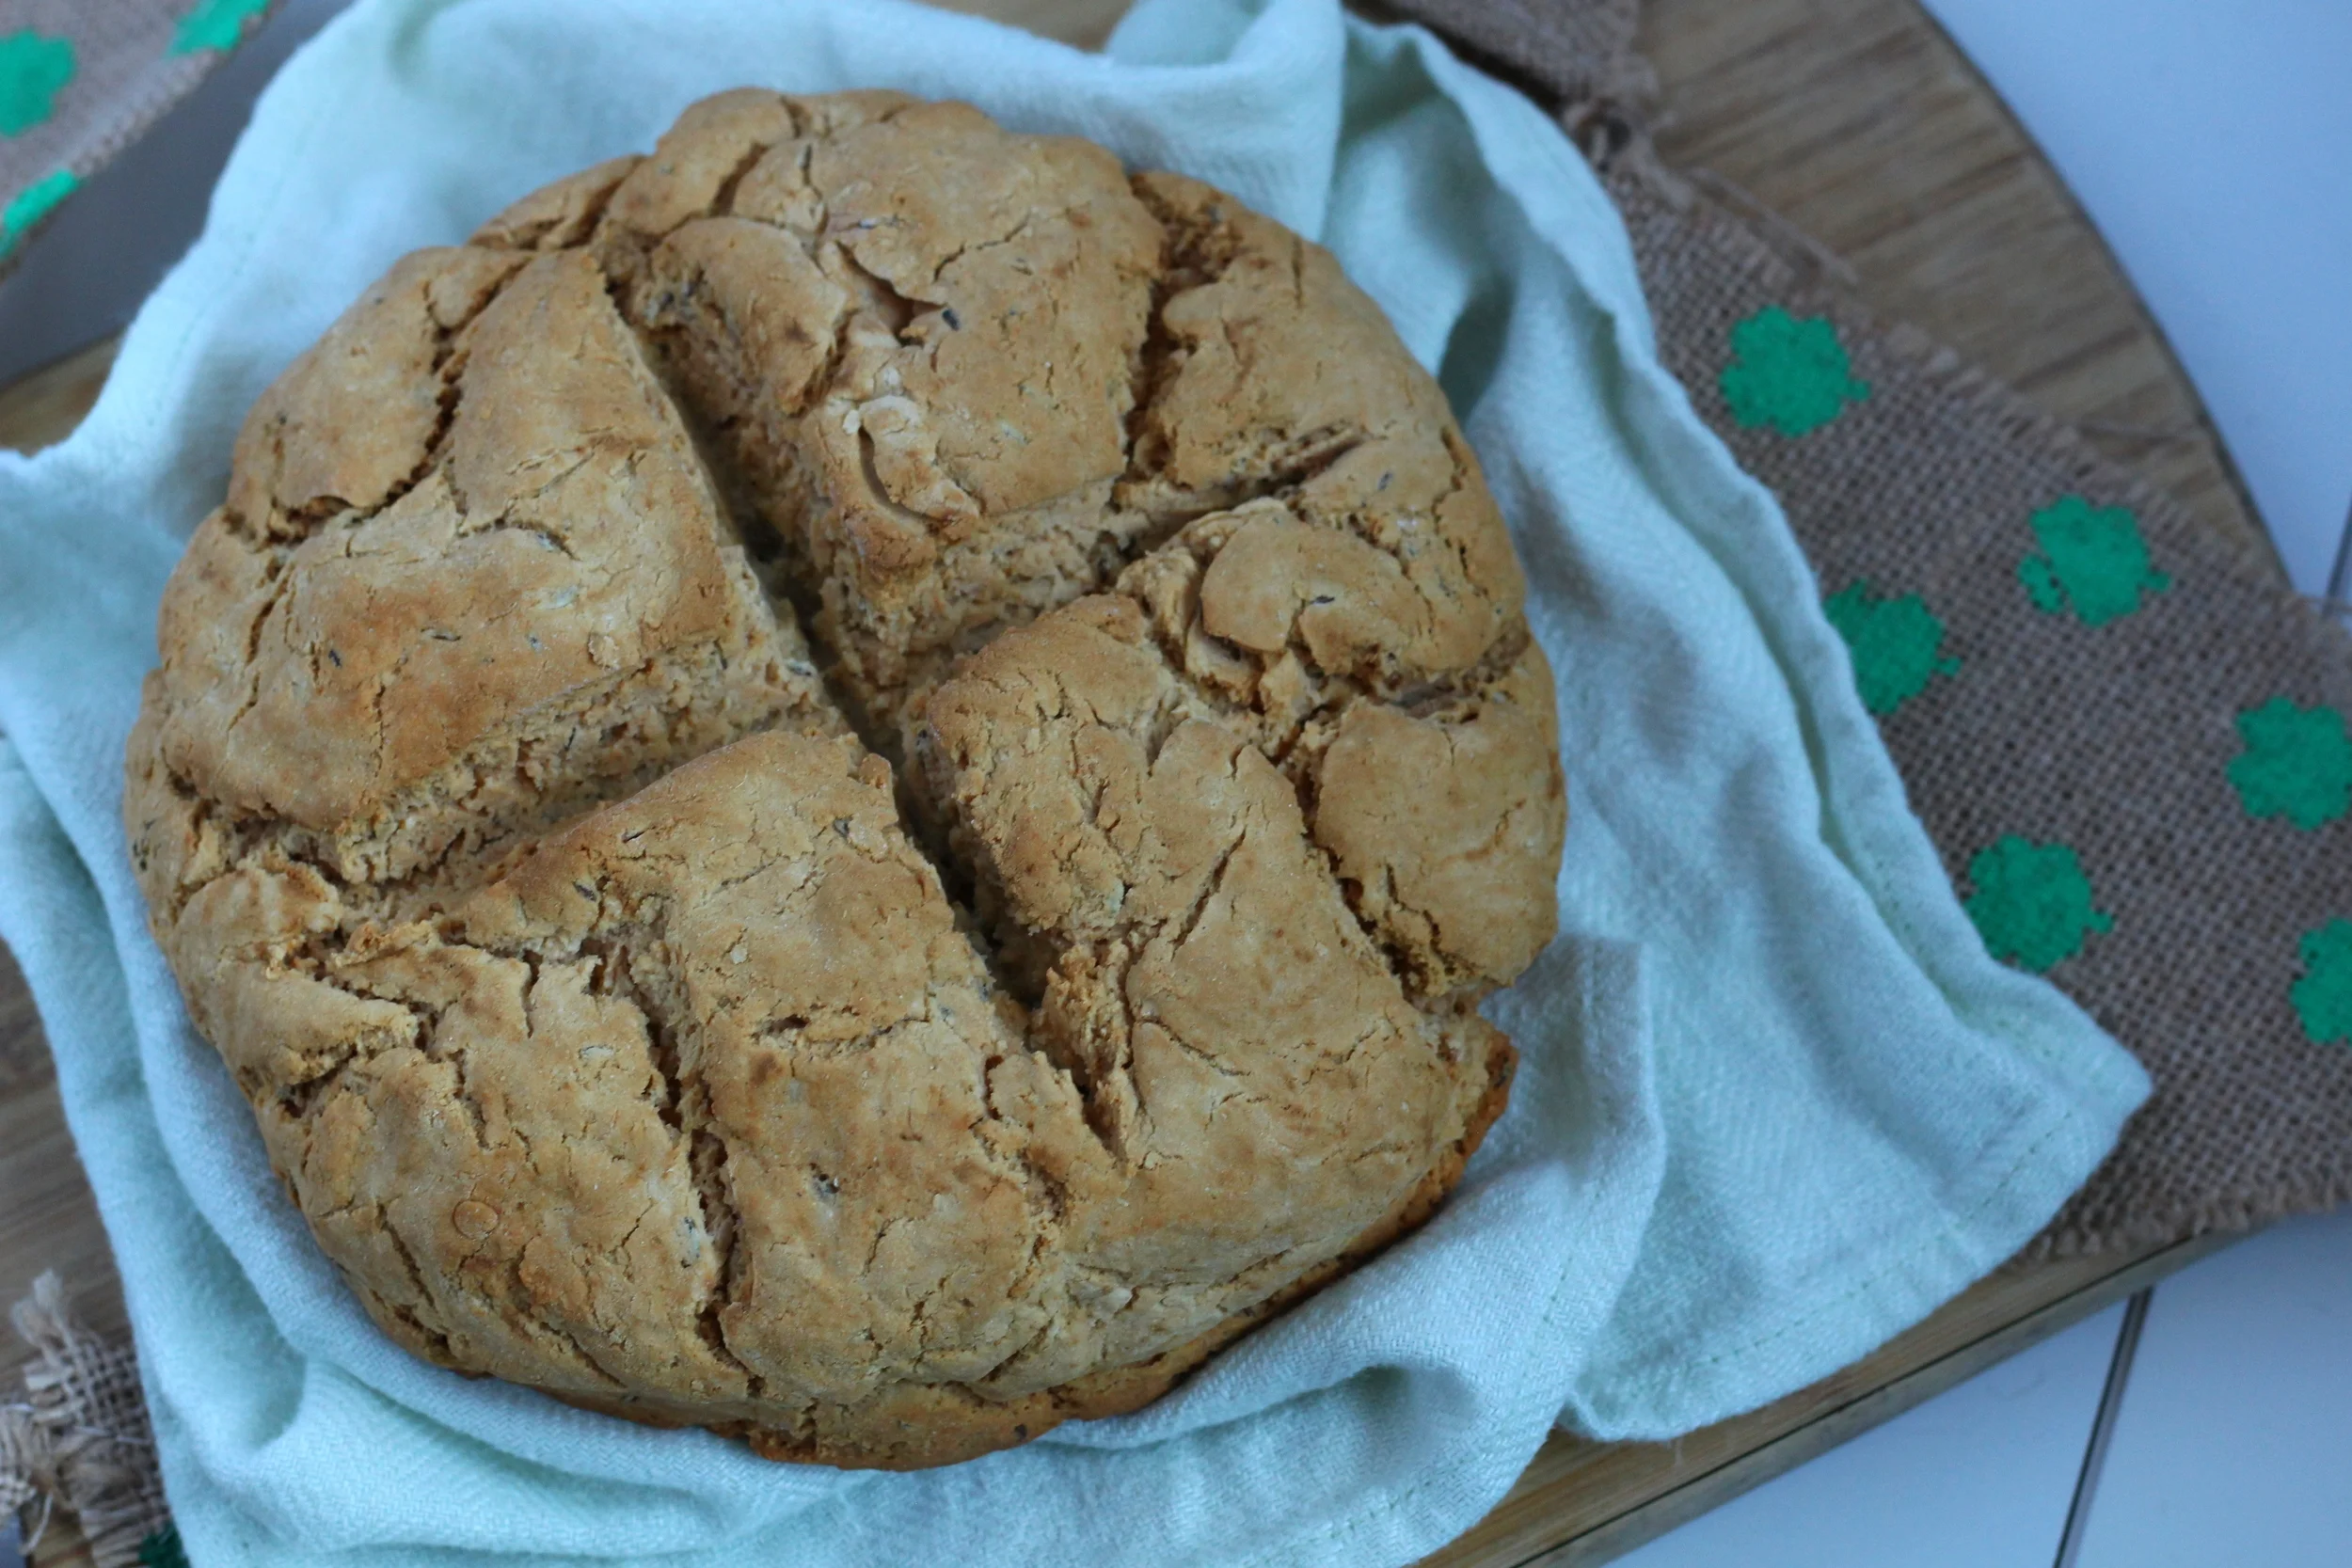
Gluten Free Irish Soda Bread

Gluten Free Irish Soda Bread | My Engineered Nutrition

One more recipe, just in time, for St. Patrick's Day!  Yesterday I posted that warm and hearty Cabbage, Ham and Potato Soup and you know what goes perfectly with it? THIS Irish Soda Bread! I'll have to admit, I am by no means a connoisseur of Irish soda bread. I've had it a time or two, but since I stay away from gluten it isn't a frequent food I consume.

I wanted that to change, so I set out determined to make a gluten free version of this simple bread in honor of the holiday.

Gluten Free Irish Soda Bread | My Engineered Nutrition

It took me a time or two (or five) to get a bread that I was satisfied with. The star of this bread is Bob's Red Mill Gluten Free 1-to-1 Baking Flour. This flour, which is a blend of various gluten-free flours, is amazing to bake with.  The basic recipe for the bread is quick and simple. Flour, buttermilk and baking soda, which is the levaning agent instead of yeast. I've adapted the original formula some and have swapped Greek yogurt in place of buttermilk and have added caraway seeds (I love that Rye bread flavor!).

Gluten Free Irish Soda Bread | My Engineered Nutrition

This bread is dense and savory. If you are expecting a light and airy slice of bread, this is not the loaf for you. If, however, you are looking for a thick and dense slice, able to withstand dipping into a hearty soup - look no further! 

Gluten Free Irish Soda Bread | My Engineered Nutrition

Gluten Free Irish Soda Bread

Prep Time: 15 minutes

Bake Time: 50-60 minutes

Servings: 16 slices

Ingredients: 

Baking Accessories:

  • Baking Sheet
  • Parchment Paper 

Directions:

  1. Preheat oven to 375°F. Prepare baking sheet by lining with parchment paper. 
  2. In a large mixing bowl combine flour, salt, baking soda and baking powder.
  3. In a medium bowl combine Greek yogurt with water and whisk until well incorporated. In a small bowl crack egg and whisk. Add both wet ingredients to the dry in the large mixing bowl. Initially, stir with a spatula and then use hands until dough forms into a ball. 
  4. Once a ball has formed, turn out onto a floured surface and add caraway seeds. Kneed until caraway seeds are even incorporated throughout the dough. You may need to add a bit of water if the dough is not holding together - carefully add 1 tbsp of water at a time! If dough becomes to sticky and wet, dust with a small bit of flour. Form into a disc about 8" in diameter.
  5. Transfer to prepared baking sheet. Bake for 50-60 mins or until a toothpick inserted into bread comes out clean and you hear a hollow sound when you knock on the bottom of the loaf. Allow to cool for at least 10 minutes before slicing or bread may be too warm and gummy. Serve warm or store in air-tight container for later. I find it is easiest to slice this loaf by cutting in half and then cutting into slices, rather than trying to slice the original diameter of loaf.

Nutritional Information (1 slices):

125 calories - 3.5 g Protein, 27 g Carbohydrates, 0.3 g Fat

Posted on March 16, 2016 and filed under Recipes, Baking.

Greek Lemon Chicken

Greek Lemon Chicken | My Engineered Nutrition

Looking for a simple, healthy and flavorful weeknight dinner? Yes? You've landed on the perfect recipe for just that!

If you are like me you are in need of a shake up from your usual baked chicken. Don't get me wrong, sometimes I crave really basic baked chicken, but most times I want loves of flavor.

Greek Lemon Chicken | My Engineered Nutrition

This dish really couldn't get any easier to make. The marinade is just FOUR ingredients. That's it. Combine those together and just add chicken. Letting this marinate overnight allows the flavors to really develop in the chicken. The result is incredibly moist and zesty lemon chicken. 

The kalamata olives are the perfect complement to the lemon and fresh oregano. To really tie things all together I recommend garnishing with a sprinkle of feta cheese. The perfect combination of Greek flavors, delivered in a quick and easy weeknight dinner!

Greek Lemon Chicken | My Engineered Nutrition

Greek Lemon Chicken

Prep Time: 10 minutes + Marinate Time (at least 30 min, up to 24 hrs) 

Bake Time: 30-40 minutes

Servings: 6

Ingredients: 

  • 4 small chicken breasts, roughly 36 oz total weight
  • 1-1/2 lemons, juiced
  • 1-1/2 tsp garlic, minced
  • 1 tbsp fresh oregano, finely chopped  
  • 1/2 tbsp extra virgin olive oil
  • Salt + Pepper
  • 10 kalamata olives, sliced in half
  • 1/2 lemon, thinly sliced into 4 rounds and then cut in half

Optional Garnish

  • Feta cheese
  • Fresh dill

Directions:

  1. In a mixing bowl or Ziploc bag combine lemon juice, garlic, oregano, extra virgin olive oil, salt and pepper. Stir to combine and add chicken breasts. Seal Ziploc bag or cover mixing bowl with plastic wrap and return to refrigerator to marinate. This can be done for as little as 30 minutes or can marinate overnight. The longer the marinating time, the better the flavor!
  2. Preheat oven to 375°F. Remove chicken from refrigerator and arrange breasts in a baking dish. Discard remaining marinade, we don't want a lot of excess liquid in the dish with the chicken while baking. Sprinkle olives on top of chicken and arrange lemon slices, 2 halves per chicken breast. 
  3. Bake at 375°F for 30-40 minutes, or until internal temperature reaches 155°F. I highly recommend investing in an instant read thermometer (like I explain here!) so that you never overcook your meats again.
  4. Once baked through, remove from oven and transfer to plates. Garnish with a sprinkle of feta cheese or fresh dill.

Nutritional Information (1 serving, roughly 5 oz cooked):

210 calories - 38g Protein, 1g Carbohydrates, 5.8g Fat


Posted on January 28, 2016 and filed under Recipes, Chicken.

Double Chocolate Peppermint Protein Muffins

Double Chocolate Peppermint Protein Muffins | My Engineered Nutrition

While I dream of having a full time job has a food blogger someday, whipping up recipes day in and day out, the current reality is that I'm an engineer (gotta pay the bills to buy all this food somehow). At my office, we have a quarky birthday tradition: when it is your birthday, you bring in treats for the office. A backwards tradition that I've actually grown fond of. 

Things are starting to get more serious with my figure prep as I near being just 9 weeks out. What fun is bringing in birthday treats if the birthday girl herself can't eat them?? This pushed me to get creative with my baking!

Double Chocolate Peppermint Protein Muffins | My Engineered Nutrition

First to come to mind was cupcakes. I love baking cupcakes and have created some pretty fantastic cakes in years past. The best part of a cupcake, in my opinion, is the frosting/topping. You know what makes it so good? BUTTER. 

I would have LOVED to make a full fat birthday treat, however, I have my eyes set to my goal. So what if I ditched the frosting? What is a cupcake without frosting? Ah yes - a muffin.

Double Chocolate Peppermint Protein Muffins | My Engineered Nutrition

I knew I wanted a healthy dose of chocolate and I'd also been craving some Holiday inspired. What pairs better during the holiday season than chocolate and peppermint? Now, this is a stretch to call this delicious creation a muffin. Most often muffins are thought of as a breakfast food. These can easily pass for dessert. I did put my signature spin on these and added in protein powder, so that counts for "breakfast"...right?

I brought 3 dozen of these into my office and they were eaten up in record speed. If you are looking for a crowd-pleasing dessert to serve up this holiday season that tastes like it is a decadent treat but is actually low fat, gluten free and packed with protein, do yourself a favor and bake up a batch of these Double Chocolate Peppermint Protein Muffins!

Double Chocolate Peppermint Protein Muffins | My Engineered Nutrition

Double Chocolate Peppermint Protein Muffins

Prep Time: 25 minutes

Bake Time: 15 minutes

Servings: 12 muffins

Ingredients:

Kitchen Tools:

  • Muffin tin
  • Stand mixer or electric hand mixer

Directions: 

  1. Preheat oven to 425°F. Prepare muffin tin by spraying with oil or brushing with a small bit of butter. Prepare candy canes by placing them within a plastic Ziploc bag and crushing with a rolling pin (this part can get fun). 
  2. In a medium bowl, combine flour, cocoa powder, sugar, protein, baking powder and salt. Whisk to combine. 
  3. In a stand mixer (or large bowl with hand mixer), combine coconut milk, Greek yogurt, eggs, and vanilla. Whisk until light and fluffy, about 1 minute at medium-high speed. Remove bowl from stand mixer (or remove hand mixer) and add in dry ingredients. By hand, mix in the dry ingredients with a hand whisk and spatula. It is important NOT to over mix! The batter will be fairly thick; scoop-able, not pour-able. Once well incorporated, mix in chocolate chips and crushed candy cane. 
  4. Scoop batter into muffin tin. Place tin in oven to bake. Immediately after closing oven door, reduce temperature to 375°F. Bake muffins for 15 minutes or until a toothpick inserted into the muffins comes out clean. Allow to cool for 5 minutes within the pan and then remove to finish cooling on a cooling rack. 

Nutritional Information (1 muffin)

186 Calories - 8g Protein, 31g Carbohydrates, 3.2g Fat

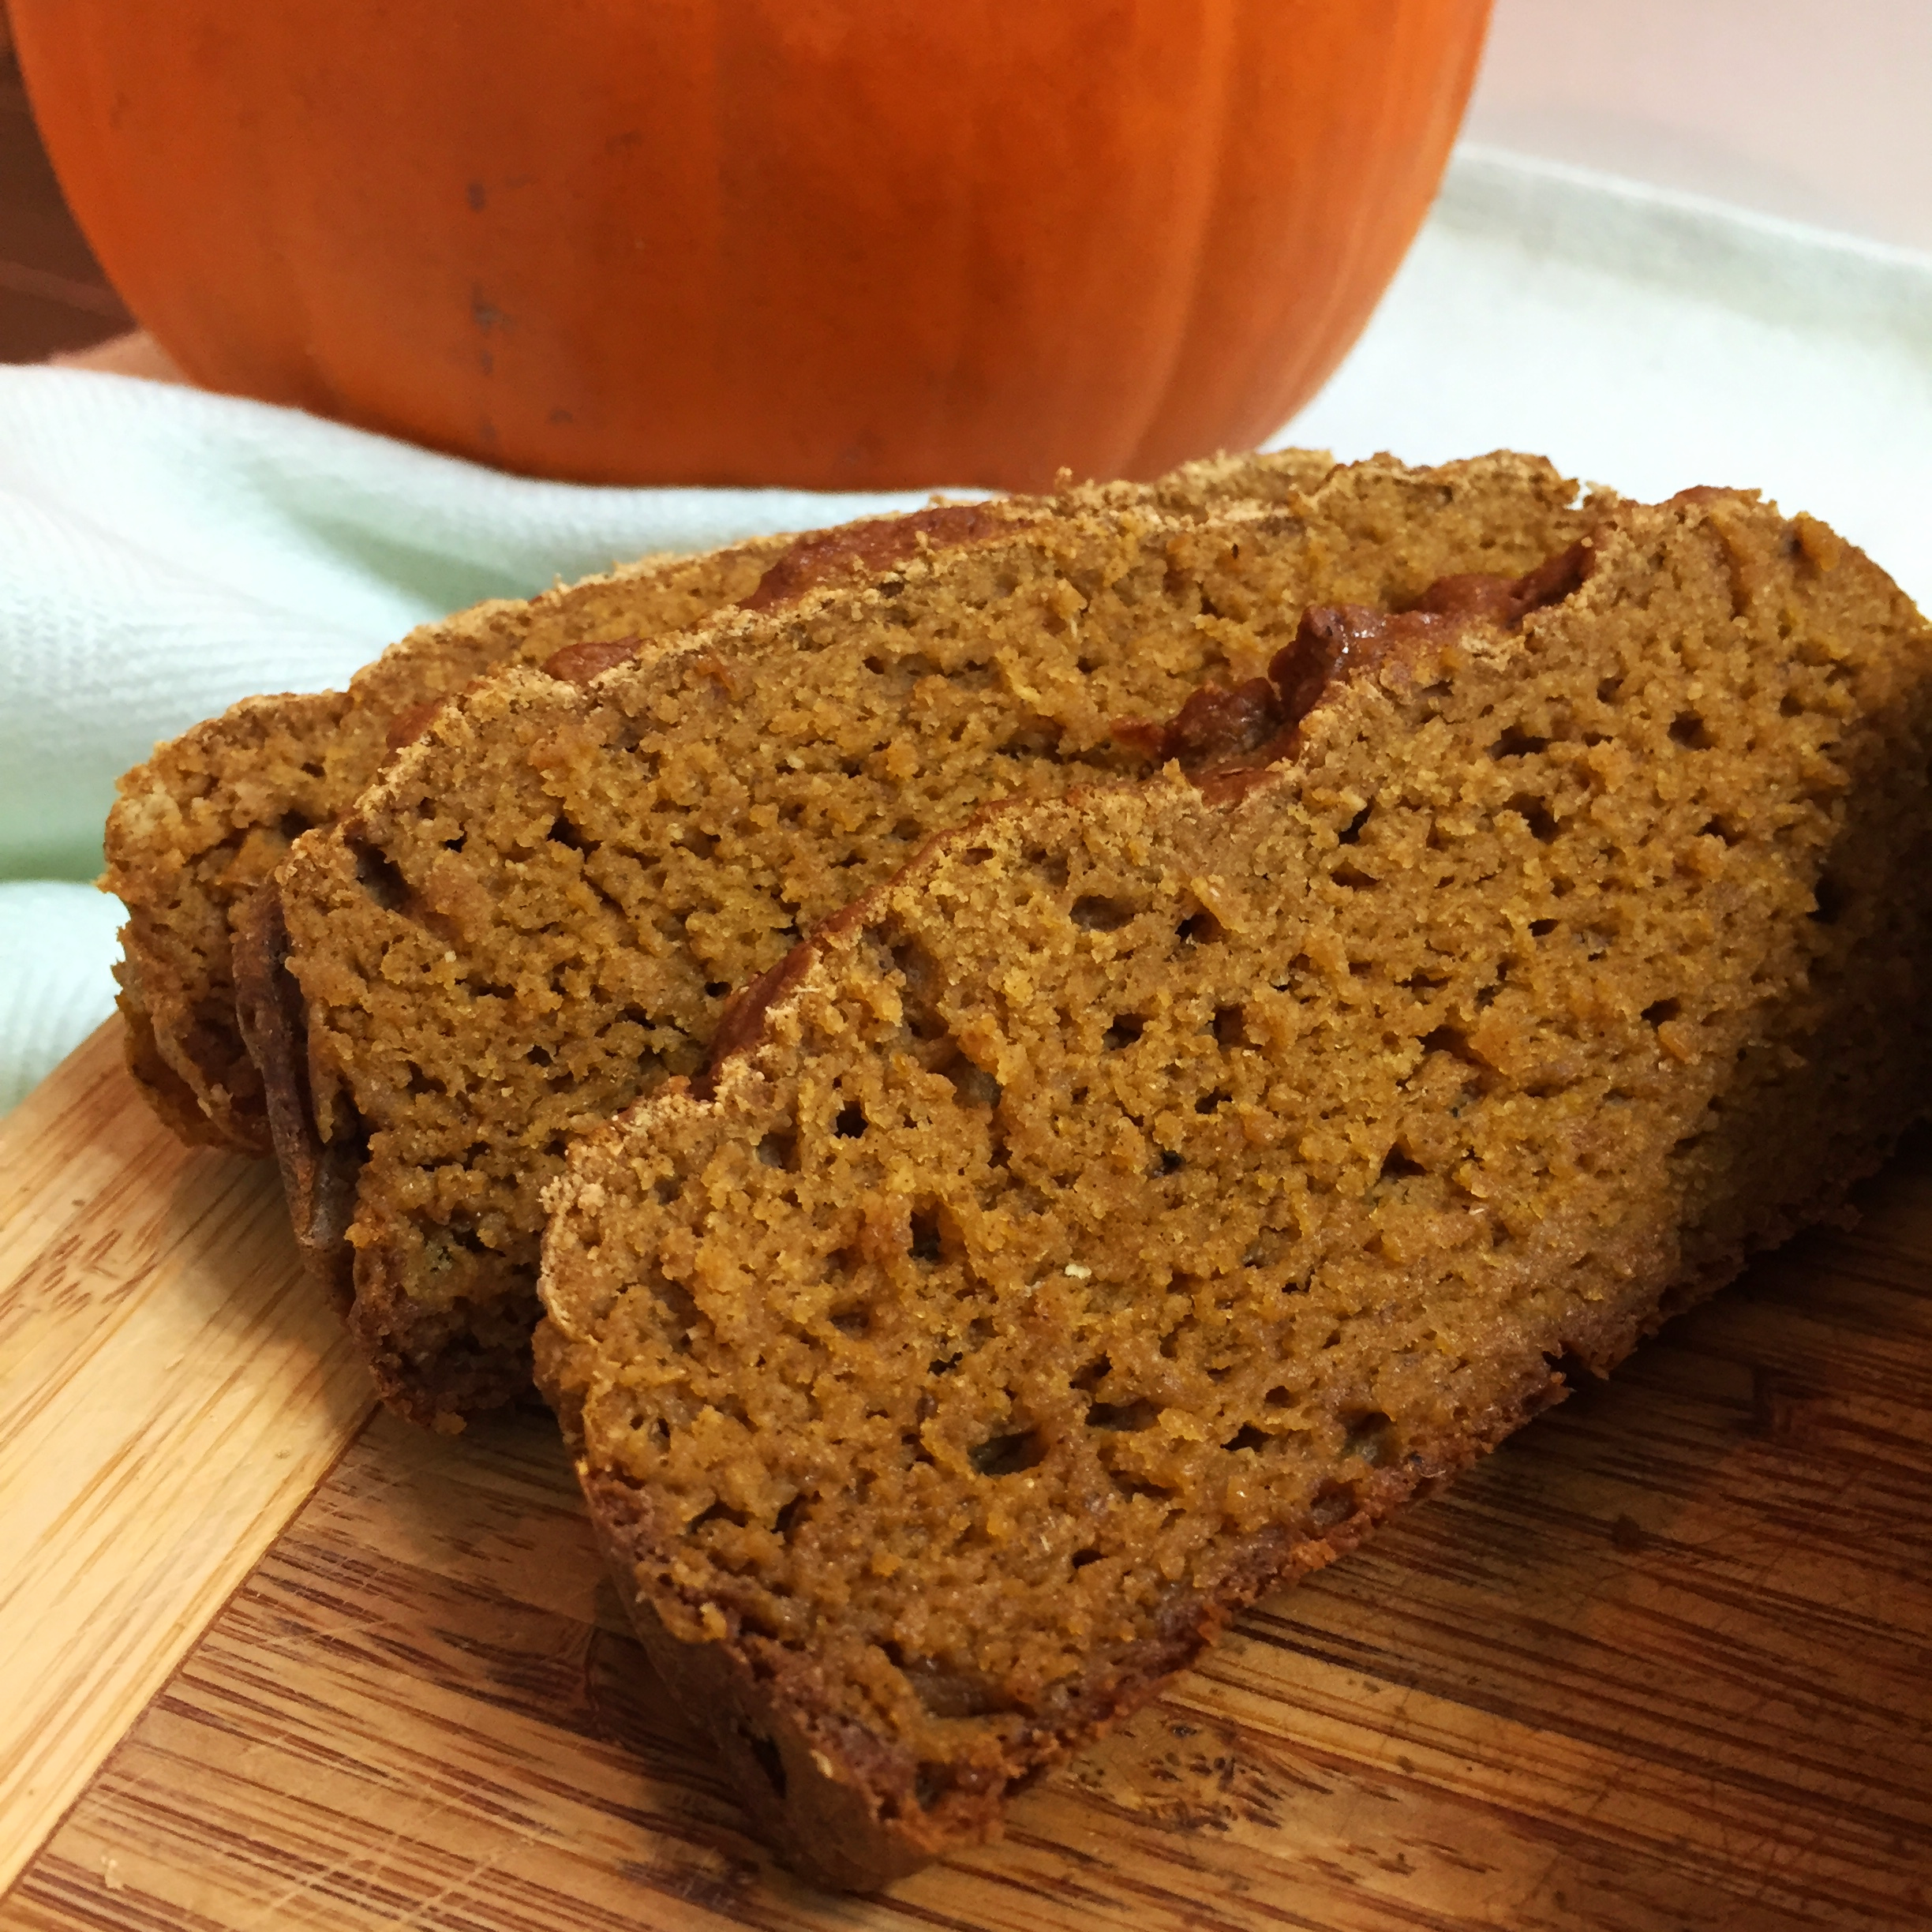
Pumpkin Bread

Pumpkin Bread | My Engineered Nutrition

WARNING: This bread is HIGHLY addictive. May cause urges to eat entire loaf in one sitting.

You think I'm kidding? Wait until you have one bite of this deliciously moist, dense, pumpkin-spice-filled loaf of goodness. 

Did I mention this is also low fat, dairy free and gluten free? 

Pumpkin Bread | My Engineered Nutrition

I made this merely on a whim. With my competition prep in full swing, I wanted to create a dessert that could fit within my nutrition plan. This meant something that was low in fat for my training days, but at the same time not super high in carbohydrates either. Because I absolutely hate wasting food, I first investigated what I had in my refrigerator - an open can of pumpkin puree and an overly ripe banana. In addition to that, I also had a few newly acquired loaf pans (thanks mom!) that I was itching to use. I saw a great opportunity for a low fat treat as pumpkin and banana are regularly used as butter and oil substitutes in baking!

Baking is always tricky to do without a recipe, at least for me. Add in the fact that this was a low fat recipe and gluten free, I had absolutely no idea how this would turn out. The base of this bread is cassava flour. This flour has changed the way I approach gluten free baking. Cassava is a hard root vegetable, also called yuca (not to be confused with yucca), arrowroot or tapioca. This flour is 100% grain, nut and gluten free! Cassava flour, flour made from the cassava root, is almost indistinguishable from all-purpose flour. While I use cassava flour in my recipe (and I highly recommend and encourage you to give it a try!) you could probably substitute an alternative gluten-free flour blend like Cup 4 Cup, however not almond or coconut flour as they have very different baking characteristics. If you absolutely must have wheat based all-purpose, I'm sure that will work as well, although I haven't tried it with different flours.

This bread isn't overly sweet, which is just the way I like it. In fact, I've only added 1/4 cup of unrefined coconut palm sugar. When I was researching recipes for pumpkin bread I was surprised to find that most had upwards of 2 cups refined sugar! Not for me! The majority of the sweetness comes from a ripened banana - nature's sweetener. Rest assured, with all natural ingredients this is a guilt free treat! 

Pumpkin Bread | My Engineered Nutrition

Pumpkin Loaf

Prep Time: 10 min

Baking Time: 45-55 minutes

Servings: 12

Ingredients: 

  • 1-1/2 cup cassava flour (or Bob's 1-to-1 Gluten Free Flour or All-Purpose Flour works just as well!)
  • 1/2 tsp salt
  • 1 tsp baking soda
  • 1/2 tsp baking powder
  • 1-1/2 tsp pumpkin pie spice
  • 1/4 cup coconut palm sugar
  • 1 ripened banana (brown spotted) 
  • 1 cup pumpkin purée 
  • 2 eggs

Directions: 

  1. Preheat oven to 350F. Line a loaf pan with parchment paper or grease with a small bit of butter or coconut oil. 
  2. Whisk together cassava flour, salt, baking powder, baking soda and pumpkin pie spice in a small mixing bowl. Set aside. 
  3. In a large mixing bowl, beat banana and coconut palm sugar with a hand mixer or in a stand mixer until banana is 'creamed', much like if you were beating butter and sugar. Do this until light and fluffy and sugar is well incorporated.
  4. Add eggs, one at a time, and beat well until fluffy, about 5 minutes. Add pumpkin and mix to incorporate.
  5. Beat flour mixture into wet ingredients. Pour batter into prepared loaf pan.
  6. Bake for 45-55 minutes or until inserted toothpick comes out clean. Remove pan from oven and allow to cool 10 minutes in pan before removing. After 10 minutes, remove from pan to a board or plate and all to cool completely.

Nutritional Information (1 slice, total loaf makes 12 slices) 

90 calories - 1.5g Protein, 18g Carbohydrates, 1g Fat