Posts tagged #Baking

Pumpkin Protein Pancakes

Pumpkin Protein Pancakes | My Engineered Nutrition

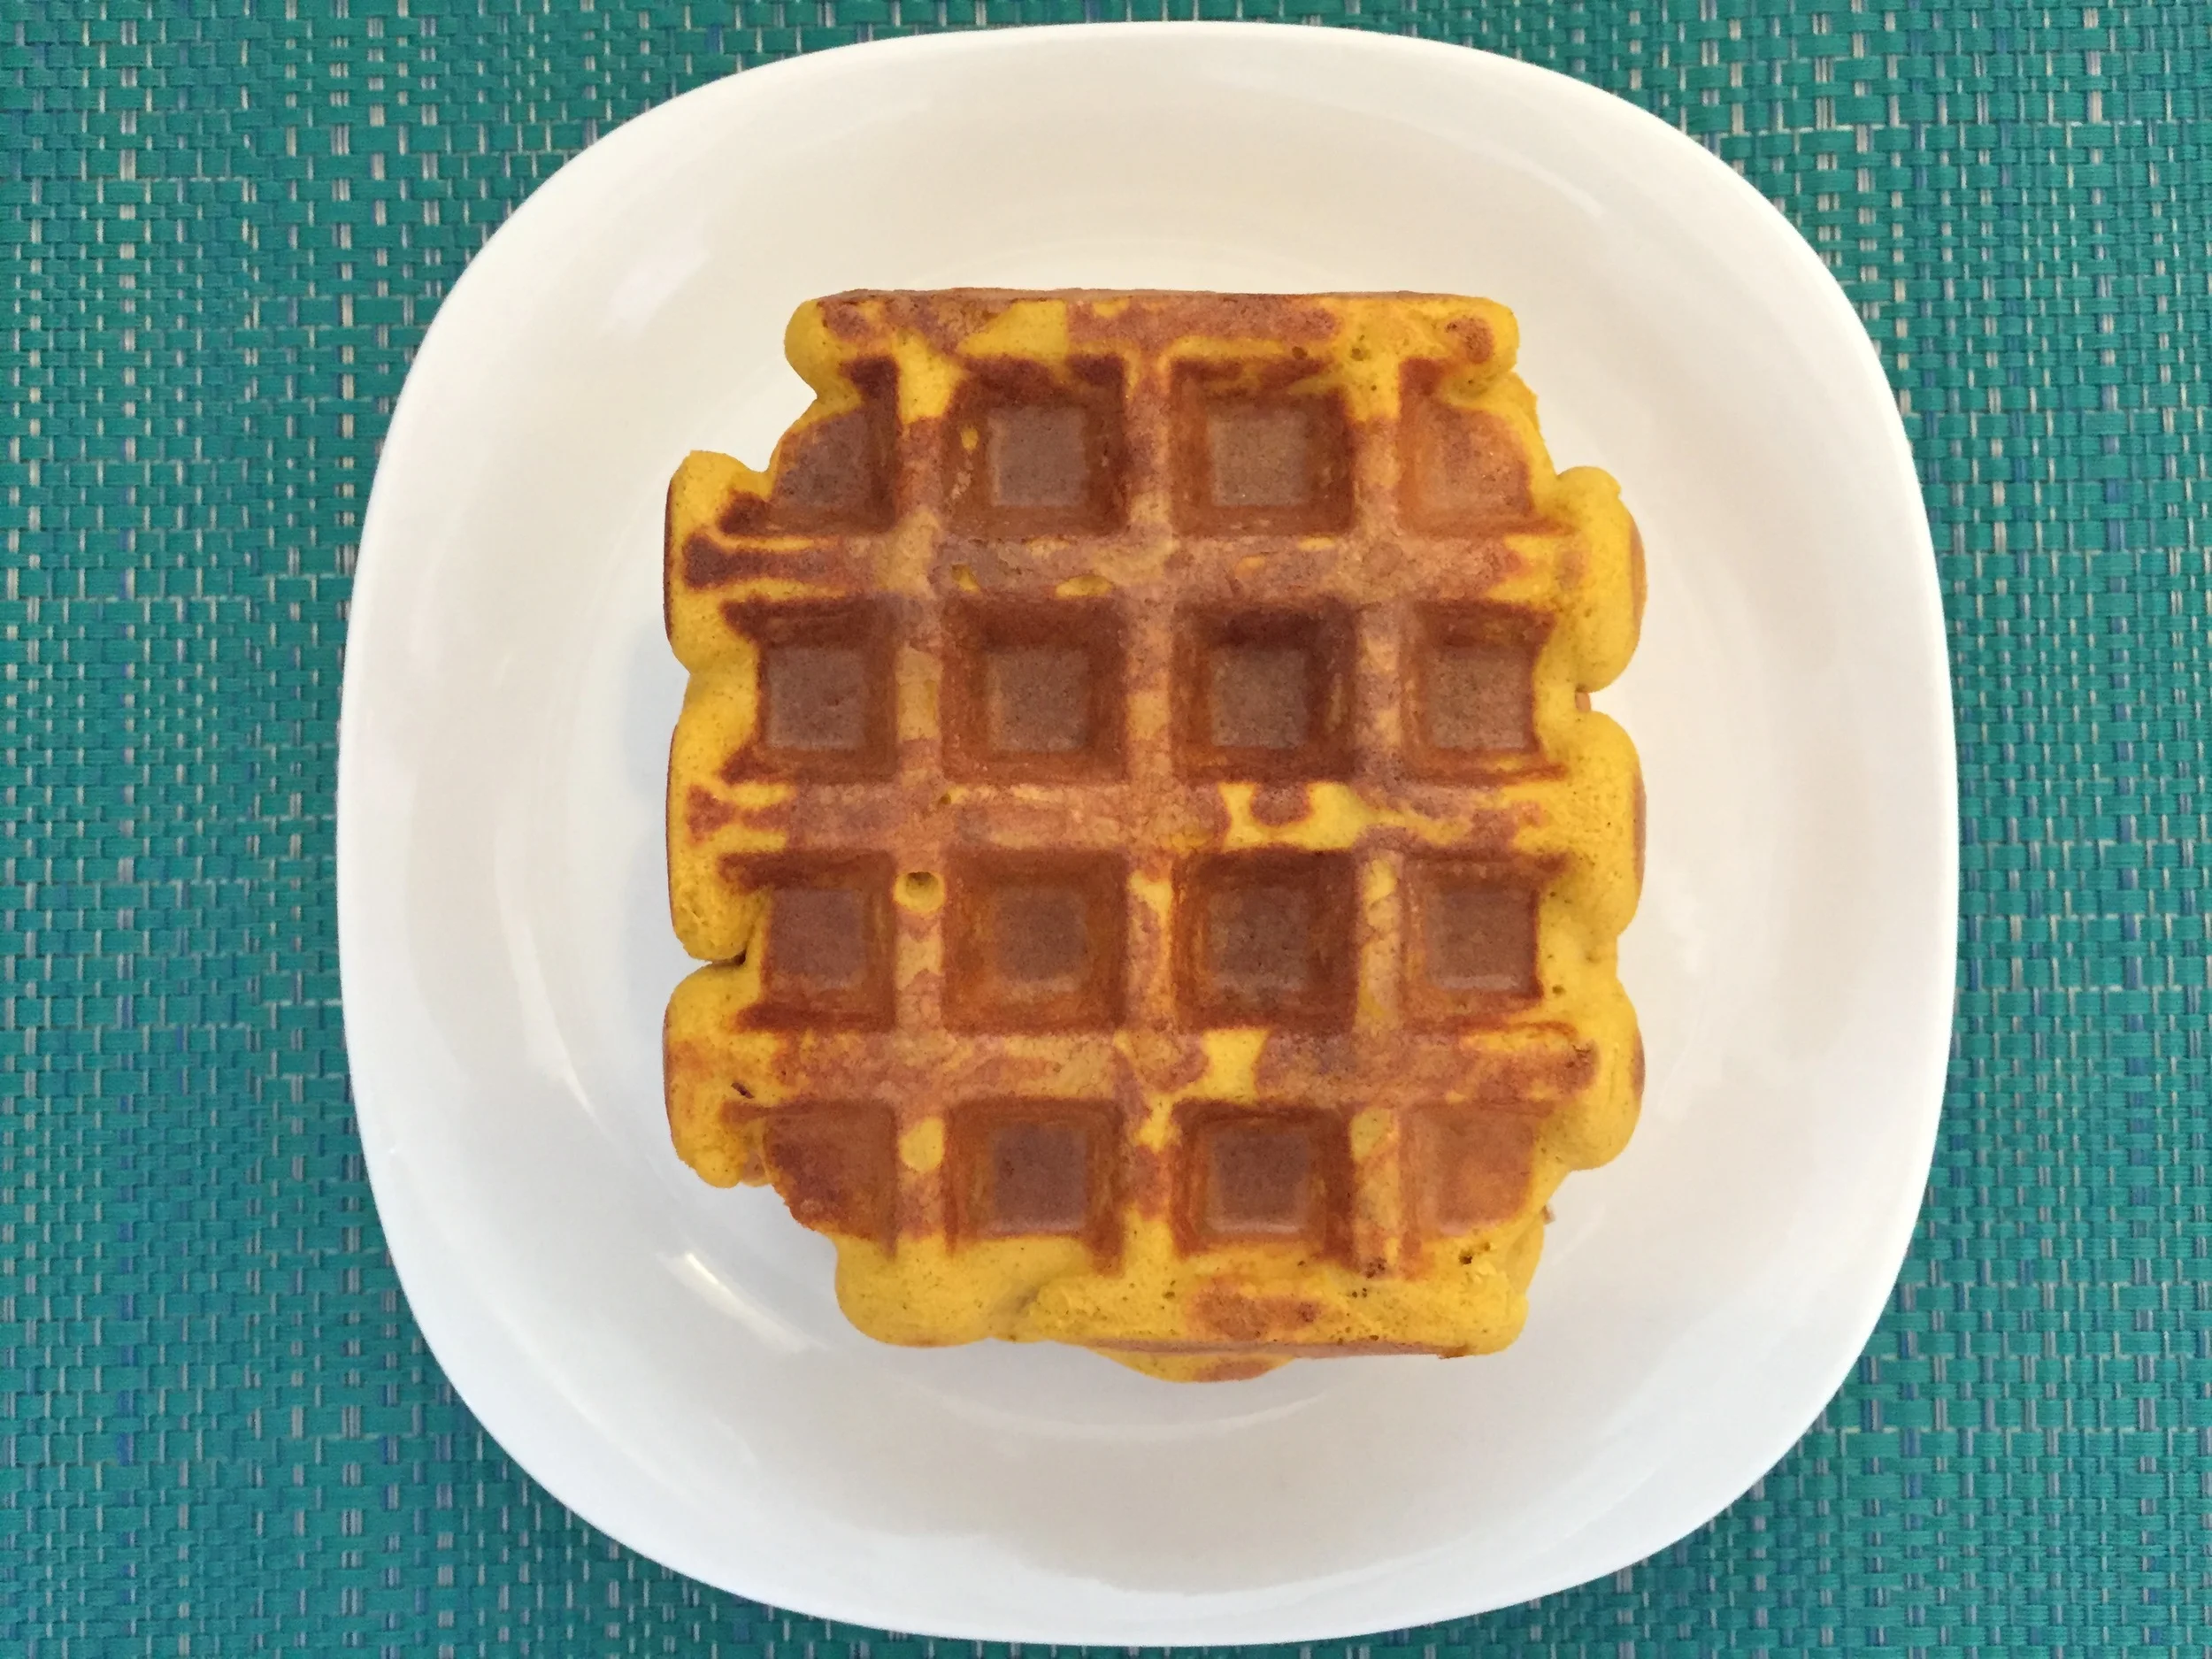
October is mere days away, which can only mean one thing: PUMPKIN SEASON! Let’s kick the season off right and make a big stack of these Pumpkin Protein Pancakes together, shall we?

Pumpkin Protein Pancakes | My Engineered Nutrition

Protein pancakes are a fickle thing. If you’ve been a follower of MEN, then you know my feelings towards them back when I posted my Fluffy Protein Pancakes using egg white protein powder. I still love those pancakes (seriously, try them if you haven’t already!) but it seems without fail I get questions about replacing other protein powder types with whey in my protein powder recipes. I get it, whey is the most popular protein powder type, but mannn is it tough to work with at times.

Pumpkin Protein Pancakes | My Engineered Nutrition

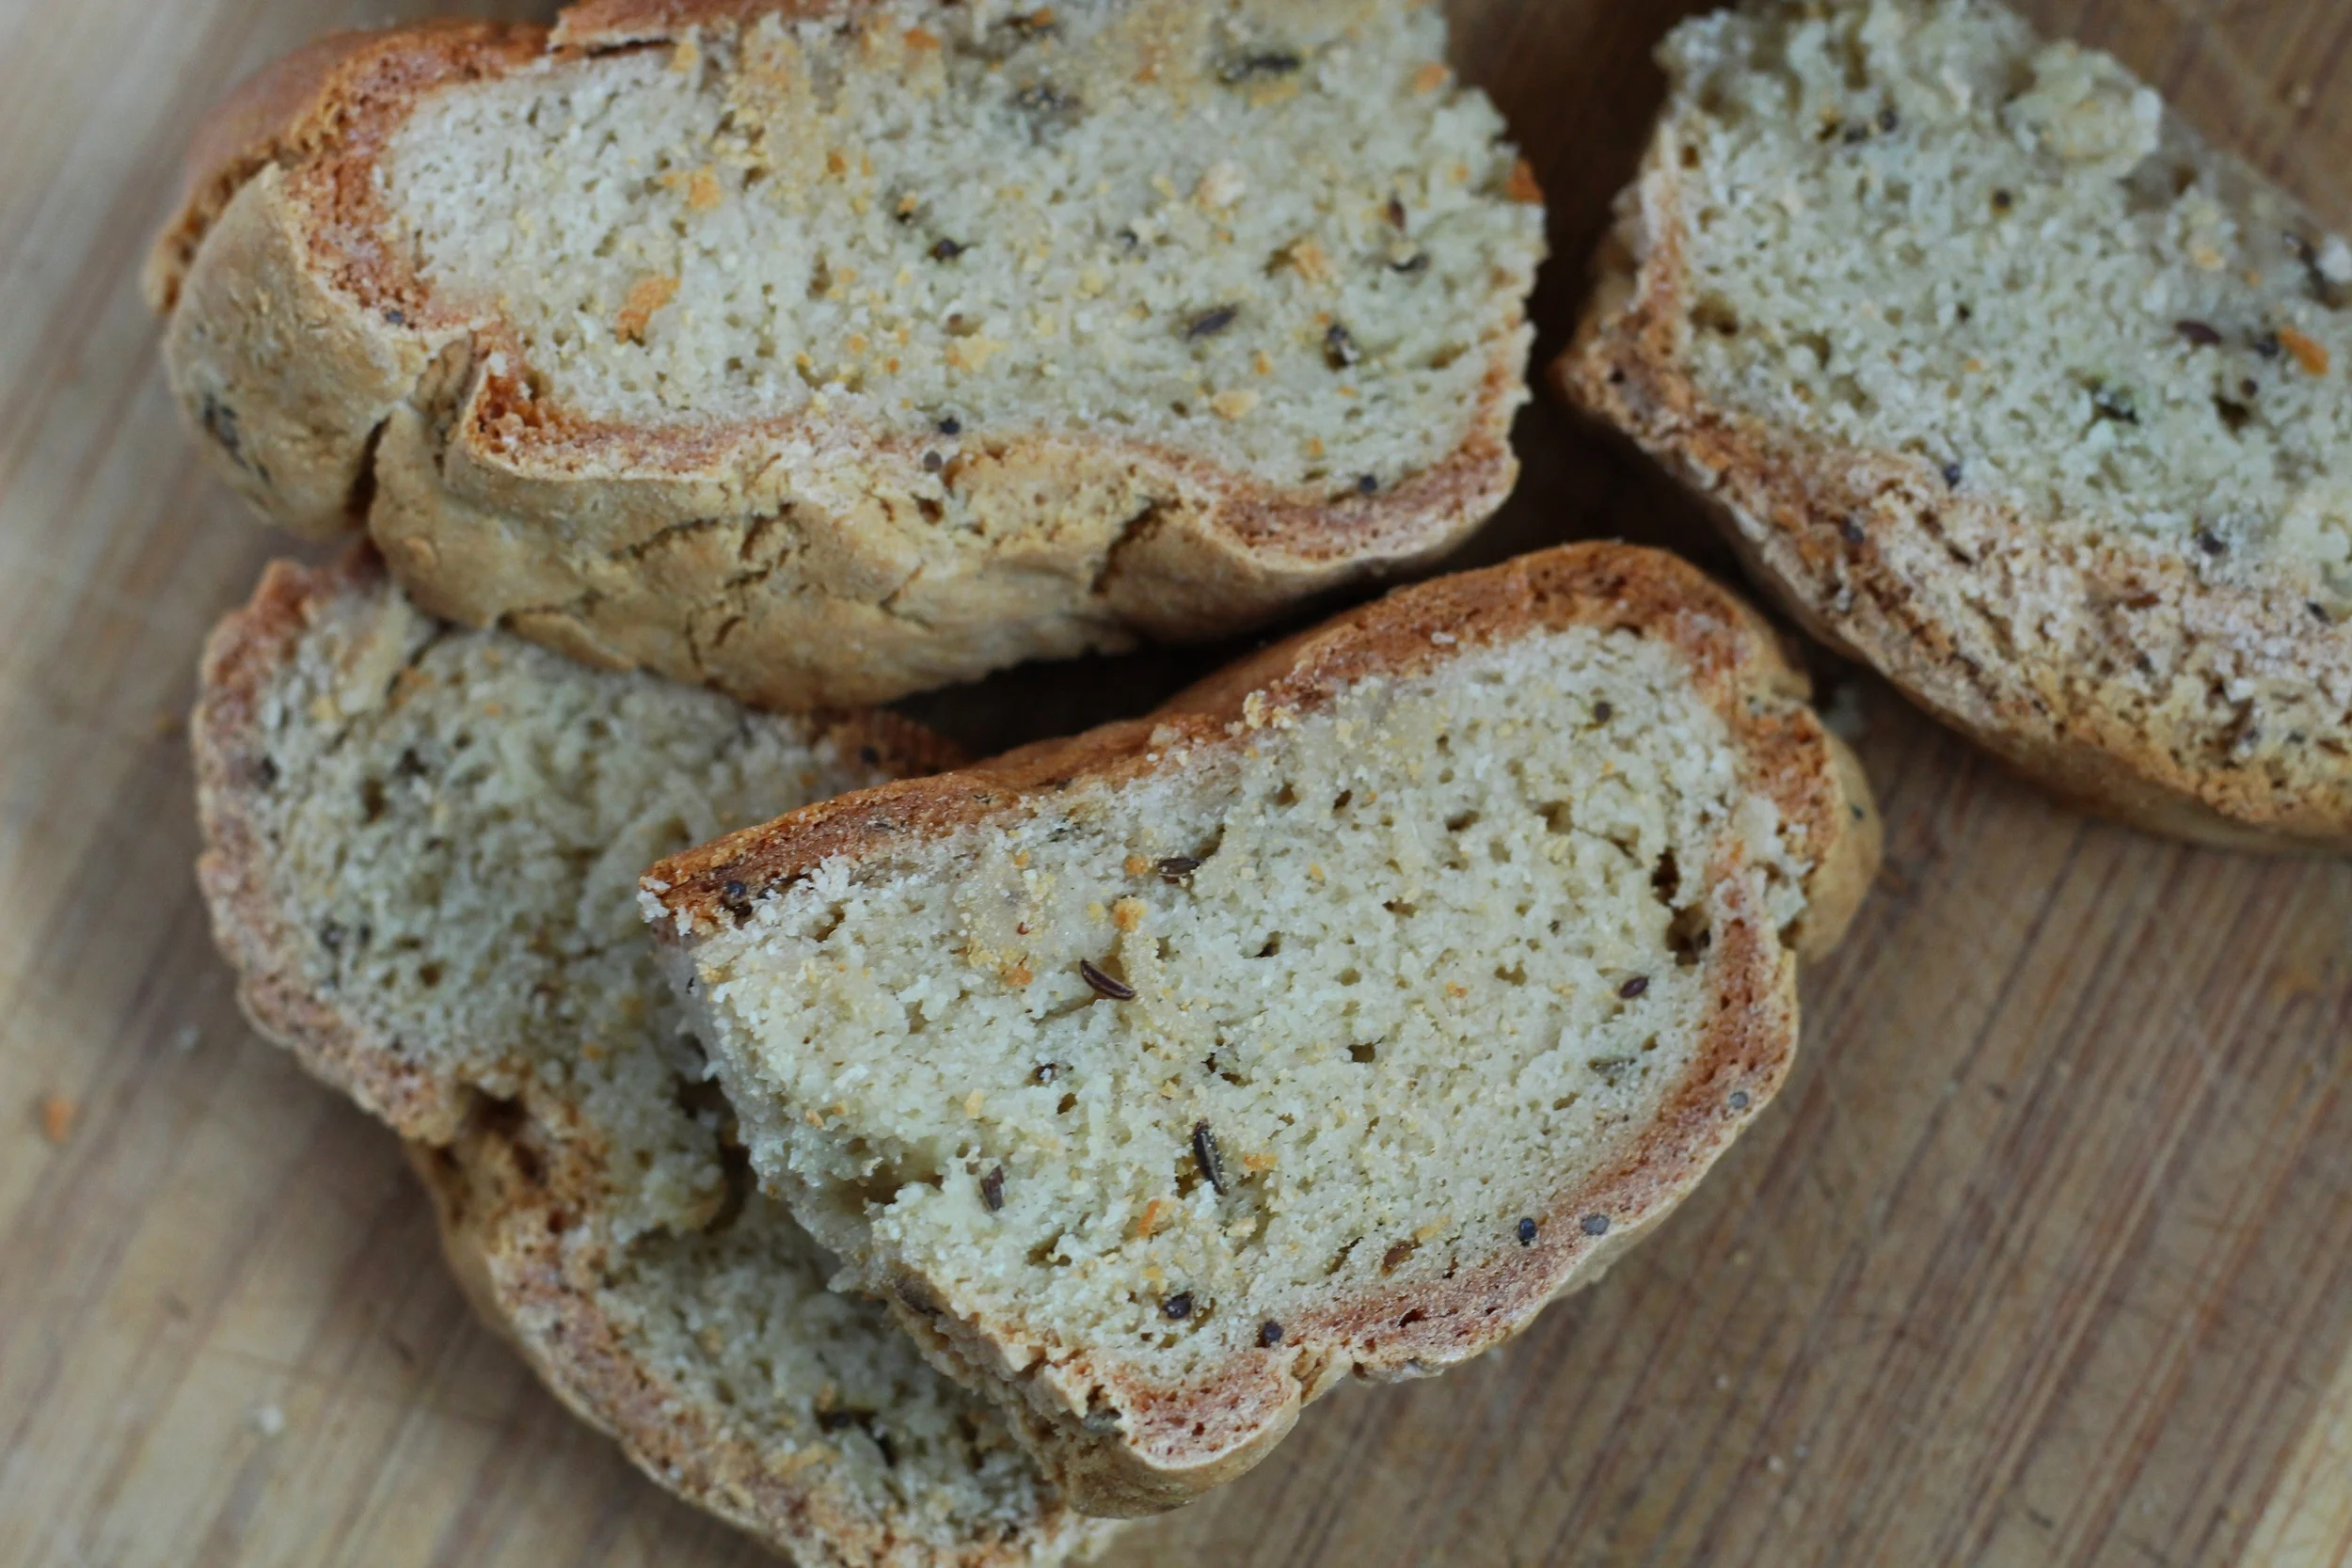
These pancakes were definitely a labor of love but the result is so worth it! I tweaked this recipe (no joke) 5 or 6 times to get it right. Unlike most protein powder pancakes I’ve tried, which can turn rubbery and dry, these stay soft and moist! The pumpkin definitely helps in that regard. These are low in fat, thanks to the applesauce and pumpkin acting as butter and egg substitutes, AND low carb/gluten free since we’re using coconut flour. You’ll have zero guilt eating the whole stack and if you’re really adventurous...drizzle a little pure maple syrup on top!

Happy Fall, y’all! 

Pumpkin Protein Pancakes | My Engineered Nutrition

Pumpkin Protein Pancakes

Prep Time: 5 minutes

Cook Time: 2 minutes

Servings: 6 pancakes

Ingredients: 

  • 1 scoop Cinnamon Whey Protein Powder (1/4 cup), vanilla would work as well
  • 2 tbsp coconut flour
  • 1/2 tsp baking powder
  • 1/4 tsp baking soda
  • Pinch of salt
  • 1/2 tsp cinnamon
  • 1/2 tsp pumpkin pie spice
  • 1/4 cup pure pumpkin puree
  • 1/4 cup unsweetened applesauce
  • 1 egg
  • 1 egg white
  • 1 tbsp almond milk (or milk of choice)
  • 1/2 tsp vanilla extract
  • Optional: Pure maple syrup for serving!

Directions:

  1. In a mixing bowl combine your dry ingredients: whey protein, coconut flour, baking powder, baking soda, salt and spices. Whisk to fully mix ingredients.
  2. In a small bowl combine all wet ingredients: pumpkin, applesauce, eggs, almond milk and vanilla. Whisk together and then add to dry ingredients. Whisk until all ingredients are incorporated.
  3. Heat a non-stick pan (I love my ceramic non-stick Greenpan) over medium heat - you don't want the pan too hot that it burns your pancakes! Scoop batter (approximately 1/4 c) onto pan. Cook the first side until you begin to see bubbles form, about 1-1/2 minute. Flip and continue to cook until both sides are browned, about another 30-45 seconds. Serve while hot! 

Nutritional Information (1 pancake):

50 calories - 7 g Protein, 4 g Carbohydrates, 1.2 g Fat


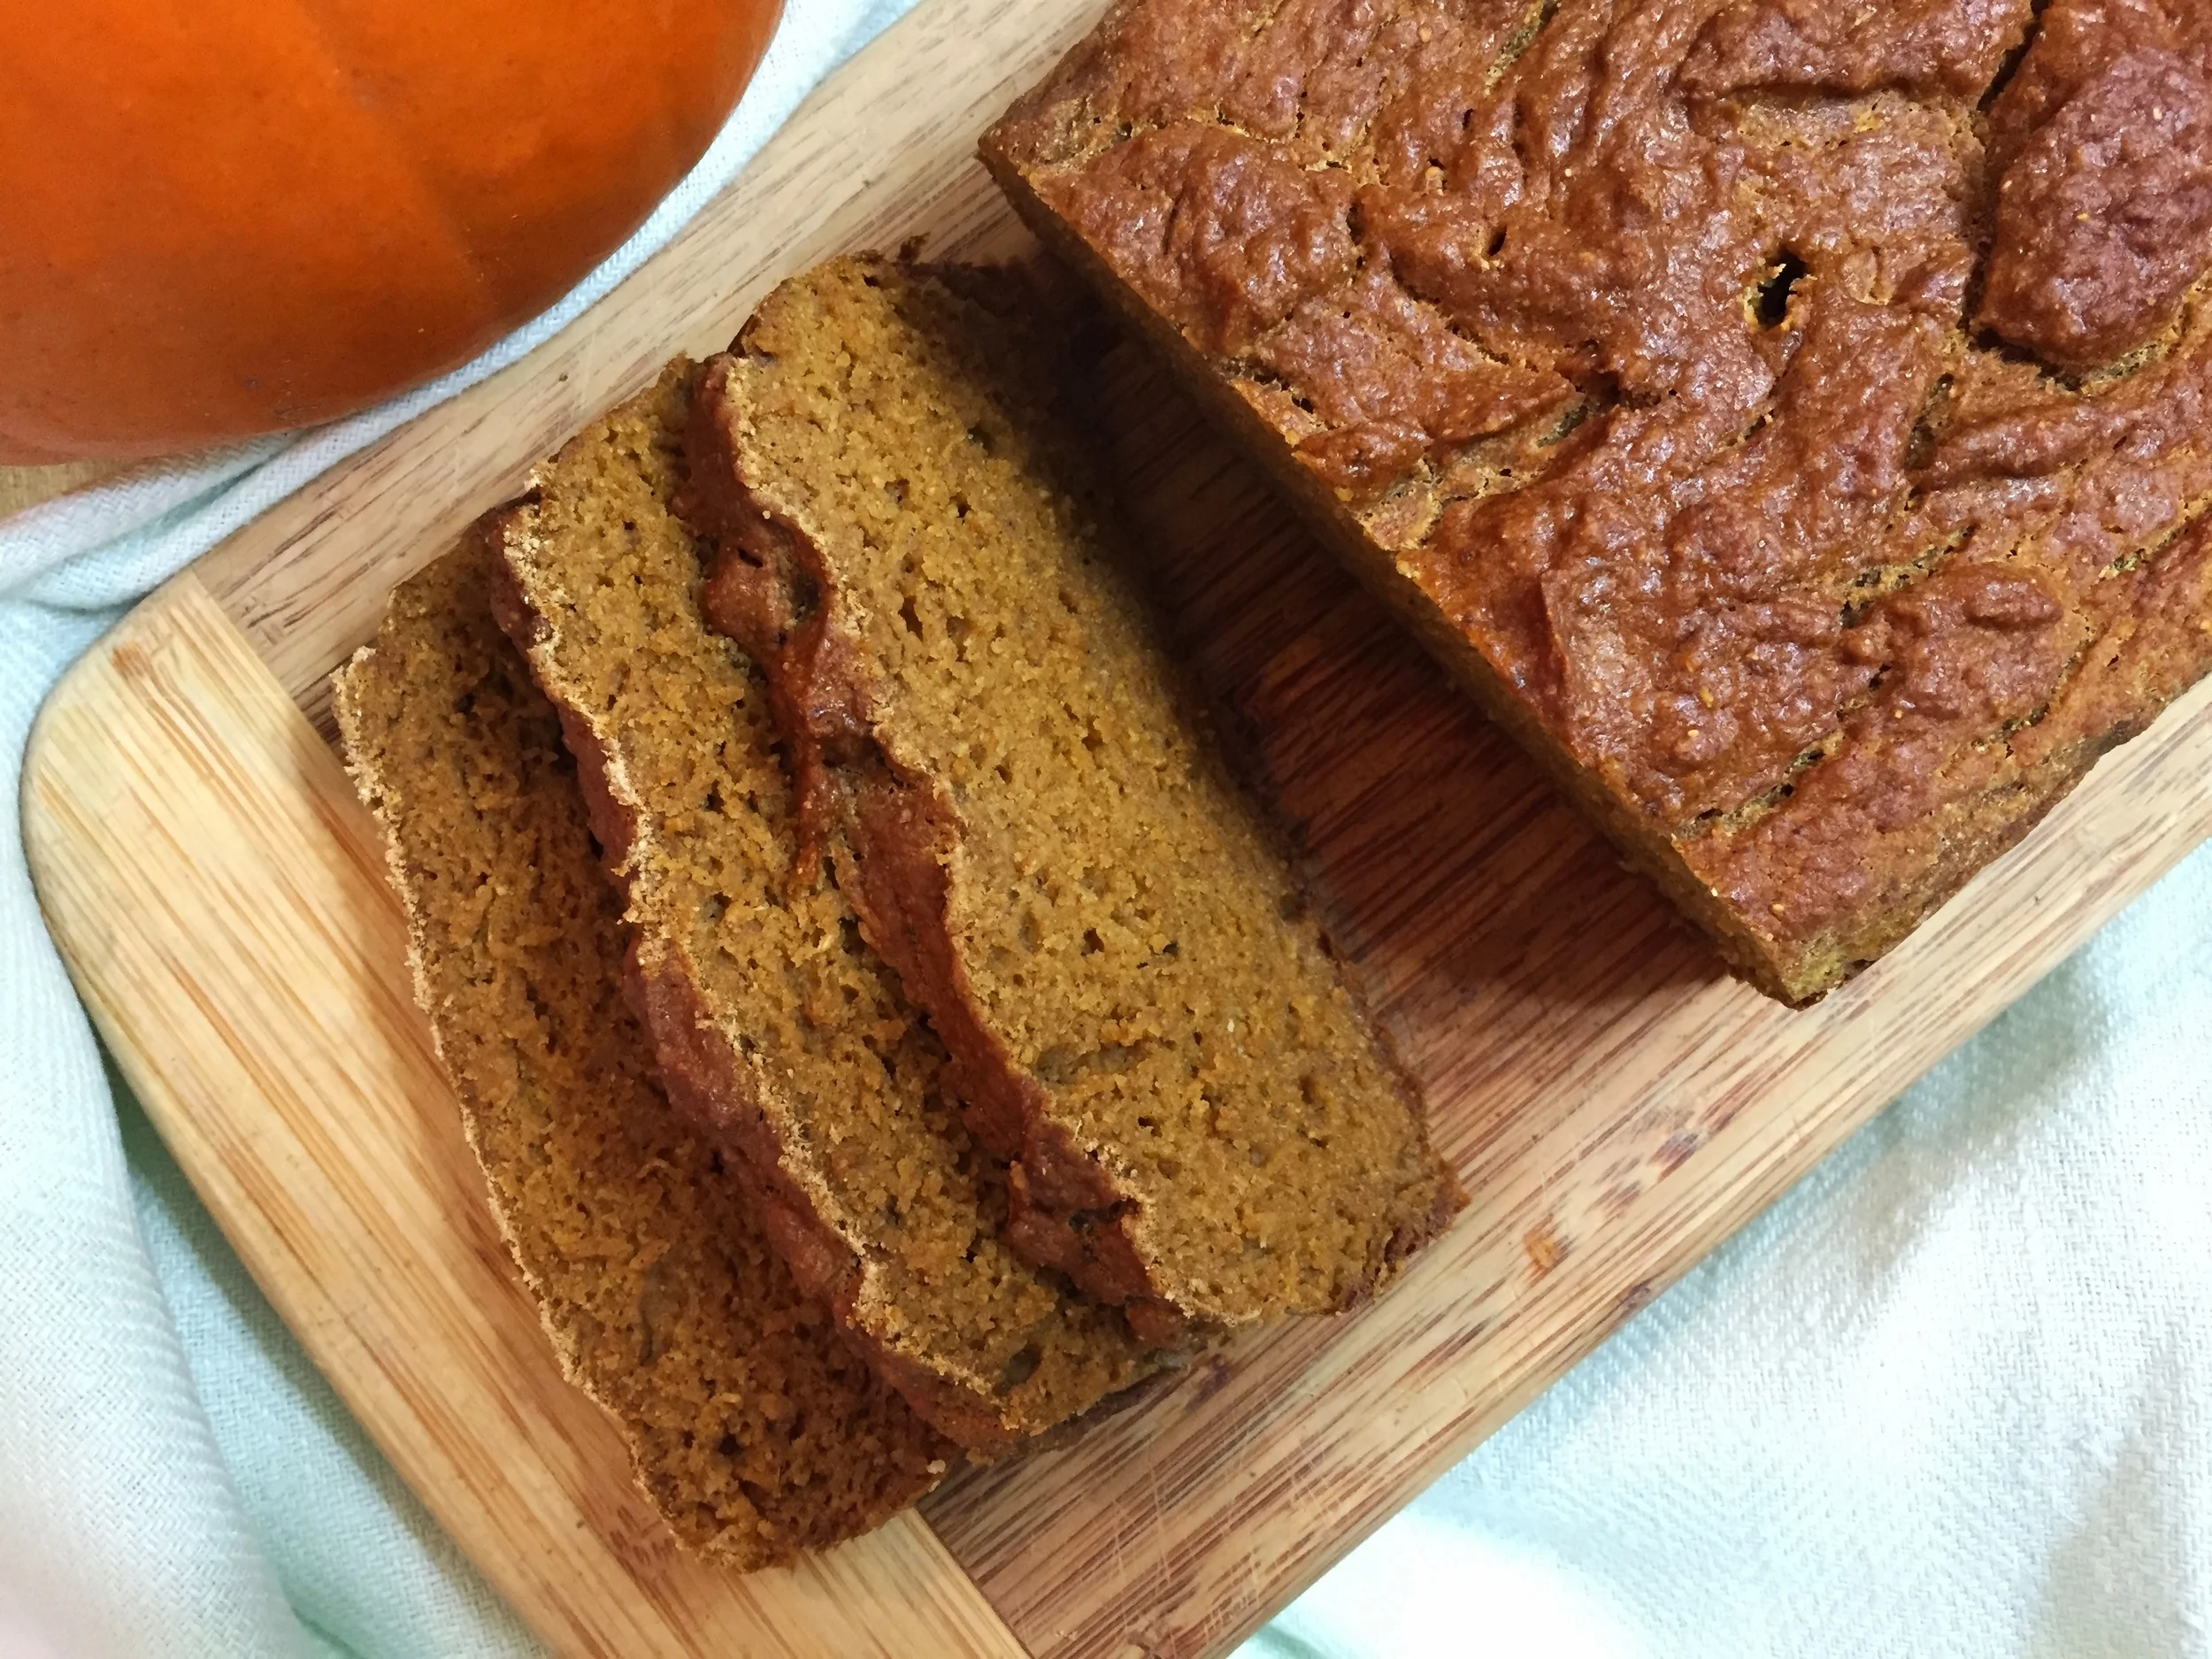
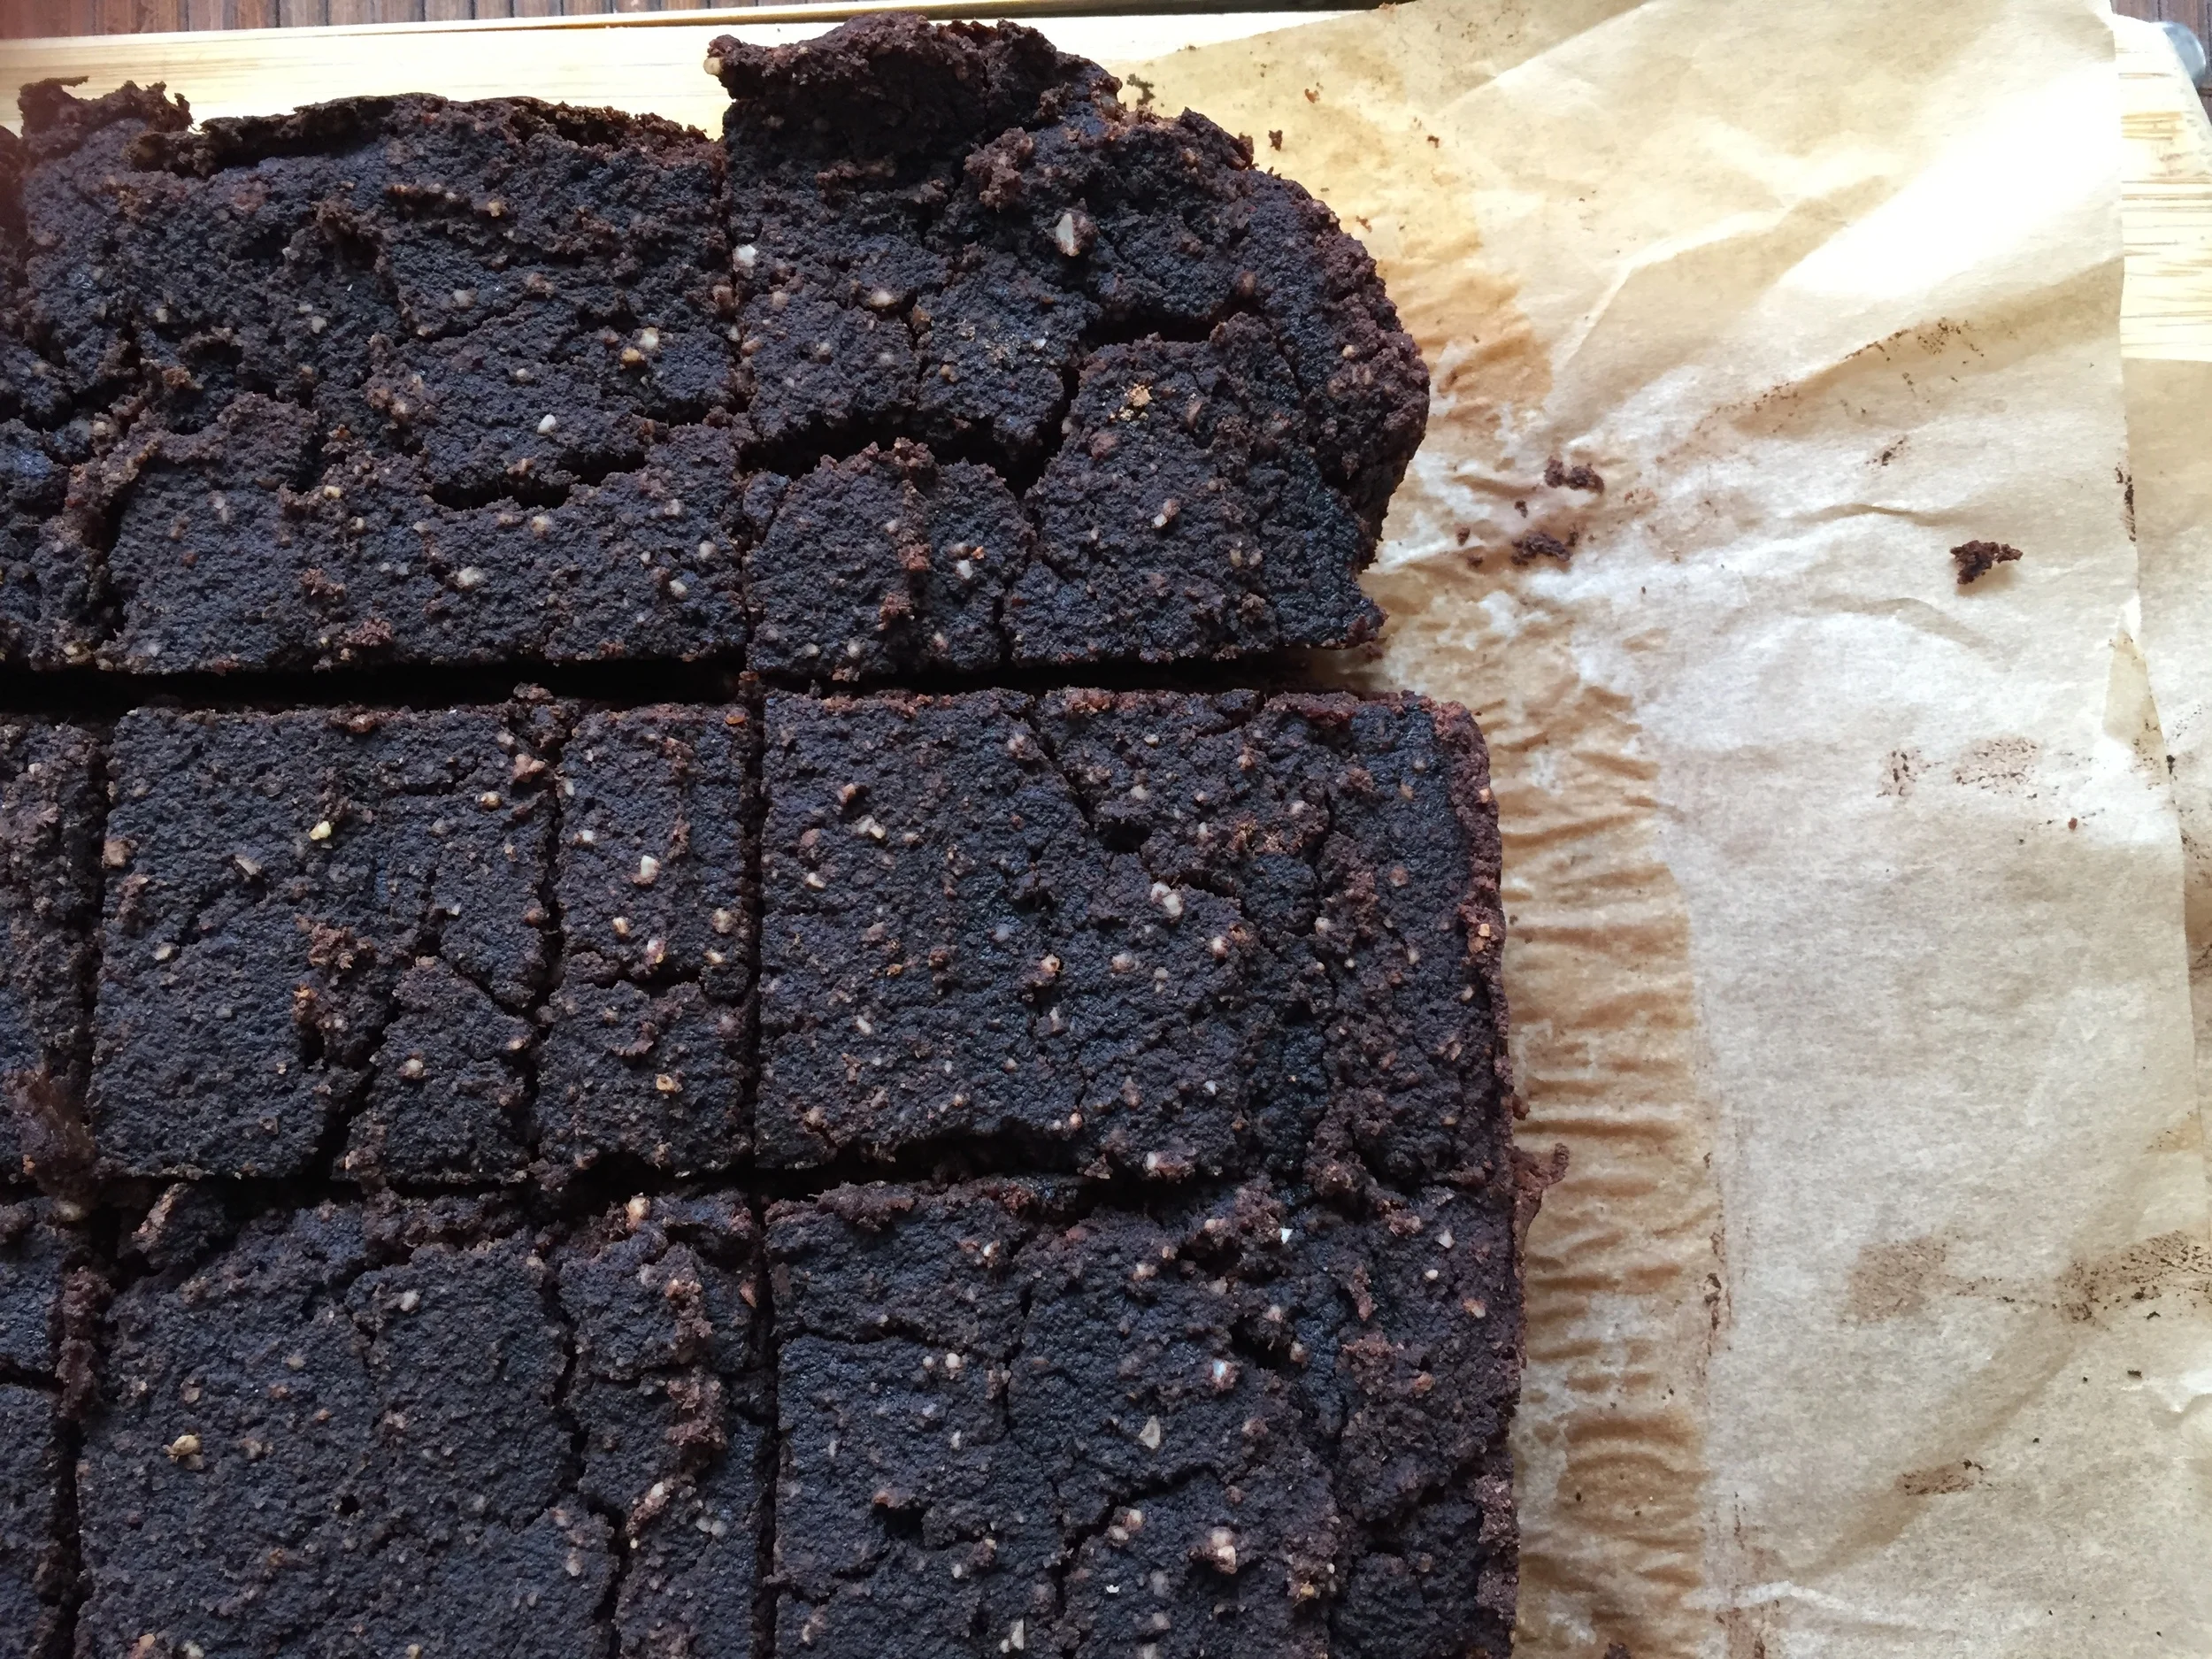
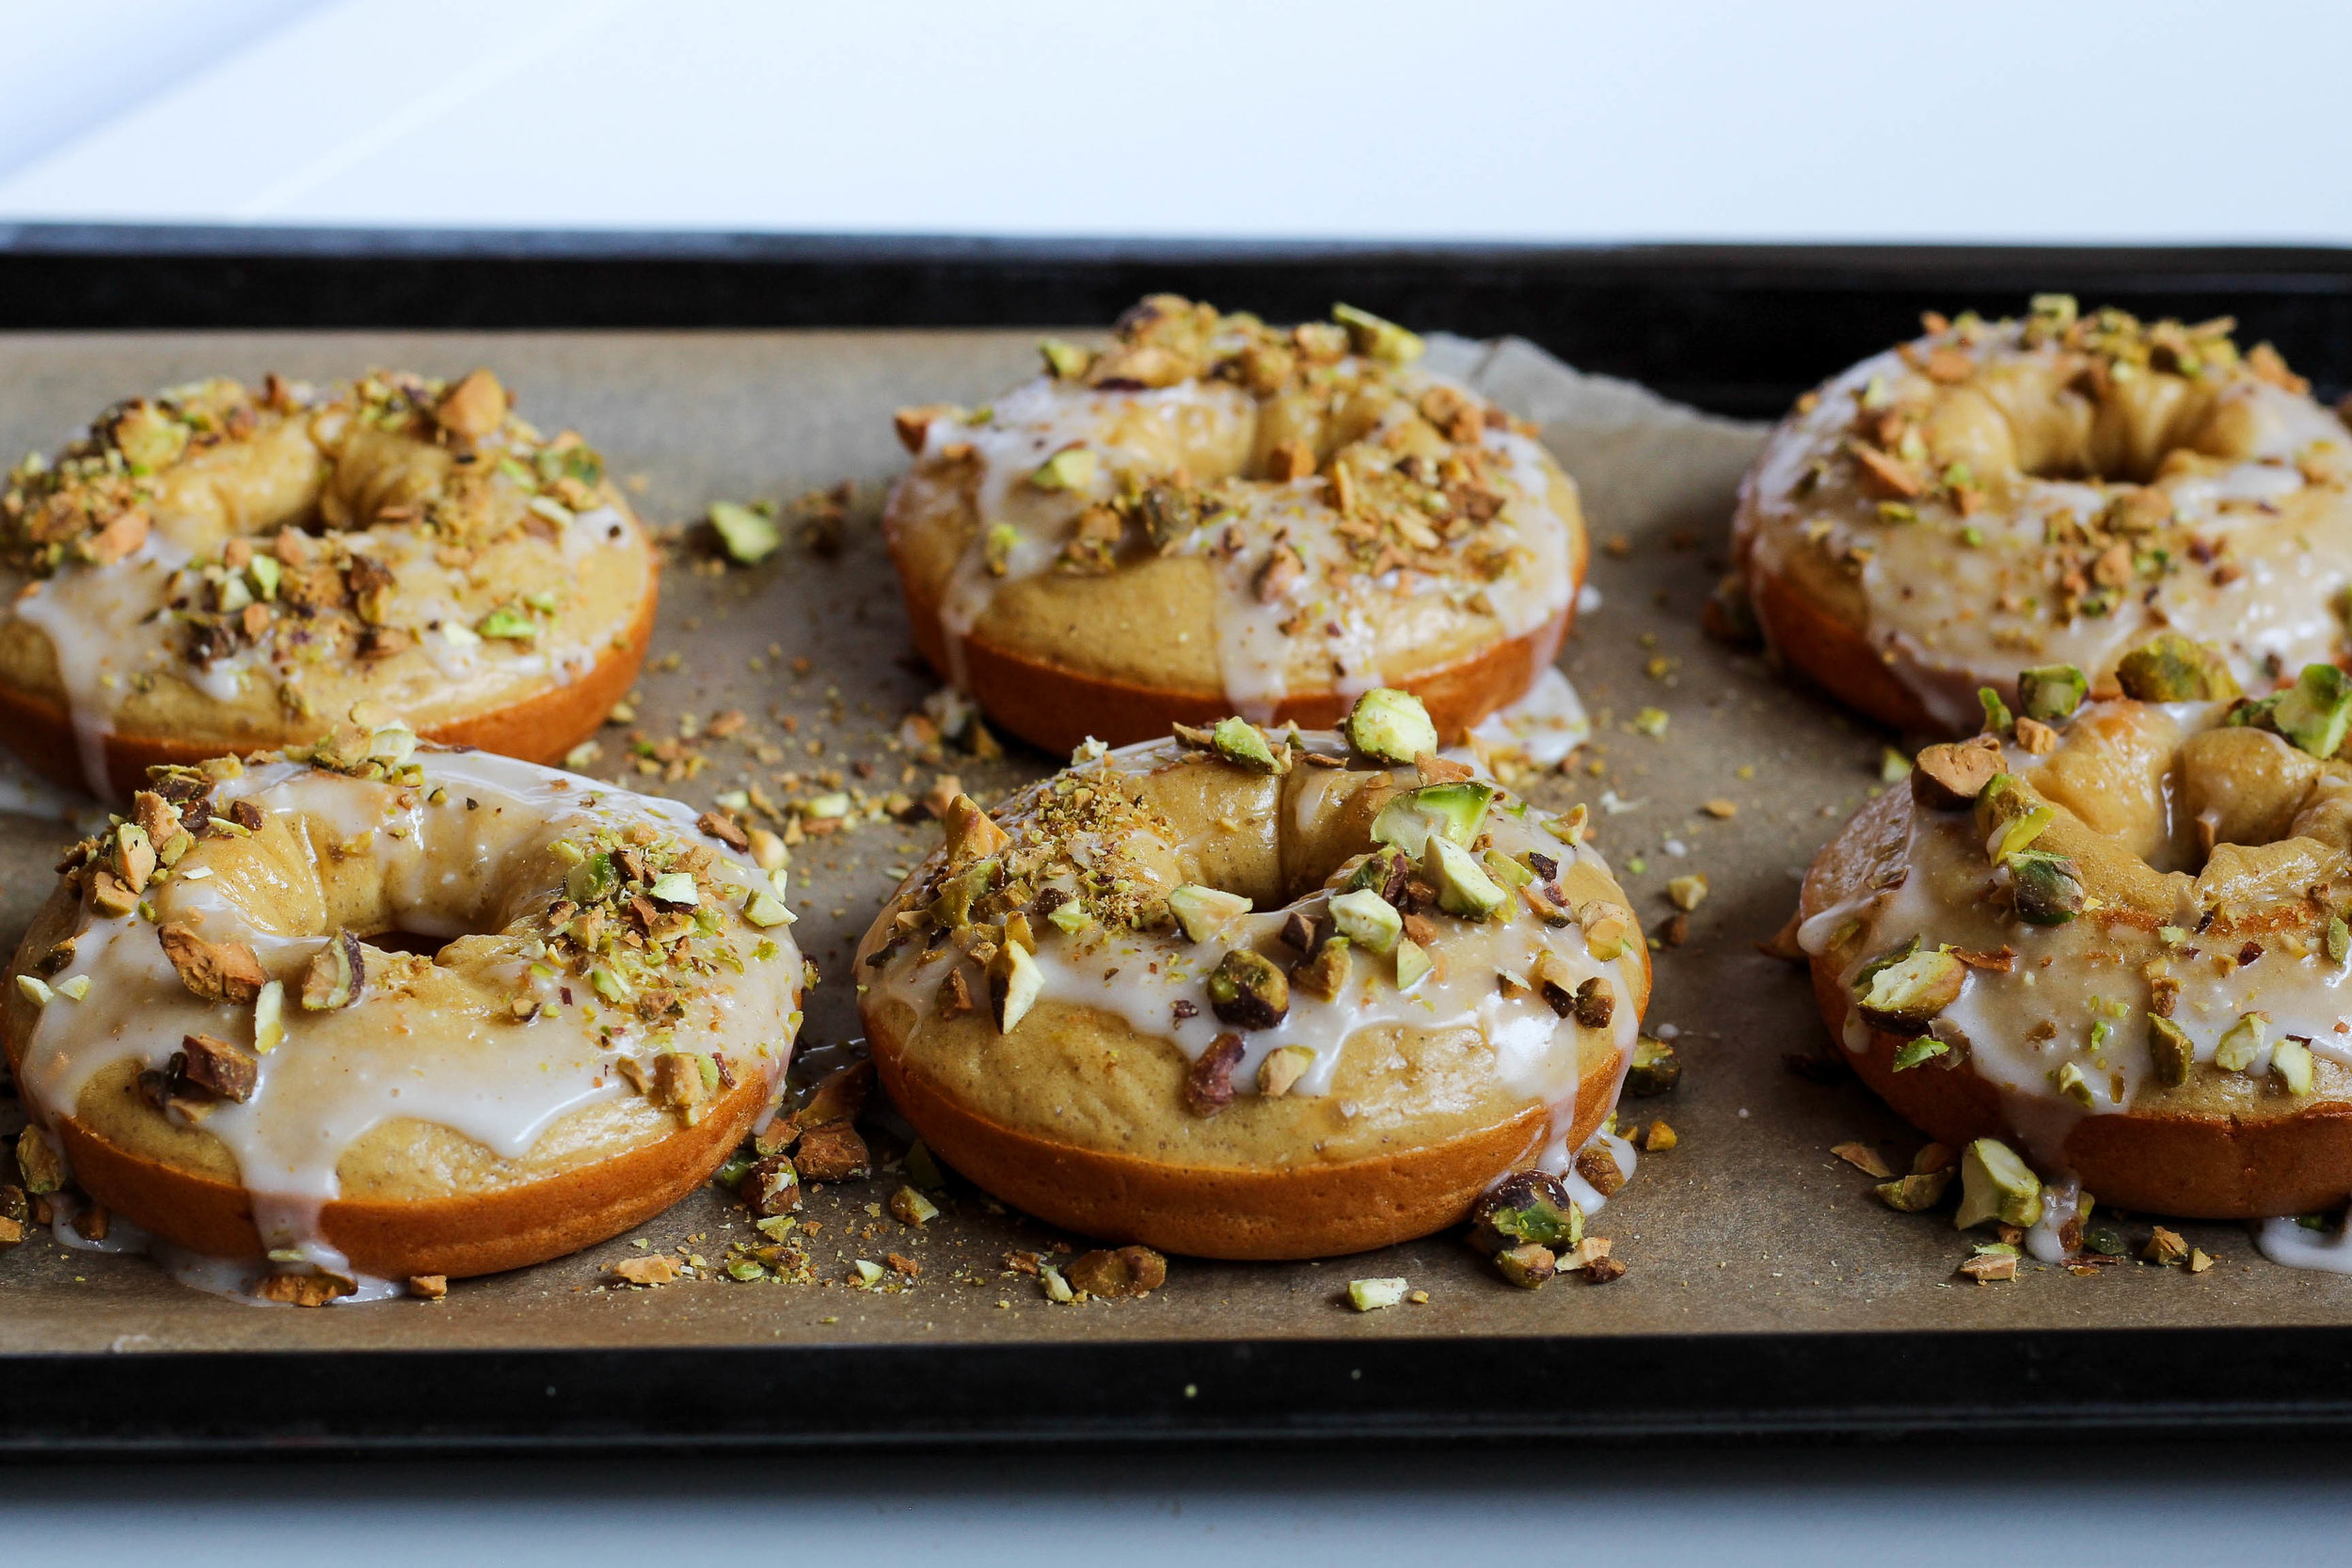
Looking for MORE pumpkin recipes? Here are few more My Engineered Nutrition favorites! 

Posted on September 28, 2017 and filed under Protein Powder, Breakfast, Recipes.

Lemon Pistachio Protein Donuts

Lemon Pistachio Donuts | My Engineered Nutrition

Oh.

My. 

Goodness.

These donuts. I just don't even have the words.

Lemon Pistachio Donuts | My Engineered Nutrition

Let me try and find them: LEMON. PISTACHIO. PROTEIN. DONUTS. 

Even though I made them myself, it is hard to believe how amazing these taste when they are made with protein powder. I mean, let's not fool ourselves - baking with protein powder is GREAT, but its never quite the real deal. But I swear to you, if you didn't know how these were made you would think I picked them up from a near by donut shop. 

Lemon Pistachio Donuts | My Engineered Nutrition

I will admit that I had my doubts I could ever get this recipe exactly spot on like I wanted it. The first attempt the batter had too much liquid and they baked flat and rubbery. The second attempt I almost had but it they were a little dry, however, still definitely edible, I just wasn't sold on the glaze. This third attempt I was determined to nail it and boy did I. 

I will say I tried so hard to make a "healthy" glaze for these donuts by using minimal sugar and even some whey protein powder in the mix, but it just wasn't the consistency I wanted. So I compromised and made a traditional glaze with powdered sugar and milk...but used it oh-so-sparingly. I try my hardest to steer clear of refined sugars but you know what, sometimes you gotta give a little.

Aside from the glaze these are incredibly healthy donuts! The lemon zest and lemon juice make these the ideal summertime donut as their flavor is bright and bursting with with citrus. Each donut packs 8 grams of protein and less than 5 grams of fat. It is hard to believe something that taste THIS good is actually healthy. Don't believe me? You'll just have to see for yourself!

Lemon Pistachio Protein Donuts | My Engineered Nutrition

Lemon Pistachio Protein Donuts

Prep Time: 15 minutes

Bake Time: 8 minutes

Servings: 6 donuts

Ingredients:

Donuts

  • 1/4 cup  vanilla whey protein powder (I use Whey Protein Isolate from True Nutrition)
  • 1/2 cup all-purpose flour (I use Bob's Red Mill Gluten Free All Purpose)
  • 2 tbsp coconut palm sugar 
  • 1/4 tsp baking soda
  • 1/4 tsp baking powder
  • 1/4 tsp salt
  • 1 tbsp butter, melted
  • 1/4 cup nonfat Greek yogurt
  • 1 egg
  • 1/2 tsp vanilla
  • Zest of 1 lemon (approx. 2 tbsp)
  • 1 tbsp lemon juice

Glaze

  • 3 tbsp powdered sugar, loosely measured not hard packed
  • 2 tsp milk (or nondairy milk of your choice, I used cashew)

Additional Toppings

  • 2 tbsp pistachios, toasted

Directions: 

  1.  Preheat oven to 350°F. Grease donut pan with coocnut oil (just so the donut don't stick to pan) and set aside. 
  2. Mix all dry ingredients (protein powder, flour, coconut palm sugar, baking soda, baking powder and salt) together in a large mixing bowl. In a smaller bowl, combine wet ingredients (butter, lemon juice, lemon zest, yogurt, egg and vanilla) and whisk together. Add wet ingredients to the dry and whisk together until well incorporated. 
  3. Transfer batter to a large Ziploc bag - we will use this as a piping bag. Snip a very small hole in one of the bottom corners of the bag and evenly pipe batter into donut pan. I like to tab the pan on my counter top to level out the batter and ensure there are no air bubbles. 
  4. Transfer donuts to oven to bake for 8 minutes or until a toothpick in inserted into the donut and comes out clean. Make sure not to over bake since we are using whey protein and over baking and make your donuts dry and rubbery!
  5. After the donuts have finished baking, remove pan from oven and remove donuts from pan for cooling. 
  6. While donuts are cooling, prepare the glaze. In a small bowl add 1 tsp of milk at a time to the powdered sugar, stirring after each tsp of milk. If you haven't already toasted your pistachios, now would be the time to toast them. Once cooled, chop the pistachios finely.
  7. With a spoon, drizzle equal amounts of glaze over the tops of the cooled donuts. Sprinkle chopped pistachios over each right after the glaze.
  8. Serve immediately or store in an airtight container, placed in the refrigerator.

Nutritional Information (1 donut)

145 calories - 8 g Protein, 17.5 g Carbohydrates, 4.7 g Fat

No-Guilt Chocolate Brownies

Double Chocolate Brownies | My Engineered Nutrition

When it comes to chocolate, I don't mess around. I love dark chocolate - the more chocolate the better. Some people shy away from dark chocolate or overly chocolate thing (whatever that means?!) but I go straight for them. 

So which chocolate lover are you? Sweet and milk chocolate or dark and rich? 

Regardless, I think we can all join hands and agree that these Double Chocolate Protein Brownies are a really winner. 

Double Chocolate Brownies | My Engineered Nutrition

Don't let these fool you. While double chocolate desserts are often synonymous with rich and decadent, these brownies pack all the decadence without the guilt. I've shared my love for fudge-like brownies in the past (with my Chocolate Pumpkin Brownies) but these are actually more towards the cake-like side of the spectrum. 

The first time I made these I thought they were too good to be true. I experimented using Hemp Protein  for the first time in these, a plant based protein I hadn't tried before. These are chocolaty, moist and best of all...each brownie is less than 10g of carbohydrates and only 3.5g of fat. THE DESSERT ANGELS ARE REJOICING!!

Or maybe it's just me rejoicing? Either way, do yourself a favor and whip up a batch of these ASAP. And if I can leave you with one final recommendation...these are sinfully delicious when paired with a scoop of ice cream. What more do you need in life?

Double Chocolate Brownies | My Engineered Nutrition

No-Guilt Chocolate Brownies

Prep Time: 10 minutes

Bake Time: 25-30 minutes

Servings: 9

Ingredients:

  • 1/2 c. hemp protein, chocolate 
  • 1/3 c. cocoa powder
  • 4 tbsp coconut flour
  • 1/2 tsp baking soda
  • 1/4 tsp salt
  • 1 egg
  • 1/2 c. unsweetened applesauce
  • 1/2 c. nondairy milk (cashew, almond, etc.)
  • 1 tbsp butter, melted
  • 1 tsp vanilla

Directions:

  1. Preheat oven to 350°F. Grease an 8x8 baking dish and then line with parchment paper, this will help the paper stay in place. You could skip the parchment paper but it makes removing the brownies from the pan SO much easier and less messy.
  2. In a large mixing bowl, combine all dry ingredients and whisk together. Set aside. In a smaller mixing bowl, combine all wet ingredients, whisking together to combine. Add wet ingredients to dry and mix until well incorporated. Pour batter into prepare baking dish, ensuring to level out the top of the brownies.
  3. Place in oven and bake for 25-30 minutes or until a toothpick comes out clean after testing. 
  4. Remove brownies from oven and allow to cool in baking dish for about 15 minutes. Cut into 9 equal brownies.

Nutritional Information (1 brownie)

85 calories - 4 g Protein, 9 g Carbohydrates (4 g Fiber), 3.5 g Fat

Posted on October 14, 2016 and filed under Recipes, Protein Powder, Baking, Sweet Treats.

Blueberry Lemon Protein Scones

Blueberry Lemon Protein Scones | My Engineered Nutrition

Breakfast pastries are usually synonymous with high fat and loads of sugar.

But dang it...don't they always look so enticing behind that glass case in the coffee shop?! Sometimes you just want that sweet treat with your cup of coffee - hold the 10 lbs of sugar.

Blueberry Lemon Protein Scones | My Engineered Nutrition

These Blueberry Lemon Protein Scones are the perfect alternative to feed your cravings for breakfast pastries! Bursting with lemon and fresh blueberries, I bet these will rival any scones you'll find in your local coffee shop.

Blueberry Lemon Protein Scone | My Engineered Nutrition

One of my absolute favorite flavors of protein powder recently has been the Lemon Cake Pea Protein from True Nutrition. I'd been trying to come up with a good recipe to use it in and these scones seemed like the perfect match. Plus, you can't go wrong with freshly zested lemons and juicy blueberries!

Blueberry Lemon Protein Scones | My Engineered Nutrition

Blueberry Lemon Protein Scones

Prep Time: 15 minutes

Bake Time: 17-20 minutes

Servings: 8 scones

Ingredients: 

  • 3/4 cup Lemon Cake Pea Protein (3 scoops) ** Any lemon flavored or vanilla flavored pea protein would work here as well!
  • 1-1/4 cup gluten free flour blend (I use Bob's 1-to-1)
  • 1/2 tsp baking soda
  • 1 tbsp baking powder
  • 1/2 tsp salt
  • 2 tbsp coconut palm sugar
  • 2 tbsp melt butter
  • 1/2 c Greek yogurt, nonfat 
  • 1/2 c + 2 tbsp non-dairy milk (cashew, almond, soy, etc)
  • 1 tsp vanilla
  • 2 tbsp lemon zest
  • 1 c fresh blueberries

Baking Accessories:

  • Baking Sheet
  • Parchment Paper 

Directions:

  1. Preheat oven to 400°F. Prepare baking sheet by lining with parchment paper. 
  2. In a mixing bowl combine your dry ingredients: pea protein, flour, salt, baking soda, baking powder and coconut palm sugar, whisking to combine.
  3. In a separate bowl combine all remaining ingredients, except for the blueberries. Stir to combine. Add wet ingredients to dry ingredients and mix until a dough is formed. Fold the blueberries into the dough gently, ensuring the blueberries are mixed evenly throughout.
  4. Form the dough into a round disk, about 10" in diameter, on your parchment paper lined baking sheet. Slice into 8 equal parts and separate slightly before baking. 
  5. Place in oven to bake for 17-20 minutes. Test the scones by inserting a toothpick into the center - they are baked completely when it comes out clean. Serve immediately or allow to cool completely and store in an air tight container for later.

Nutritional Information (1 scone):

175 calories - 12 g Protein, 24 g Carbohydrates, 3.5 g Fat


Posted on September 2, 2016 and filed under Recipes, Protein Powder, Baking, Breakfast.

Gluten Free Irish Soda Bread

Gluten Free Irish Soda Bread | My Engineered Nutrition

One more recipe, just in time, for St. Patrick's Day!  Yesterday I posted that warm and hearty Cabbage, Ham and Potato Soup and you know what goes perfectly with it? THIS Irish Soda Bread! I'll have to admit, I am by no means a connoisseur of Irish soda bread. I've had it a time or two, but since I stay away from gluten it isn't a frequent food I consume.

I wanted that to change, so I set out determined to make a gluten free version of this simple bread in honor of the holiday.

Gluten Free Irish Soda Bread | My Engineered Nutrition

It took me a time or two (or five) to get a bread that I was satisfied with. The star of this bread is Bob's Red Mill Gluten Free 1-to-1 Baking Flour. This flour, which is a blend of various gluten-free flours, is amazing to bake with.  The basic recipe for the bread is quick and simple. Flour, buttermilk and baking soda, which is the levaning agent instead of yeast. I've adapted the original formula some and have swapped Greek yogurt in place of buttermilk and have added caraway seeds (I love that Rye bread flavor!).

Gluten Free Irish Soda Bread | My Engineered Nutrition

This bread is dense and savory. If you are expecting a light and airy slice of bread, this is not the loaf for you. If, however, you are looking for a thick and dense slice, able to withstand dipping into a hearty soup - look no further! 

Gluten Free Irish Soda Bread | My Engineered Nutrition

Gluten Free Irish Soda Bread

Prep Time: 15 minutes

Bake Time: 50-60 minutes

Servings: 16 slices

Ingredients: 

Baking Accessories:

  • Baking Sheet
  • Parchment Paper 

Directions:

  1. Preheat oven to 375°F. Prepare baking sheet by lining with parchment paper. 
  2. In a large mixing bowl combine flour, salt, baking soda and baking powder.
  3. In a medium bowl combine Greek yogurt with water and whisk until well incorporated. In a small bowl crack egg and whisk. Add both wet ingredients to the dry in the large mixing bowl. Initially, stir with a spatula and then use hands until dough forms into a ball. 
  4. Once a ball has formed, turn out onto a floured surface and add caraway seeds. Kneed until caraway seeds are even incorporated throughout the dough. You may need to add a bit of water if the dough is not holding together - carefully add 1 tbsp of water at a time! If dough becomes to sticky and wet, dust with a small bit of flour. Form into a disc about 8" in diameter.
  5. Transfer to prepared baking sheet. Bake for 50-60 mins or until a toothpick inserted into bread comes out clean and you hear a hollow sound when you knock on the bottom of the loaf. Allow to cool for at least 10 minutes before slicing or bread may be too warm and gummy. Serve warm or store in air-tight container for later. I find it is easiest to slice this loaf by cutting in half and then cutting into slices, rather than trying to slice the original diameter of loaf.

Nutritional Information (1 slices):

125 calories - 3.5 g Protein, 27 g Carbohydrates, 0.3 g Fat

Posted on March 16, 2016 and filed under Recipes, Baking.