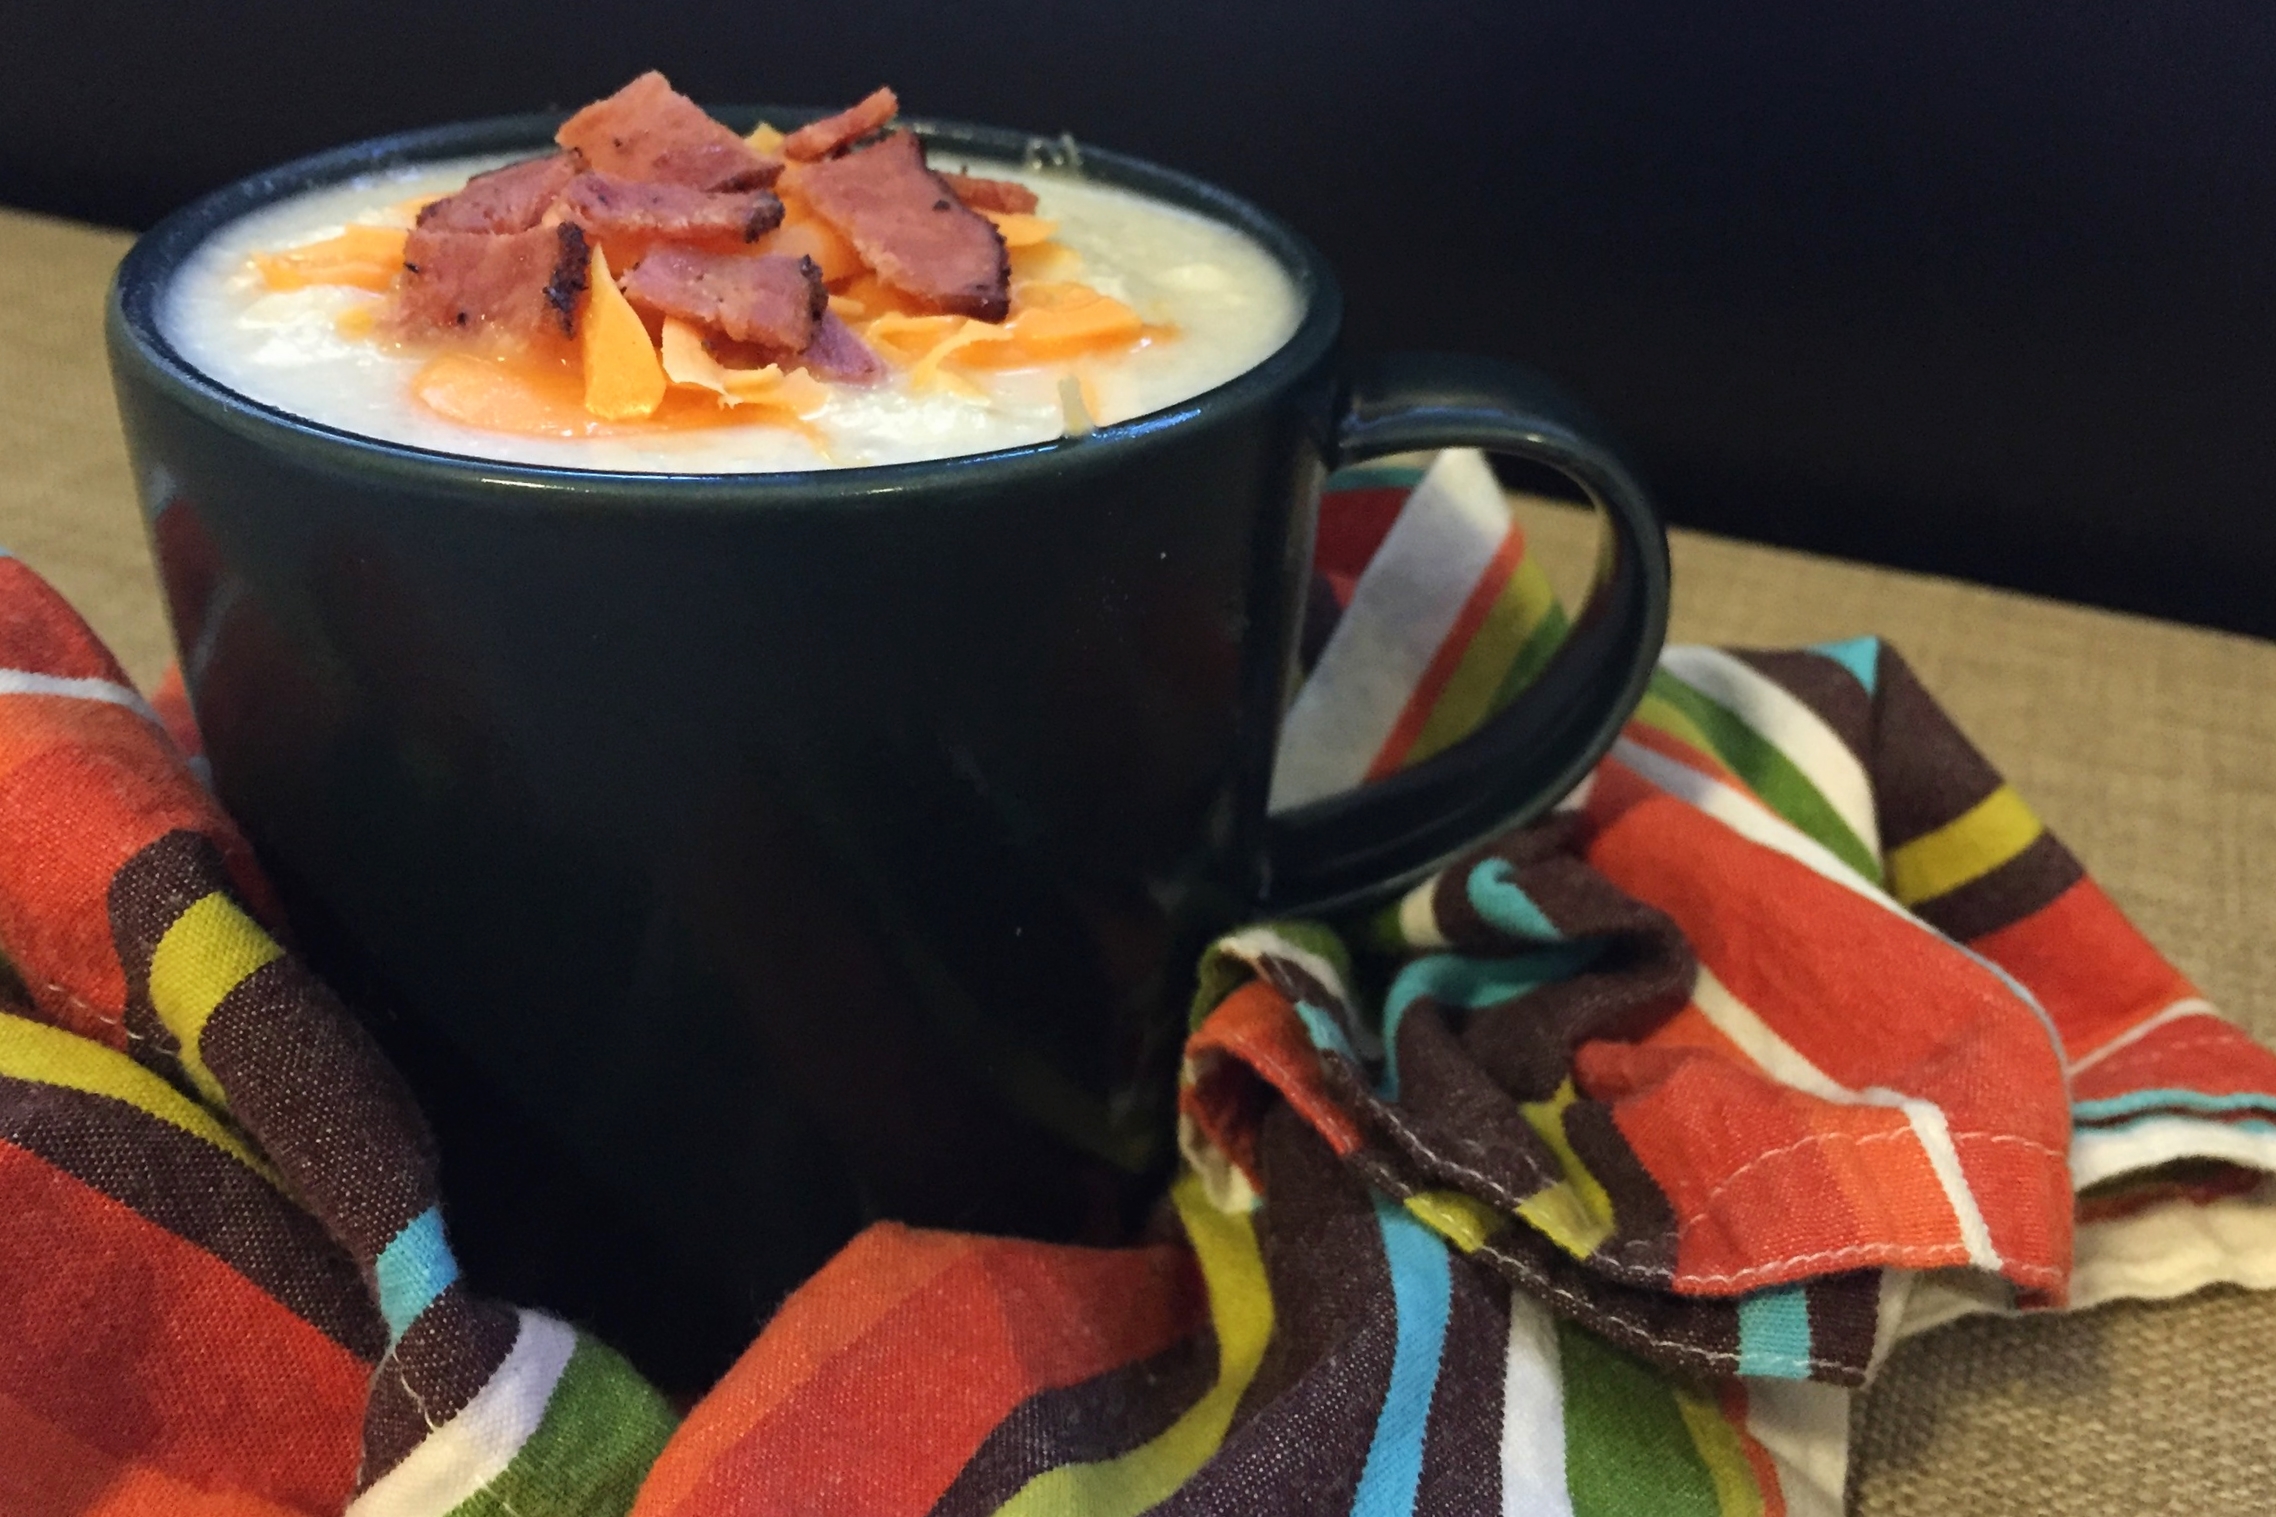
Faux-tato and Leek Soup

Faux-tato & Leek Soup | My Engineered Nutrition

Comfort food.

We all have our own definition of what comfort food is for us. Regardless of the dish, more than likely it is something warm and inviting. For me, stews and soups come to mind as 'comfort food'. Slow cooked, rich dishes that are filled with love. What this also means is that comfort food and healthy food very rarely apply to the same dish. 

Most recently, completely out of the blue, I had a craving for loaded baked potato soup. But again, while comforting for the soul, it is not comforting for my diet.

Faux-tato and

Potage Parmentier (Leek and Potato Soup) is a classic French soup. I used this basic recipe as inspiration for my loaded Faux-tato and Leek Soup. So...what is faux about this? 

No potatoes. (GASP!)

I've swapped the white potatoes for cauliflower in this soup, and I'm here to tell you this is just as delicious. I managed to keep the thick and creamy consistency while cutting the carbs and fat normally found in a potato soup, in half. Now THAT is some comfort food I can get down with! 

Faux-tato and Leek Soup | My Engineered Nutrition

Faux-tato and Leek Soup

Prep Time: 15 minutes

Cooking Time: 45 minutes

Servings: 10 cups **this makes a LOT of soup, recipe could easily be cut in half

Ingredients: 

  • 2 small heads of cauliflower, florets chopped (about 10 cups)
  • 1 large leek, white base thinly sliced and green tops removed and set aside
  • 1 cup celery, chopped
  • 4 cloves garlic, minced
  • 2 tbsp butter
  • 1 tsp salt
  • 1/4 tsp pepper
  • 2 sprigs of thyme, leaves removed and chopped
  • 2 bay leaves
  • 5 cups chicken bone broth - homemade or I love Pacific Organic Bone Broth when I'm in a pinch
  • 1 cup half and half
  • Optional toppings: reduced-fat or non-fat cheddar cheese and turkey bacon

Directions: 

  1. In a large pot, melt butter over medium heat. Add leeks, celery and garlic, cooking until soft and wilted, about 10 minutes. Don't rush this step, we don't want to caramelize the leeks and garlic. 
  2. Next, add cauliflower, salt, pepper, thyme, bay leaves and chicken broth. Increase to high heat and bring to boil, about 10 minutes.
  3. Once at a boil, reduce to a simmer and cover. Simmer for 15 minutes. 
  4. Remove bay leaves and blend the soup. This step can be done with either with an immersion blender or regular blender. If using a normal blender, remove soup and batches and blend, pouring smooth soup into a secondary bowl.
  5. Once all soup has been blended, return to large pot and add half and half. Bring to a boil and simmer for another 10 minutes, uncovered. 
  6. Serve as is or top with shredded cheese and turkey bacon!

Nutritional Information (1 cup)

110 calories - 7.5 g Protein, 9.5 g Carbohydrates (2.9 g Fiber), 4.8 g Fat
 

Posted on October 29, 2015 and filed under Recipes, Soup.

Pumpkin Bread

Pumpkin Bread | My Engineered Nutrition

WARNING: This bread is HIGHLY addictive. May cause urges to eat entire loaf in one sitting.

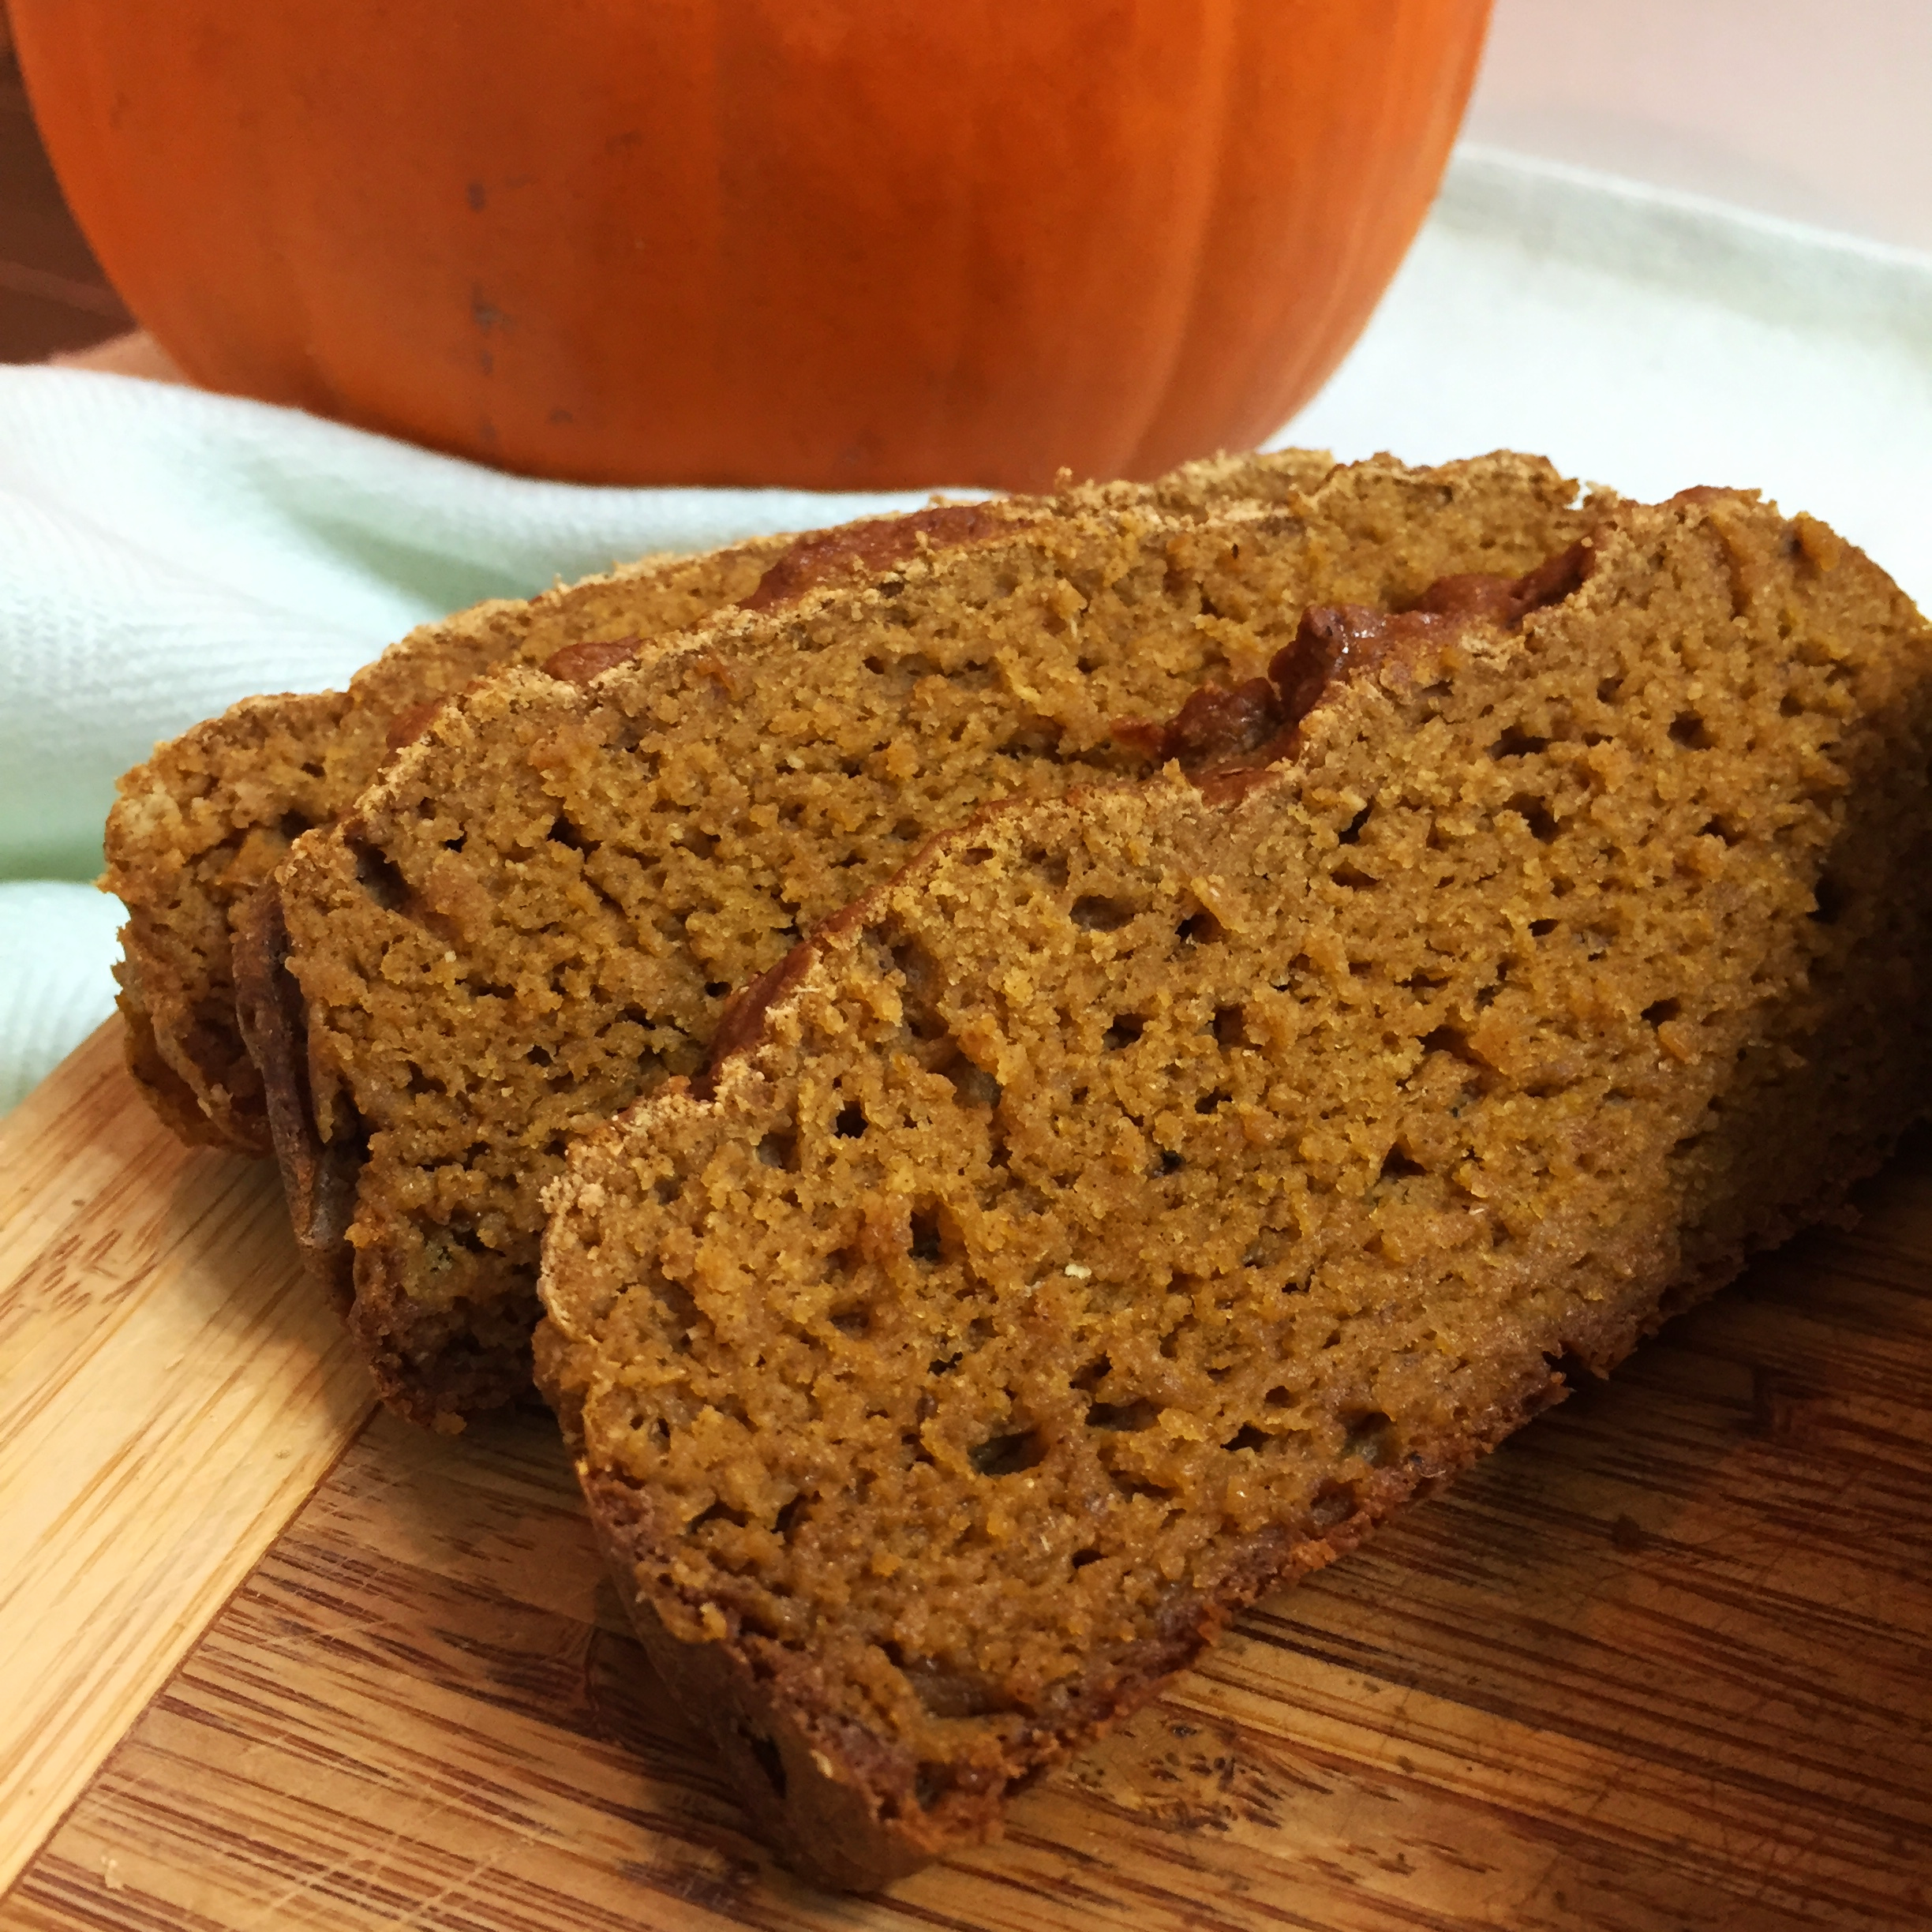
You think I'm kidding? Wait until you have one bite of this deliciously moist, dense, pumpkin-spice-filled loaf of goodness. 

Did I mention this is also low fat, dairy free and gluten free? 

Pumpkin Bread | My Engineered Nutrition

I made this merely on a whim. With my competition prep in full swing, I wanted to create a dessert that could fit within my nutrition plan. This meant something that was low in fat for my training days, but at the same time not super high in carbohydrates either. Because I absolutely hate wasting food, I first investigated what I had in my refrigerator - an open can of pumpkin puree and an overly ripe banana. In addition to that, I also had a few newly acquired loaf pans (thanks mom!) that I was itching to use. I saw a great opportunity for a low fat treat as pumpkin and banana are regularly used as butter and oil substitutes in baking!

Baking is always tricky to do without a recipe, at least for me. Add in the fact that this was a low fat recipe and gluten free, I had absolutely no idea how this would turn out. The base of this bread is cassava flour. This flour has changed the way I approach gluten free baking. Cassava is a hard root vegetable, also called yuca (not to be confused with yucca), arrowroot or tapioca. This flour is 100% grain, nut and gluten free! Cassava flour, flour made from the cassava root, is almost indistinguishable from all-purpose flour. While I use cassava flour in my recipe (and I highly recommend and encourage you to give it a try!) you could probably substitute an alternative gluten-free flour blend like Cup 4 Cup, however not almond or coconut flour as they have very different baking characteristics. If you absolutely must have wheat based all-purpose, I'm sure that will work as well, although I haven't tried it with different flours.

This bread isn't overly sweet, which is just the way I like it. In fact, I've only added 1/4 cup of unrefined coconut palm sugar. When I was researching recipes for pumpkin bread I was surprised to find that most had upwards of 2 cups refined sugar! Not for me! The majority of the sweetness comes from a ripened banana - nature's sweetener. Rest assured, with all natural ingredients this is a guilt free treat! 

Pumpkin Bread | My Engineered Nutrition

Pumpkin Loaf

Prep Time: 10 min

Baking Time: 45-55 minutes

Servings: 12

Ingredients: 

  • 1-1/2 cup cassava flour (or Bob's 1-to-1 Gluten Free Flour or All-Purpose Flour works just as well!)
  • 1/2 tsp salt
  • 1 tsp baking soda
  • 1/2 tsp baking powder
  • 1-1/2 tsp pumpkin pie spice
  • 1/4 cup coconut palm sugar
  • 1 ripened banana (brown spotted) 
  • 1 cup pumpkin purée 
  • 2 eggs

Directions: 

  1. Preheat oven to 350F. Line a loaf pan with parchment paper or grease with a small bit of butter or coconut oil. 
  2. Whisk together cassava flour, salt, baking powder, baking soda and pumpkin pie spice in a small mixing bowl. Set aside. 
  3. In a large mixing bowl, beat banana and coconut palm sugar with a hand mixer or in a stand mixer until banana is 'creamed', much like if you were beating butter and sugar. Do this until light and fluffy and sugar is well incorporated.
  4. Add eggs, one at a time, and beat well until fluffy, about 5 minutes. Add pumpkin and mix to incorporate.
  5. Beat flour mixture into wet ingredients. Pour batter into prepared loaf pan.
  6. Bake for 45-55 minutes or until inserted toothpick comes out clean. Remove pan from oven and allow to cool 10 minutes in pan before removing. After 10 minutes, remove from pan to a board or plate and all to cool completely.

Nutritional Information (1 slice, total loaf makes 12 slices) 

90 calories - 1.5g Protein, 18g Carbohydrates, 1g Fat


Buffalo Chili

Buffalo Chili | My Engineered Nutrition

When you hear the word 'chili' what comes to mind? Classic beef and kidney bean chili? Green chicken chili? Texas chili? Turkey chili? My personal go-to: Cincinnati chili? I think you get my point...

Everyone has their own take on chili.

The amazing thing about chili is that A) it is really hard to mess up and B)  there is an almost endless possibility of variations. 

Buffalo Chili | My Engineered Nutrition

Unless specifically stated as a bowl of vegetable chili, vegetables rarely ever come to mind. I'm going to bet the first thing that comes to mind is meat, followed closely by tomatoes and level of spiciness. 

Because this is MY chili - I call the shots. Just to balance out the meat and to make this more hearty without adding beans, I opted to sneak in bell peppers and zucchini (shhhh). Also, as tribute to my hometown chili, I added just a smidgen of cocoa powder. This may sound crazy but it pairs surprisingly well with the chipotle peppers and adobo sauce - think Mexican mole.

If you are having guests over for dinner, or just want a fun and creative way to serve up this chili, instead of serving in a bowl dish it up in bell peppers!

Buffalo Chili | My Engineered Nutrition

Buffalo Chili

Prep Time: 10 minutes

Cook Time: 1 hour and 15 minutes

Servings: approximately 6 cups

Ingredients:

  • 1 cup onion, chopped
  • 1 cup bell pepper, chopped
  • 1 cup zucchini, chopped
  • 1 tbsp butter
  • 1 tsp garlic
  • 1 lb ground buffalo
  • 1 tsp cumin
  • 1 tsp paprika
  • 1 tsp oregano
  • 1/2 tsp ancho chili powder
  • 1/2 tsp salt
  • 2 cans diced tomatoes
  • 2 tbsp tomato paste
  • 1 chipotle pepper, canned
  • 2 tbsp adobo sauce from chipotle peppers
  • 1 tbsp cocoa
  • 1/2 cup beef broth

Directions:

  1. In a large pot, melt butter over medium heat. Add garlic, stirring until fragrant and golden brown, about 2 minutes. Add onions, bell pepper and zucchini, stir and cook until these have sweated out and softened, about 5 minutes.
  2. Next, add ground buffalo, cumin, paprika, oregano, ancho chili powder and salt. Brown beef, about 5 minutes, continuing to stir and break up while cooking. 
  3. Once the meat has browned, add all remaining ingredients, stirring until well incorporated. Increase heat, bringing chili to a boil. Cover pot, reduce to a simmer and allow to cook for 1 hour. 

Special serving note: If you'd like to serve chili stuff in bell peppers, cook chili covered in pot for 30 minutes. Stuff chili into prepared bell peppers and arrange in a baking dish. Cover with aluminum foil and bake in a 350°F oven for the remaining 30 minutes.

Nutritional Information (1 cup)

205 calories - 18 g Protein, 12 g Carbohydrates, 9.5 g Fat

Posted on October 21, 2015 and filed under Recipes, Soup, Beef.

Chocolate Pumpkin Brownies

Chocolate Pumpkin Brownies | My Engineered Nutrition

There are two types of people in this world: those that prefer cake-like brownies and those that prefer fudge-like brownies. 

I, for one, am a fudge-like brownie kinda gal. 

I love dense and intensely chocolate brownies. When they are made like this, you only need a small piece to satisfy your craving.

Chocolate Pumpkin Brownies | My Engineered Nutrition

These Chocolate Pumpkin Brownies were a bit of a self-imposed challenge. I wanted to make a dessert without refined sugar, eggs, butter or oil AND were also gluten-free. Quite the challenge, right?

Chocolate Pumpkin Brownies | My Engineered Nutrition

Both applesauce and pumpkin can be used as substitutes for eggs, oil and butter in baking. This provides a low fat alternative for an otherwise high fat, indulgent treat. These are sweetened with just a bit of pure maple syrup, instead of refined sugar. I also added full fat coconut milk to help bring the batter together and to add a healthier fat alternative.

You truthfully cannot taste the pumpkin overwhelmingly in these brownies - there is a hint of pumpkin and spice. Instead, these taste rich and chocolaty, but in actuality are much better for you than your typical brownies! These are so easy to make that the hardest part will be waiting for them to come out of the oven!

Chocolate Pumpkin Brownies | My Engineered Nutrition

Chocolate Pumpkin Brownies

Prep Time: 10 minutes

Bake Time: 45-55 minutes

Servings: 12

Ingredients:

Dry

  • 1 cup almond flour/meal
  • 3/4 cup cocoa powder (best to use a high quality cocoa!)
  • 3/4 cup coconut flour
  • 1/2 tsp salt
  • 2 tsp baking soda
  • 1 tsp pumpkin pie spice

Wet

  • 1-1/2 cup pumpkin puree
  • 1/2 cup unsweetened applesauce
  • 1/2 cup pure maple syrup
  • 1/2 cup full fat coconut milk
  • 1 tbsp vanilla

Directions:

  1. Preheat oven to 350°F. Grease an 8x8 baking dish and then line with parchment paper, this will help the paper stay in place. You could skip the parchment paper but it makes removing the brownies from the pan SO much easier and less messy.
  2. In a large mixing bowl, combine all dry ingredients and whisk together. Set aside. In a smaller mixing bowl, combine all wet ingredients, whisking together to combine. Add wet ingredients to dry and mix until well incorporated. Pour batter into prepare baking dish, ensuring to level out the top of the brownies.
  3. Place in oven and bake for 45-55 minutes, or until a toothpick comes out clean after testing. These are very dense brownies and do take some time to bake. Be sure the brownies are actually baked all the way through before removing.
  4. Remove brownies from oven and allow to cool in baking dish for about 15 minutes. After this point you can remove the brownies from the dish if you have lined it with parchment paper. It is a simple lift out of the baking dish and place on a cutting board or large plate to continue cooling fully. Cut brownies into 12 even pieces and serve.


Nutritional Information (1 brownie)

160 calories - 4.5 g Protein, 16 g Carbohydrates (6 g Fiber), 8.8 g Fat

Posted on October 16, 2015 and filed under Recipes, Sweet Treats, Baking.

Pumpkin Protein Donuts

Pumpkin Protein Donuts | My Engineered Nutrition

Protein Donuts, ahem, PRONUTS! 

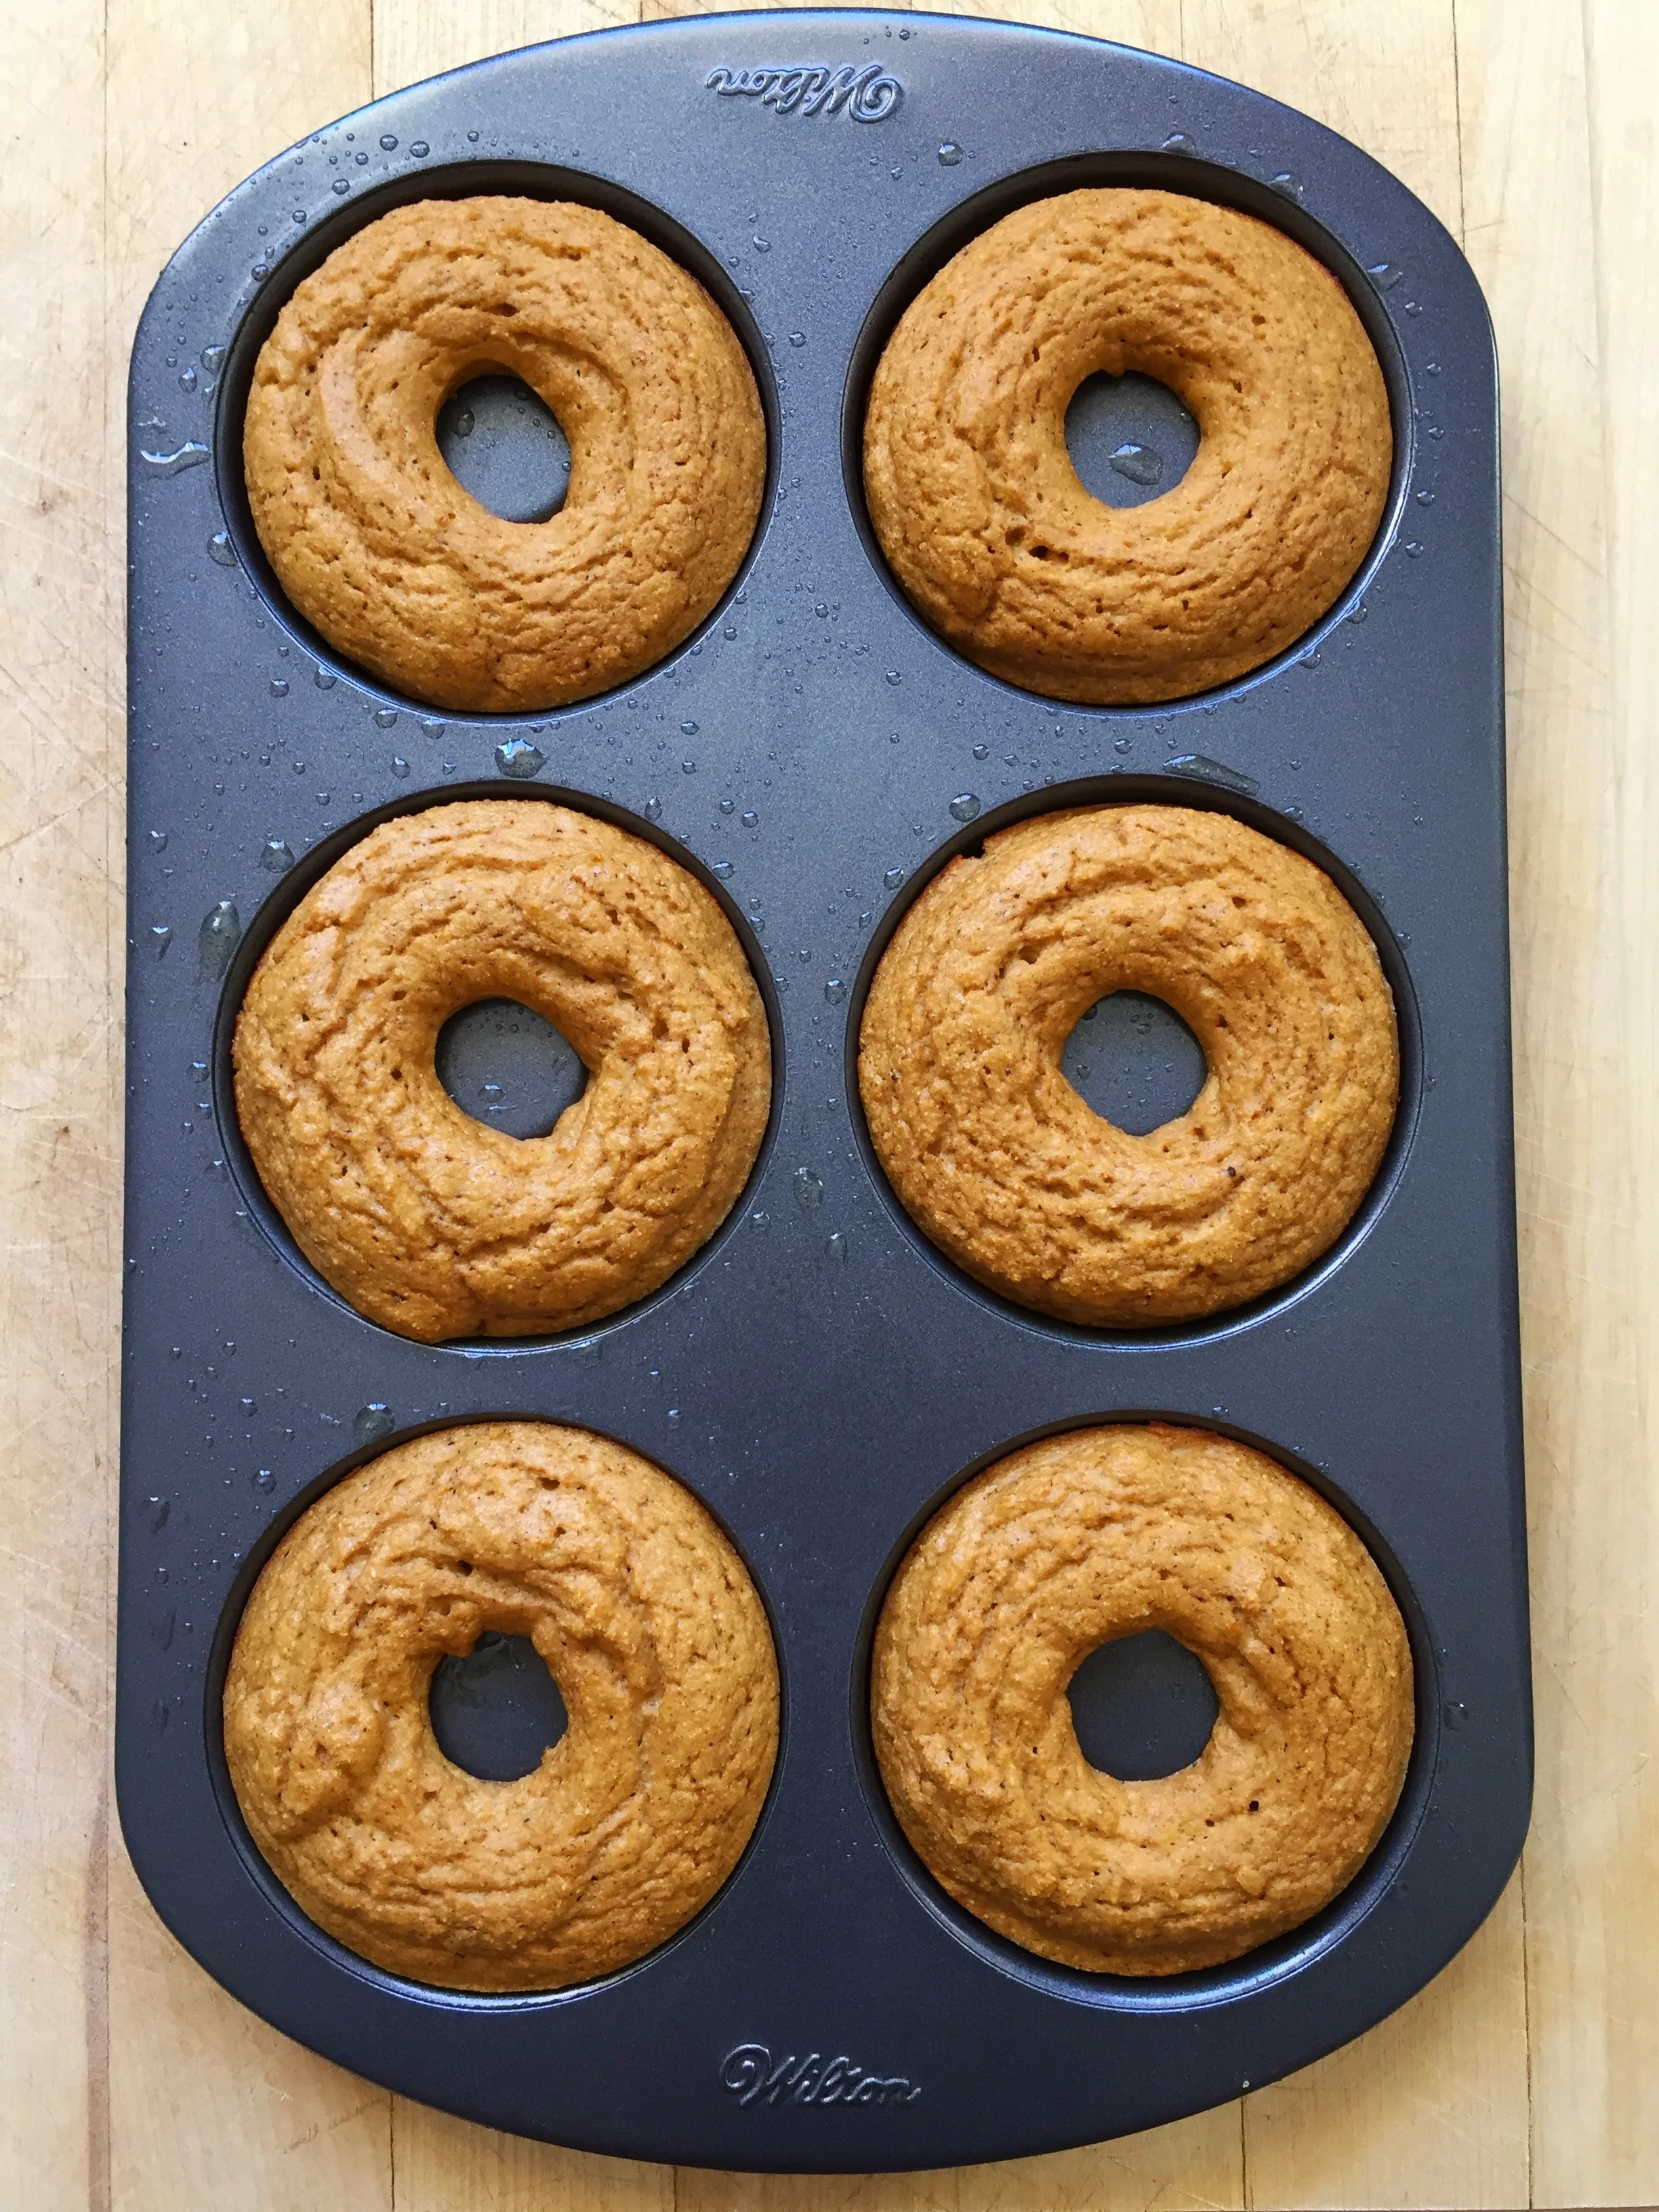
I agonized over perfecting these donuts. First batch, they were too spongy. Second batch was good, but a bit dry. Third batch finally had the donut-cake texture I was searching for, but needed a frosting. On the fourth try, we were in business.

Oh believe me, it was a tough job taste testing all those batches of donuts but someone had to do it.  

Pumpkin Protein Donuts | My Engineered Nutrition

These were so fun and easy to make. Each donut is pack with protein and low in fat (if you follow me regularly you have noticed a trend in guilt-free indulgences). Sure these donuts aren't as good as the real deal, but they sure are an awesome alternate when you are trying to stay on track with a balanced diet. 

Pumpkin Protein Donuts | My Engineered Nutrition

I, personally, think these are fantastic on their own. My sophisticated taste testing team (ok fine, it's really just my boyfriend) suggested a frosting of some sort to round things out. I had a few different trial and errors, but finally came up with a simple glaze that didn't add unnecessary carbs and fats to an already macro-friendly treat. 

A maple cream cheese glaze perfectly compliments these pumpkin spiced donuts. Grab yourself a Donut Baking Pan, if you don't have one already, and get to making these pronuts!

Pumpkin Protein Donuts | My Engineered Nutrition

Pumpkin Protein Donuts

Prep Time: 5-10 minutes

Bake Time: 10-12 minutes

Servings: 6 donuts

Ingredients:

Donuts

  • 1/2 cup  vanilla whey protein powder of your choice (I use Whey Protein Isolate from True Nutrition)
  • 1/4 cup coconut flour
  • 1/4 tsp baking soda
  • 1 tsp pumpkin pie spice
  • 1/2 tsp cinnamon
  • 1/2 cup pumpkin puree
  • 1/4 cup unsweetened applesauce
  • 2 eggs
  • 1 tsp vanilla

Cream Cheese Maple Glaze

  • 1 tbsp cream cheese
  • 1/2 tbsp pure maple syrup
  • 1-2 tbsp lowfat coconut milk (or milk of your choice)

Directions: 

  1.  Preheat oven to 350°F. Grease donut pan with coocnut oil or butter (just so the donut don't stick to pan) and set aside. 
  2. Mix all dry ingredients (protein powder, coconut flour, baking soda, pumpkin pie spice and cinnamon) together in a large mixing bowl. In a smaller bowl, combine wet ingredients (pumpkin, applesauce, eggs and vanilla) and whisk together. Add wet ingredients to the dry and whisk together until well incorporated. 
  3. Transfer batter to a large Ziploc bag - we will use this as a piping bag. Snip a very small hole in one of the bottom corners of the bag and evenly pipe batter into donut pan. I like to tab the pan on my counter top to level out the batter and ensure there are no air bubbles. 
  4. Transfer donuts to oven to bake for 10-12 minutes or until a toothpick in inserted into the donut and comes out clean. After the donuts have finished baking, remove pan from oven and remove donuts from pan for cooling. 
  5. While donuts are cooling, prepare the glaze. This will look like hardly anything, but a little goes a long way, especially since there are only 6 donuts per batch. Combine all ingredients in a small flat bowl which is wide enough to dip an entire donut in. Carefully pick up each of the donuts and dunk the tops into the glaze for a light coating. Serve immediately or store in an airtight container, placed in the refrigerator.

Nutritional Information (1 donut)

105 calories - 11 g Protein, 7.5 g Carbs (3 g Fiber), 3.3 g Fat

Posted on October 14, 2015 and filed under Recipes, Sweet Treats, Breakfast, Protein Powder, Baking.