Posts filed under Sweet Treats

Apple Cider Protein Donuts

Apple Cider Protein Donuts | My Engineered Nutrition

Somehow, someway, it is already November. 

I think we've (I've) done our fair share of celebrating pumpkins throughout October, but what about apples? They shouldn't be forgotten! Apples are just as much of a star to Fall as pumpkins are. My Pumpkin Protein Donuts were just SO good that I couldn't resist making my next batch of donuts.  

Apple Cider Protein Donuts | My Engineered Nutrition

Apples are made to be baked with.

Sure, they are delicious on their own or served chilled. But warm, soft apples are something special. Recently, I feel like I've seen an overload of Apple Cider Donuts on the Internet. Or maybe I've just been craving apples and donuts so it just seems like it... either way, I had to satisfy my craving.

Apple Cider Protein Donuts | My Engineered Nutrition

I think it is safe to say I more than satisfied my craving with this newest batch of pronuts. The baking process alone sends your nose into a state of euphoria. My kitchen was filled with a warm scent of apple cider, cinnamon, allspice and cloves - a wonderful accompaniment to the pronuts which were about to be consumed.

I've made these low fat, gluten-free and guilt-free with 6 grams of protein to boot! Welcome Fall and all its glory with a fresh batch of these donuts straight from the oven. 

Apple Cider Protein Donuts | My Engineered Nutrition

Apple Cider Protein Donuts

Prep Time: 30 minutes

Bake Time: 10 minutes

Servings: 12 Donuts

Ingredients:

Donuts:

  • 1-1/2 cup apple cider
  • 1/2 cup grated apple
  • 1/4 tsp allspice
  • 1-1/2 cup cassava flour (I talk about why I use this flour HERE!)
  • 1/2 cup vanilla whey protein isolate (I use True Nutrition and love their products)
  • 2 tbsp coconut palm sugar
  • 1 tsp baking powder
  • 1/2 tsp baking soda
  • 1-1/2 tsp cinnamon
  • 1/4 tsp nutmeg
  • 1/4 tsp salt
  • 1/2 cup nonfat greek yogurt
  • 1 tsp vanilla extract
  • 1 egg

Topping:

  • 1-1/2 tbsp butter, melted
  • 1 tbsp coconut palm sugar
  • 1 tsp cinnamon

Directions:

  1. In a small pot over medium high heat, combine apple cider, grated apple and allspice. Bring to a boil. Reduce heat and let simmer for 20 minutes. We want this to reduce to 1 cup of concentrate cider. After the 20 minutes, pour into a small ball to cool slightly.
  2. While the cider is simmering, preheat oven to 350°F. Prepare 2 donut pans by greasing with a bit of coconut oil. If you only have one pan, no worries! Just bake in batches. 
  3. Whisk together dry ingredients (flour, protein, sugar and spices) in a small mixing bowl and set aside.
  4. In a large bowl, whisk together the yogurt, vanilla extract and egg. Slowly pour Apple cider and grated apple into bowl, continuing to whisk. Slowly add dry ingredients and mix until a well incorporated batter has formed. This will be a bit of a wetter batter - that's ok!
  5. Transfer batter to a piping bag or large ziploc bag. Pipe batter into donut pan. Bake for 10 minutes or until a toothpick comes out clean when inserted.  
  6. Melt butter and set aside in a small bowl which is wide enough to fit a donut. Mix sugar and cinnamon together in another small bowl or on a plate. Once donuts have baked, allow to cool slightly on a large cutting board. Dip tops of donuts into melted butter and then lightly into the sugar/cinnamon mix.  
Pumpkin Bread

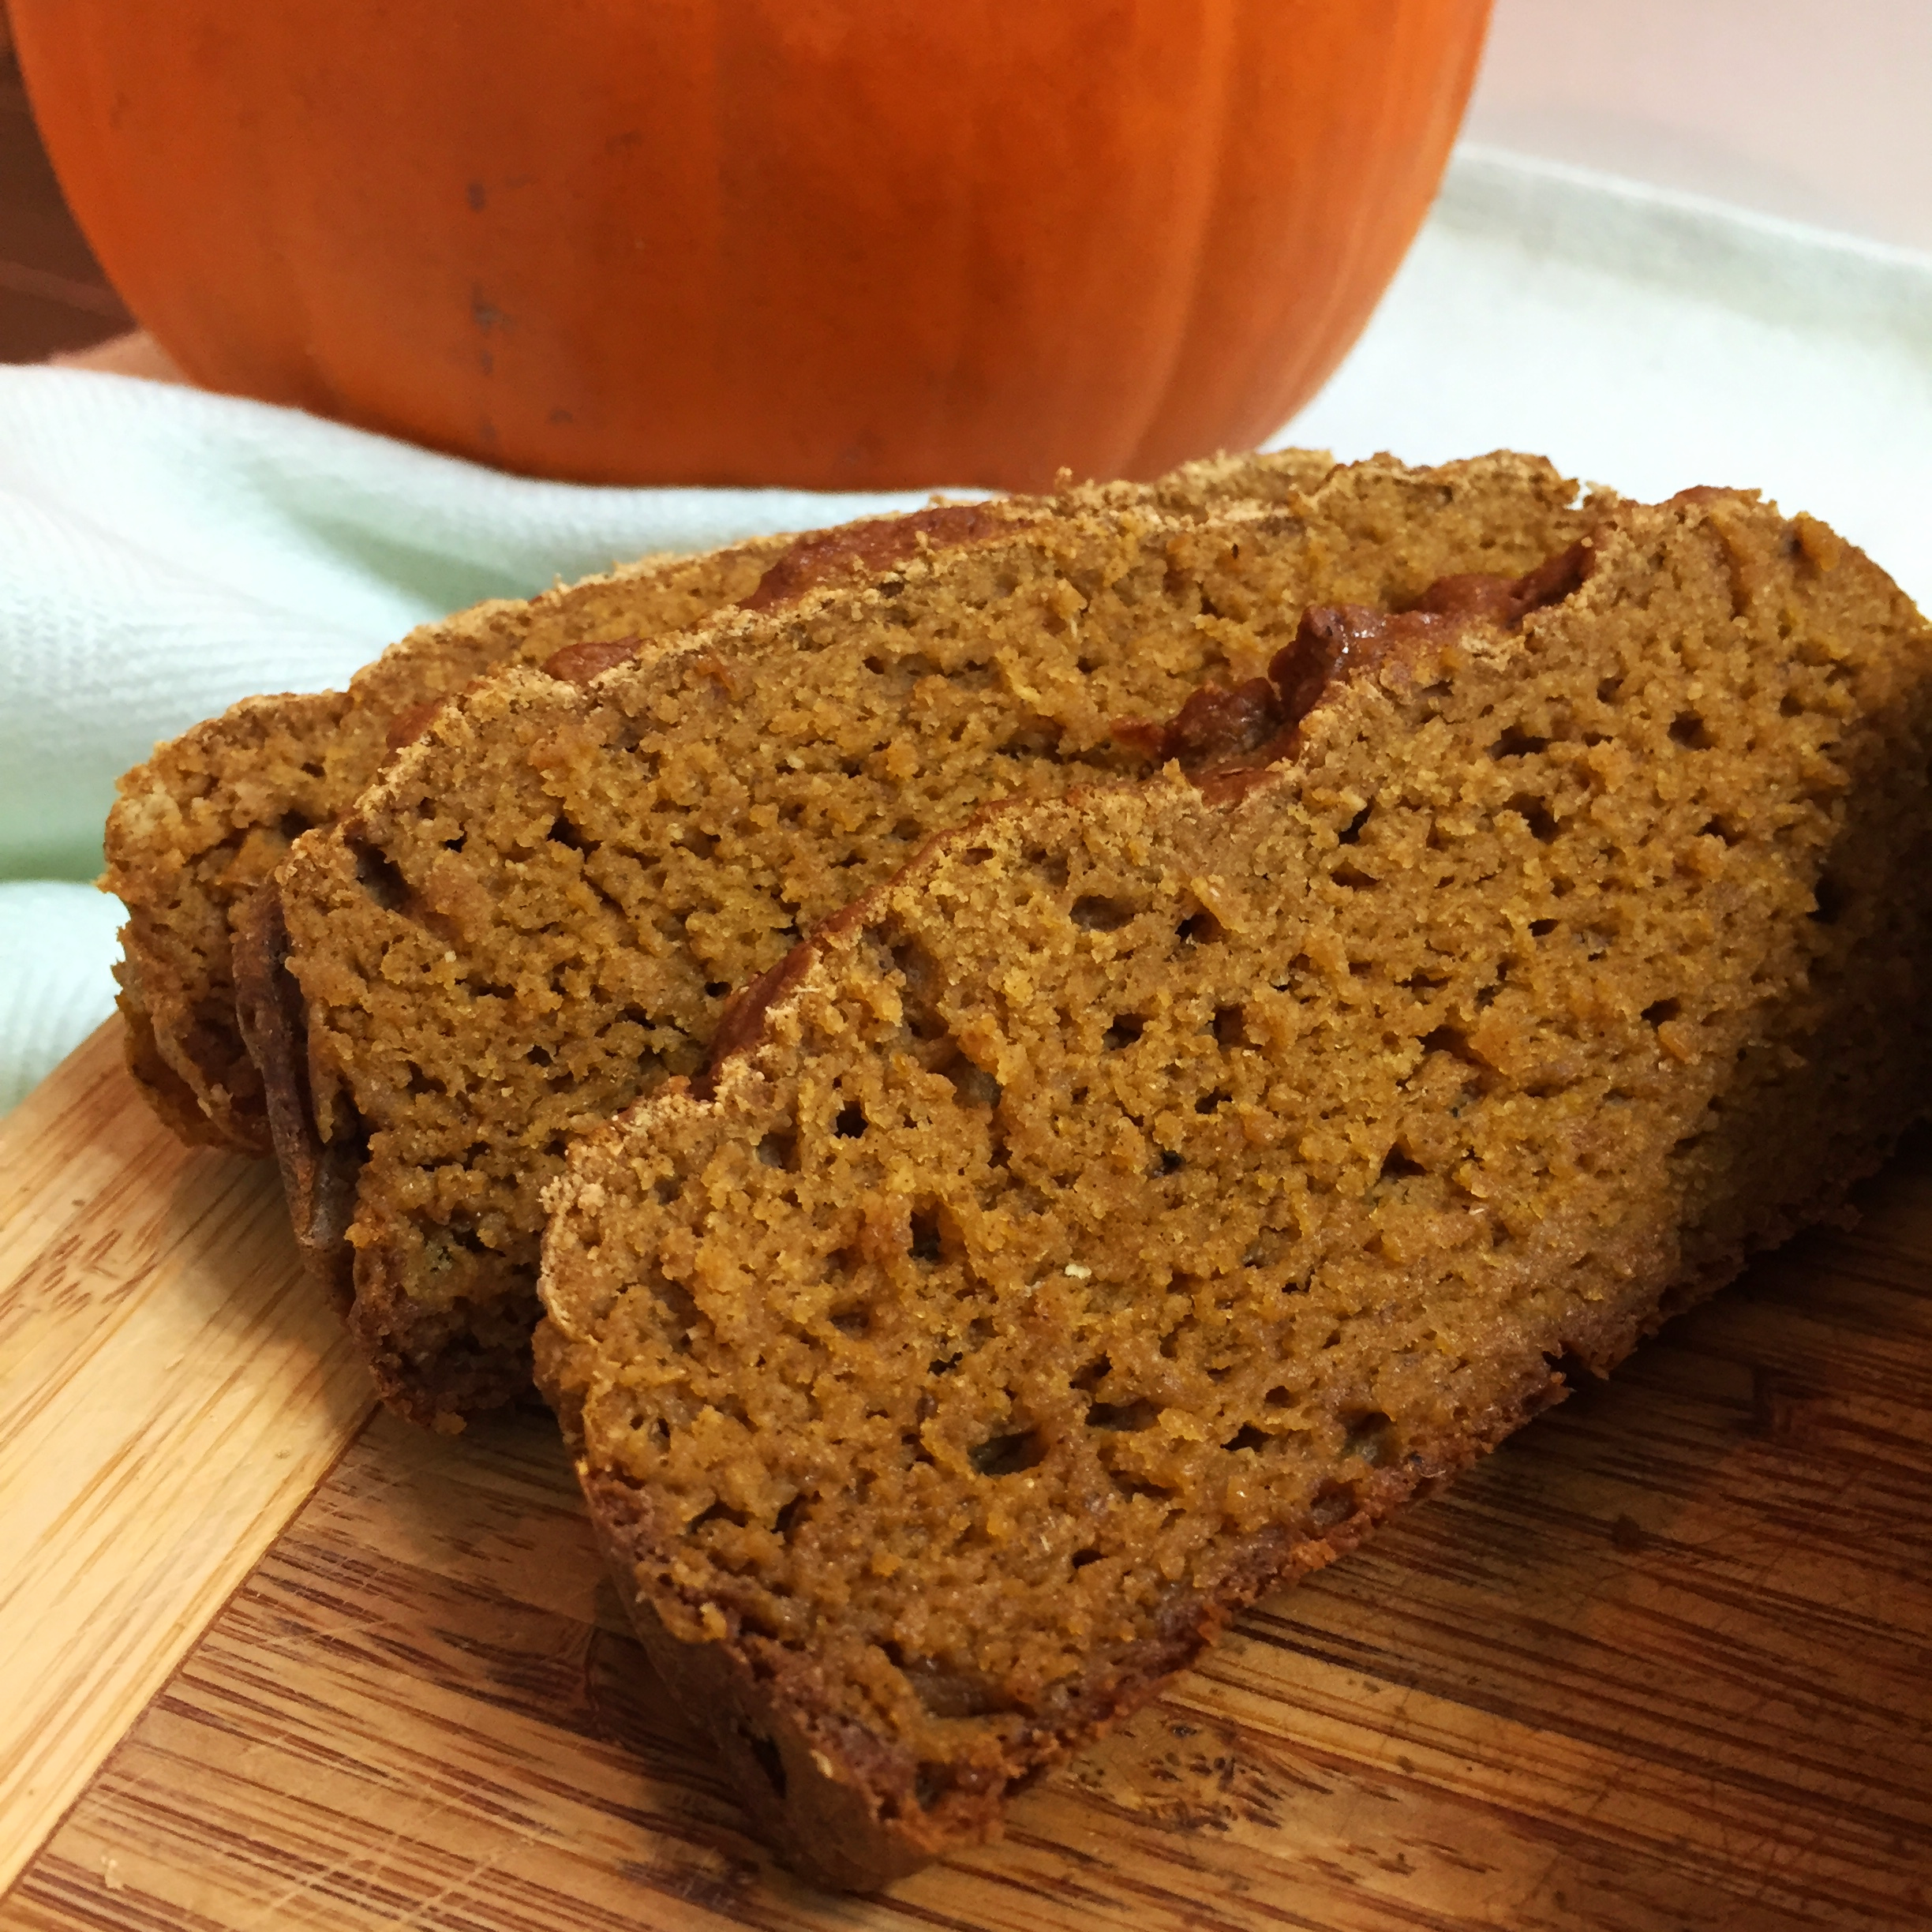
Pumpkin Bread | My Engineered Nutrition

WARNING: This bread is HIGHLY addictive. May cause urges to eat entire loaf in one sitting.

You think I'm kidding? Wait until you have one bite of this deliciously moist, dense, pumpkin-spice-filled loaf of goodness. 

Did I mention this is also low fat, dairy free and gluten free? 

Pumpkin Bread | My Engineered Nutrition

I made this merely on a whim. With my competition prep in full swing, I wanted to create a dessert that could fit within my nutrition plan. This meant something that was low in fat for my training days, but at the same time not super high in carbohydrates either. Because I absolutely hate wasting food, I first investigated what I had in my refrigerator - an open can of pumpkin puree and an overly ripe banana. In addition to that, I also had a few newly acquired loaf pans (thanks mom!) that I was itching to use. I saw a great opportunity for a low fat treat as pumpkin and banana are regularly used as butter and oil substitutes in baking!

Baking is always tricky to do without a recipe, at least for me. Add in the fact that this was a low fat recipe and gluten free, I had absolutely no idea how this would turn out. The base of this bread is cassava flour. This flour has changed the way I approach gluten free baking. Cassava is a hard root vegetable, also called yuca (not to be confused with yucca), arrowroot or tapioca. This flour is 100% grain, nut and gluten free! Cassava flour, flour made from the cassava root, is almost indistinguishable from all-purpose flour. While I use cassava flour in my recipe (and I highly recommend and encourage you to give it a try!) you could probably substitute an alternative gluten-free flour blend like Cup 4 Cup, however not almond or coconut flour as they have very different baking characteristics. If you absolutely must have wheat based all-purpose, I'm sure that will work as well, although I haven't tried it with different flours.

This bread isn't overly sweet, which is just the way I like it. In fact, I've only added 1/4 cup of unrefined coconut palm sugar. When I was researching recipes for pumpkin bread I was surprised to find that most had upwards of 2 cups refined sugar! Not for me! The majority of the sweetness comes from a ripened banana - nature's sweetener. Rest assured, with all natural ingredients this is a guilt free treat! 

Pumpkin Bread | My Engineered Nutrition

Pumpkin Loaf

Prep Time: 10 min

Baking Time: 45-55 minutes

Servings: 12

Ingredients: 

  • 1-1/2 cup cassava flour (or Bob's 1-to-1 Gluten Free Flour or All-Purpose Flour works just as well!)
  • 1/2 tsp salt
  • 1 tsp baking soda
  • 1/2 tsp baking powder
  • 1-1/2 tsp pumpkin pie spice
  • 1/4 cup coconut palm sugar
  • 1 ripened banana (brown spotted) 
  • 1 cup pumpkin purée 
  • 2 eggs

Directions: 

  1. Preheat oven to 350F. Line a loaf pan with parchment paper or grease with a small bit of butter or coconut oil. 
  2. Whisk together cassava flour, salt, baking powder, baking soda and pumpkin pie spice in a small mixing bowl. Set aside. 
  3. In a large mixing bowl, beat banana and coconut palm sugar with a hand mixer or in a stand mixer until banana is 'creamed', much like if you were beating butter and sugar. Do this until light and fluffy and sugar is well incorporated.
  4. Add eggs, one at a time, and beat well until fluffy, about 5 minutes. Add pumpkin and mix to incorporate.
  5. Beat flour mixture into wet ingredients. Pour batter into prepared loaf pan.
  6. Bake for 45-55 minutes or until inserted toothpick comes out clean. Remove pan from oven and allow to cool 10 minutes in pan before removing. After 10 minutes, remove from pan to a board or plate and all to cool completely.

Nutritional Information (1 slice, total loaf makes 12 slices) 

90 calories - 1.5g Protein, 18g Carbohydrates, 1g Fat


Chocolate Pumpkin Brownies

Chocolate Pumpkin Brownies | My Engineered Nutrition

There are two types of people in this world: those that prefer cake-like brownies and those that prefer fudge-like brownies. 

I, for one, am a fudge-like brownie kinda gal. 

I love dense and intensely chocolate brownies. When they are made like this, you only need a small piece to satisfy your craving.

Chocolate Pumpkin Brownies | My Engineered Nutrition

These Chocolate Pumpkin Brownies were a bit of a self-imposed challenge. I wanted to make a dessert without refined sugar, eggs, butter or oil AND were also gluten-free. Quite the challenge, right?

Chocolate Pumpkin Brownies | My Engineered Nutrition

Both applesauce and pumpkin can be used as substitutes for eggs, oil and butter in baking. This provides a low fat alternative for an otherwise high fat, indulgent treat. These are sweetened with just a bit of pure maple syrup, instead of refined sugar. I also added full fat coconut milk to help bring the batter together and to add a healthier fat alternative.

You truthfully cannot taste the pumpkin overwhelmingly in these brownies - there is a hint of pumpkin and spice. Instead, these taste rich and chocolaty, but in actuality are much better for you than your typical brownies! These are so easy to make that the hardest part will be waiting for them to come out of the oven!

Chocolate Pumpkin Brownies | My Engineered Nutrition

Chocolate Pumpkin Brownies

Prep Time: 10 minutes

Bake Time: 45-55 minutes

Servings: 12

Ingredients:

Dry

  • 1 cup almond flour/meal
  • 3/4 cup cocoa powder (best to use a high quality cocoa!)
  • 3/4 cup coconut flour
  • 1/2 tsp salt
  • 2 tsp baking soda
  • 1 tsp pumpkin pie spice

Wet

  • 1-1/2 cup pumpkin puree
  • 1/2 cup unsweetened applesauce
  • 1/2 cup pure maple syrup
  • 1/2 cup full fat coconut milk
  • 1 tbsp vanilla

Directions:

  1. Preheat oven to 350°F. Grease an 8x8 baking dish and then line with parchment paper, this will help the paper stay in place. You could skip the parchment paper but it makes removing the brownies from the pan SO much easier and less messy.
  2. In a large mixing bowl, combine all dry ingredients and whisk together. Set aside. In a smaller mixing bowl, combine all wet ingredients, whisking together to combine. Add wet ingredients to dry and mix until well incorporated. Pour batter into prepare baking dish, ensuring to level out the top of the brownies.
  3. Place in oven and bake for 45-55 minutes, or until a toothpick comes out clean after testing. These are very dense brownies and do take some time to bake. Be sure the brownies are actually baked all the way through before removing.
  4. Remove brownies from oven and allow to cool in baking dish for about 15 minutes. After this point you can remove the brownies from the dish if you have lined it with parchment paper. It is a simple lift out of the baking dish and place on a cutting board or large plate to continue cooling fully. Cut brownies into 12 even pieces and serve.


Nutritional Information (1 brownie)

160 calories - 4.5 g Protein, 16 g Carbohydrates (6 g Fiber), 8.8 g Fat

Posted on October 16, 2015 and filed under Recipes, Sweet Treats, Baking.

Pumpkin Protein Donuts

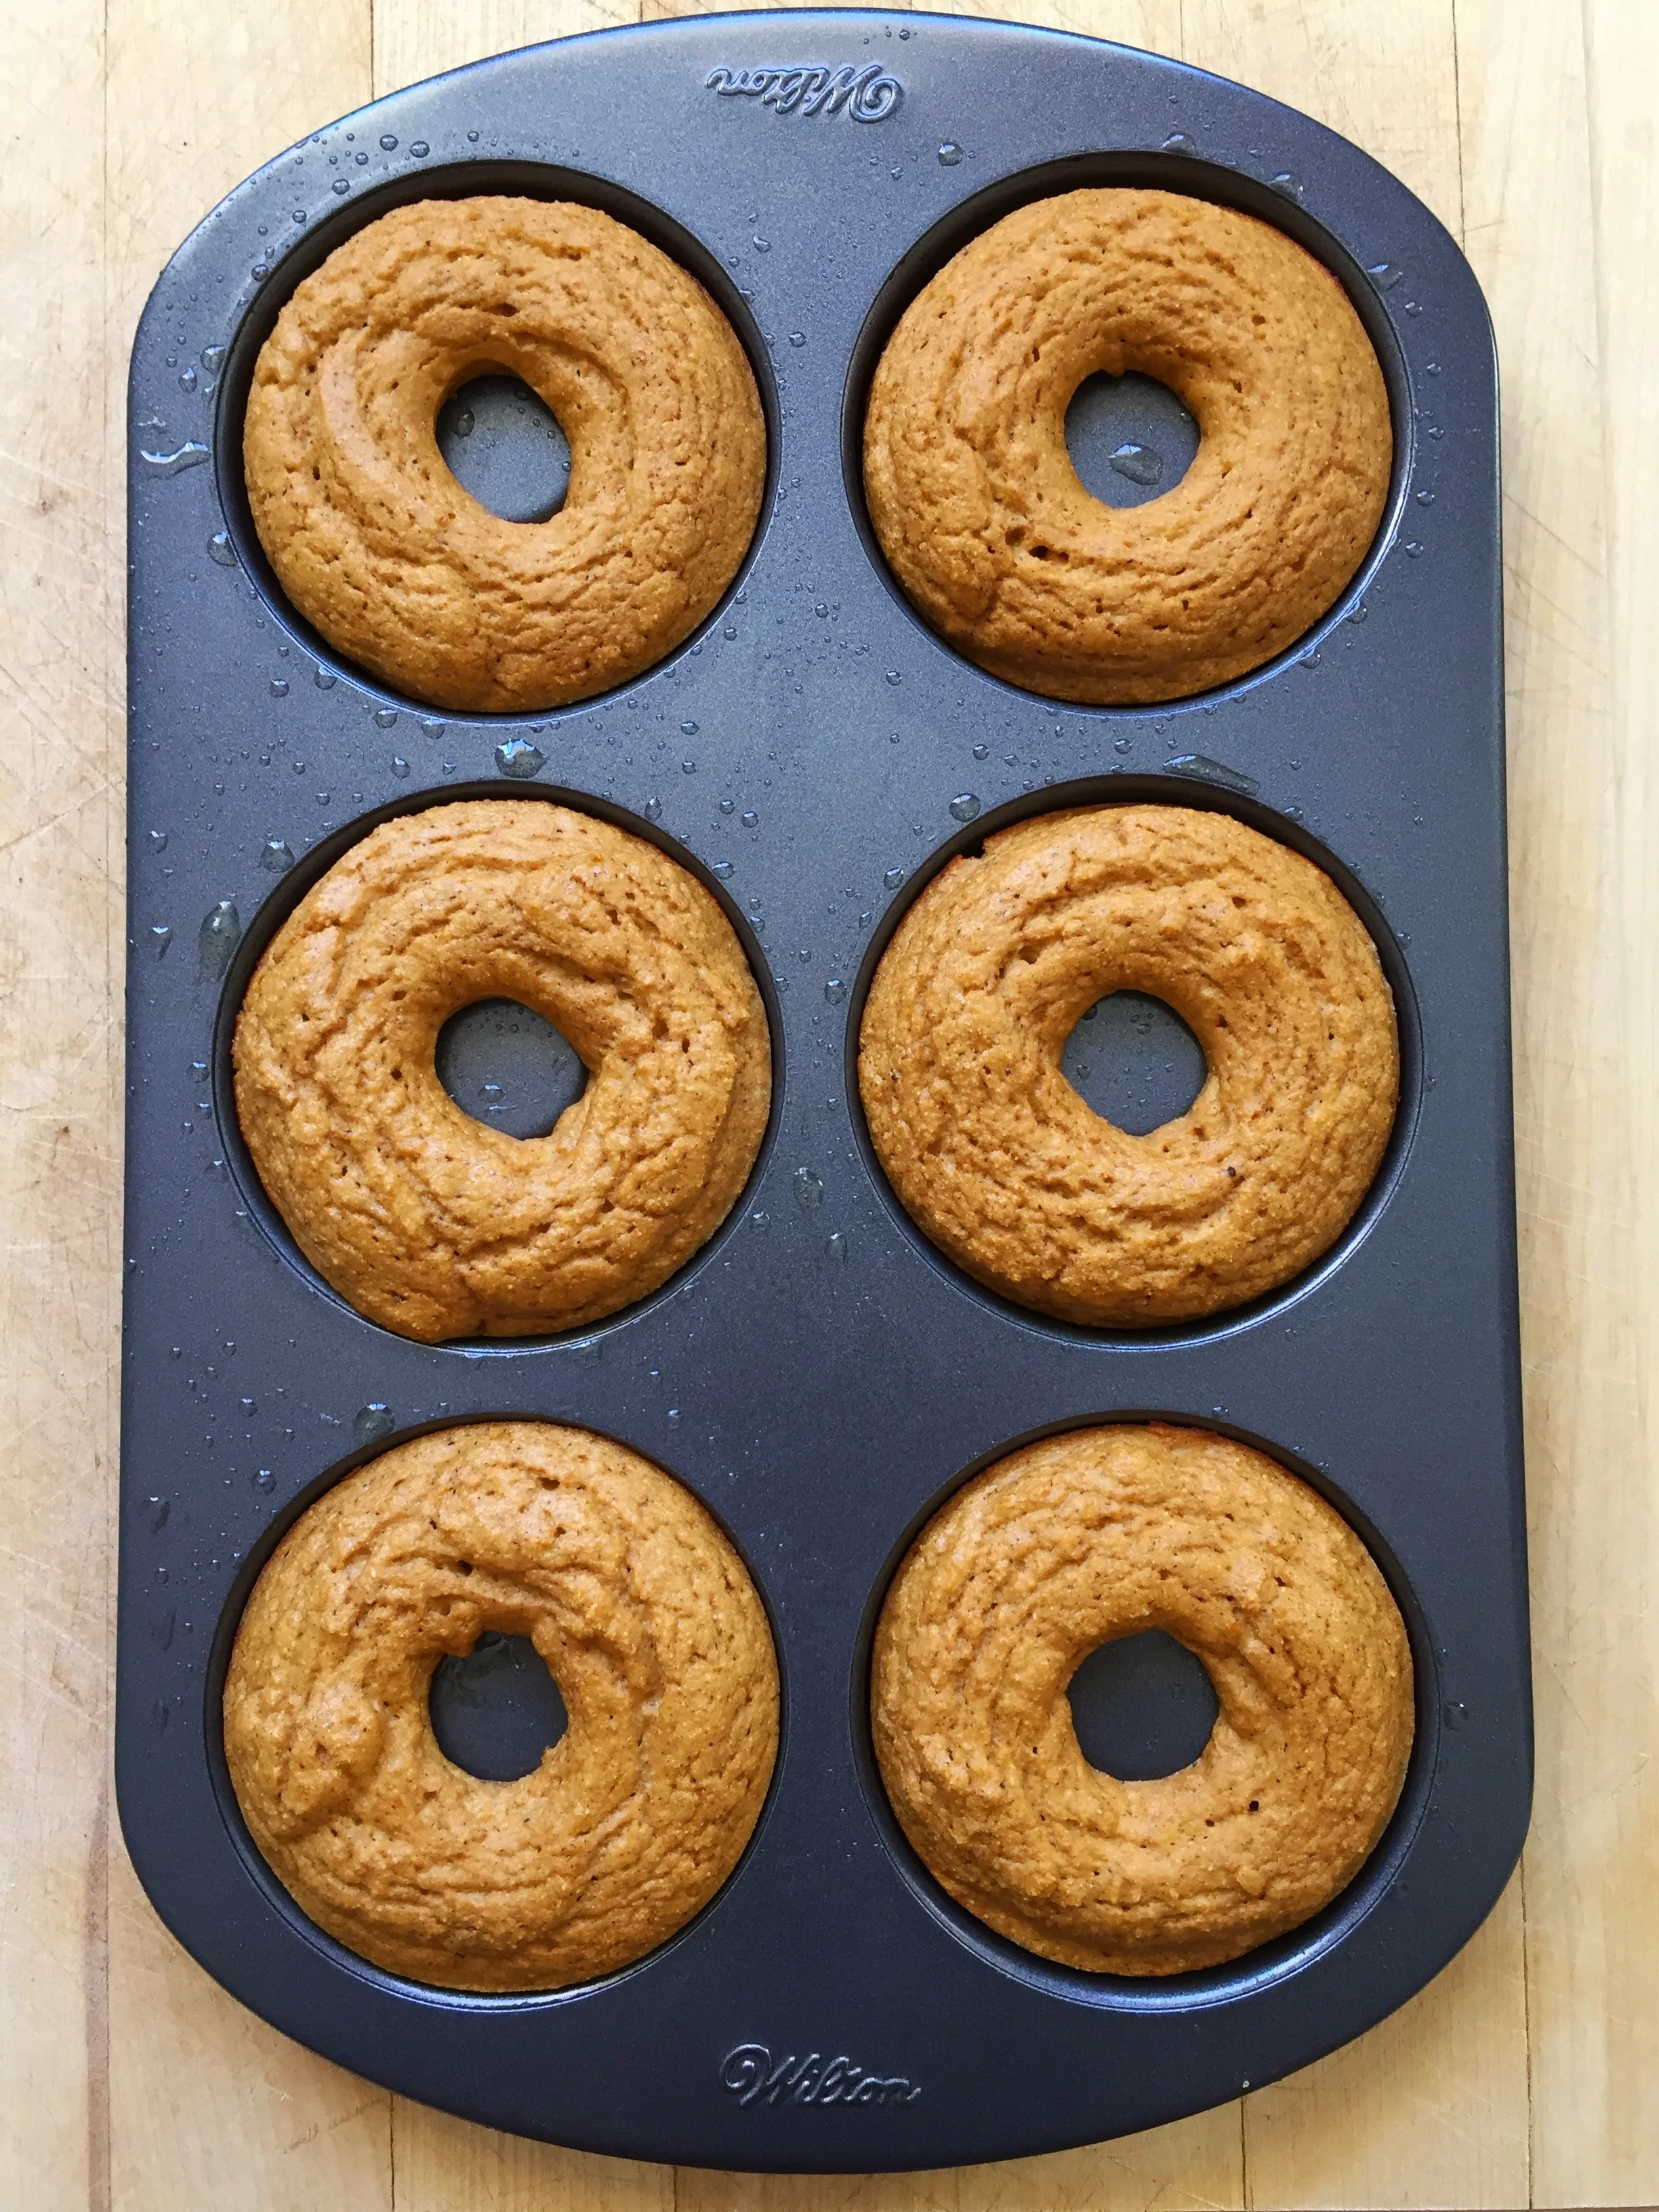
Pumpkin Protein Donuts | My Engineered Nutrition

Protein Donuts, ahem, PRONUTS! 

I agonized over perfecting these donuts. First batch, they were too spongy. Second batch was good, but a bit dry. Third batch finally had the donut-cake texture I was searching for, but needed a frosting. On the fourth try, we were in business.

Oh believe me, it was a tough job taste testing all those batches of donuts but someone had to do it.  

Pumpkin Protein Donuts | My Engineered Nutrition

These were so fun and easy to make. Each donut is pack with protein and low in fat (if you follow me regularly you have noticed a trend in guilt-free indulgences). Sure these donuts aren't as good as the real deal, but they sure are an awesome alternate when you are trying to stay on track with a balanced diet. 

Pumpkin Protein Donuts | My Engineered Nutrition

I, personally, think these are fantastic on their own. My sophisticated taste testing team (ok fine, it's really just my boyfriend) suggested a frosting of some sort to round things out. I had a few different trial and errors, but finally came up with a simple glaze that didn't add unnecessary carbs and fats to an already macro-friendly treat. 

A maple cream cheese glaze perfectly compliments these pumpkin spiced donuts. Grab yourself a Donut Baking Pan, if you don't have one already, and get to making these pronuts!

Pumpkin Protein Donuts | My Engineered Nutrition

Pumpkin Protein Donuts

Prep Time: 5-10 minutes

Bake Time: 10-12 minutes

Servings: 6 donuts

Ingredients:

Donuts

  • 1/2 cup  vanilla whey protein powder of your choice (I use Whey Protein Isolate from True Nutrition)
  • 1/4 cup coconut flour
  • 1/4 tsp baking soda
  • 1 tsp pumpkin pie spice
  • 1/2 tsp cinnamon
  • 1/2 cup pumpkin puree
  • 1/4 cup unsweetened applesauce
  • 2 eggs
  • 1 tsp vanilla

Cream Cheese Maple Glaze

  • 1 tbsp cream cheese
  • 1/2 tbsp pure maple syrup
  • 1-2 tbsp lowfat coconut milk (or milk of your choice)

Directions: 

  1.  Preheat oven to 350°F. Grease donut pan with coocnut oil or butter (just so the donut don't stick to pan) and set aside. 
  2. Mix all dry ingredients (protein powder, coconut flour, baking soda, pumpkin pie spice and cinnamon) together in a large mixing bowl. In a smaller bowl, combine wet ingredients (pumpkin, applesauce, eggs and vanilla) and whisk together. Add wet ingredients to the dry and whisk together until well incorporated. 
  3. Transfer batter to a large Ziploc bag - we will use this as a piping bag. Snip a very small hole in one of the bottom corners of the bag and evenly pipe batter into donut pan. I like to tab the pan on my counter top to level out the batter and ensure there are no air bubbles. 
  4. Transfer donuts to oven to bake for 10-12 minutes or until a toothpick in inserted into the donut and comes out clean. After the donuts have finished baking, remove pan from oven and remove donuts from pan for cooling. 
  5. While donuts are cooling, prepare the glaze. This will look like hardly anything, but a little goes a long way, especially since there are only 6 donuts per batch. Combine all ingredients in a small flat bowl which is wide enough to dip an entire donut in. Carefully pick up each of the donuts and dunk the tops into the glaze for a light coating. Serve immediately or store in an airtight container, placed in the refrigerator.

Nutritional Information (1 donut)

105 calories - 11 g Protein, 7.5 g Carbs (3 g Fiber), 3.3 g Fat

Posted on October 14, 2015 and filed under Recipes, Sweet Treats, Breakfast, Protein Powder, Baking.

Fig, Caramel and Goat Cheese Chocolate Cakes

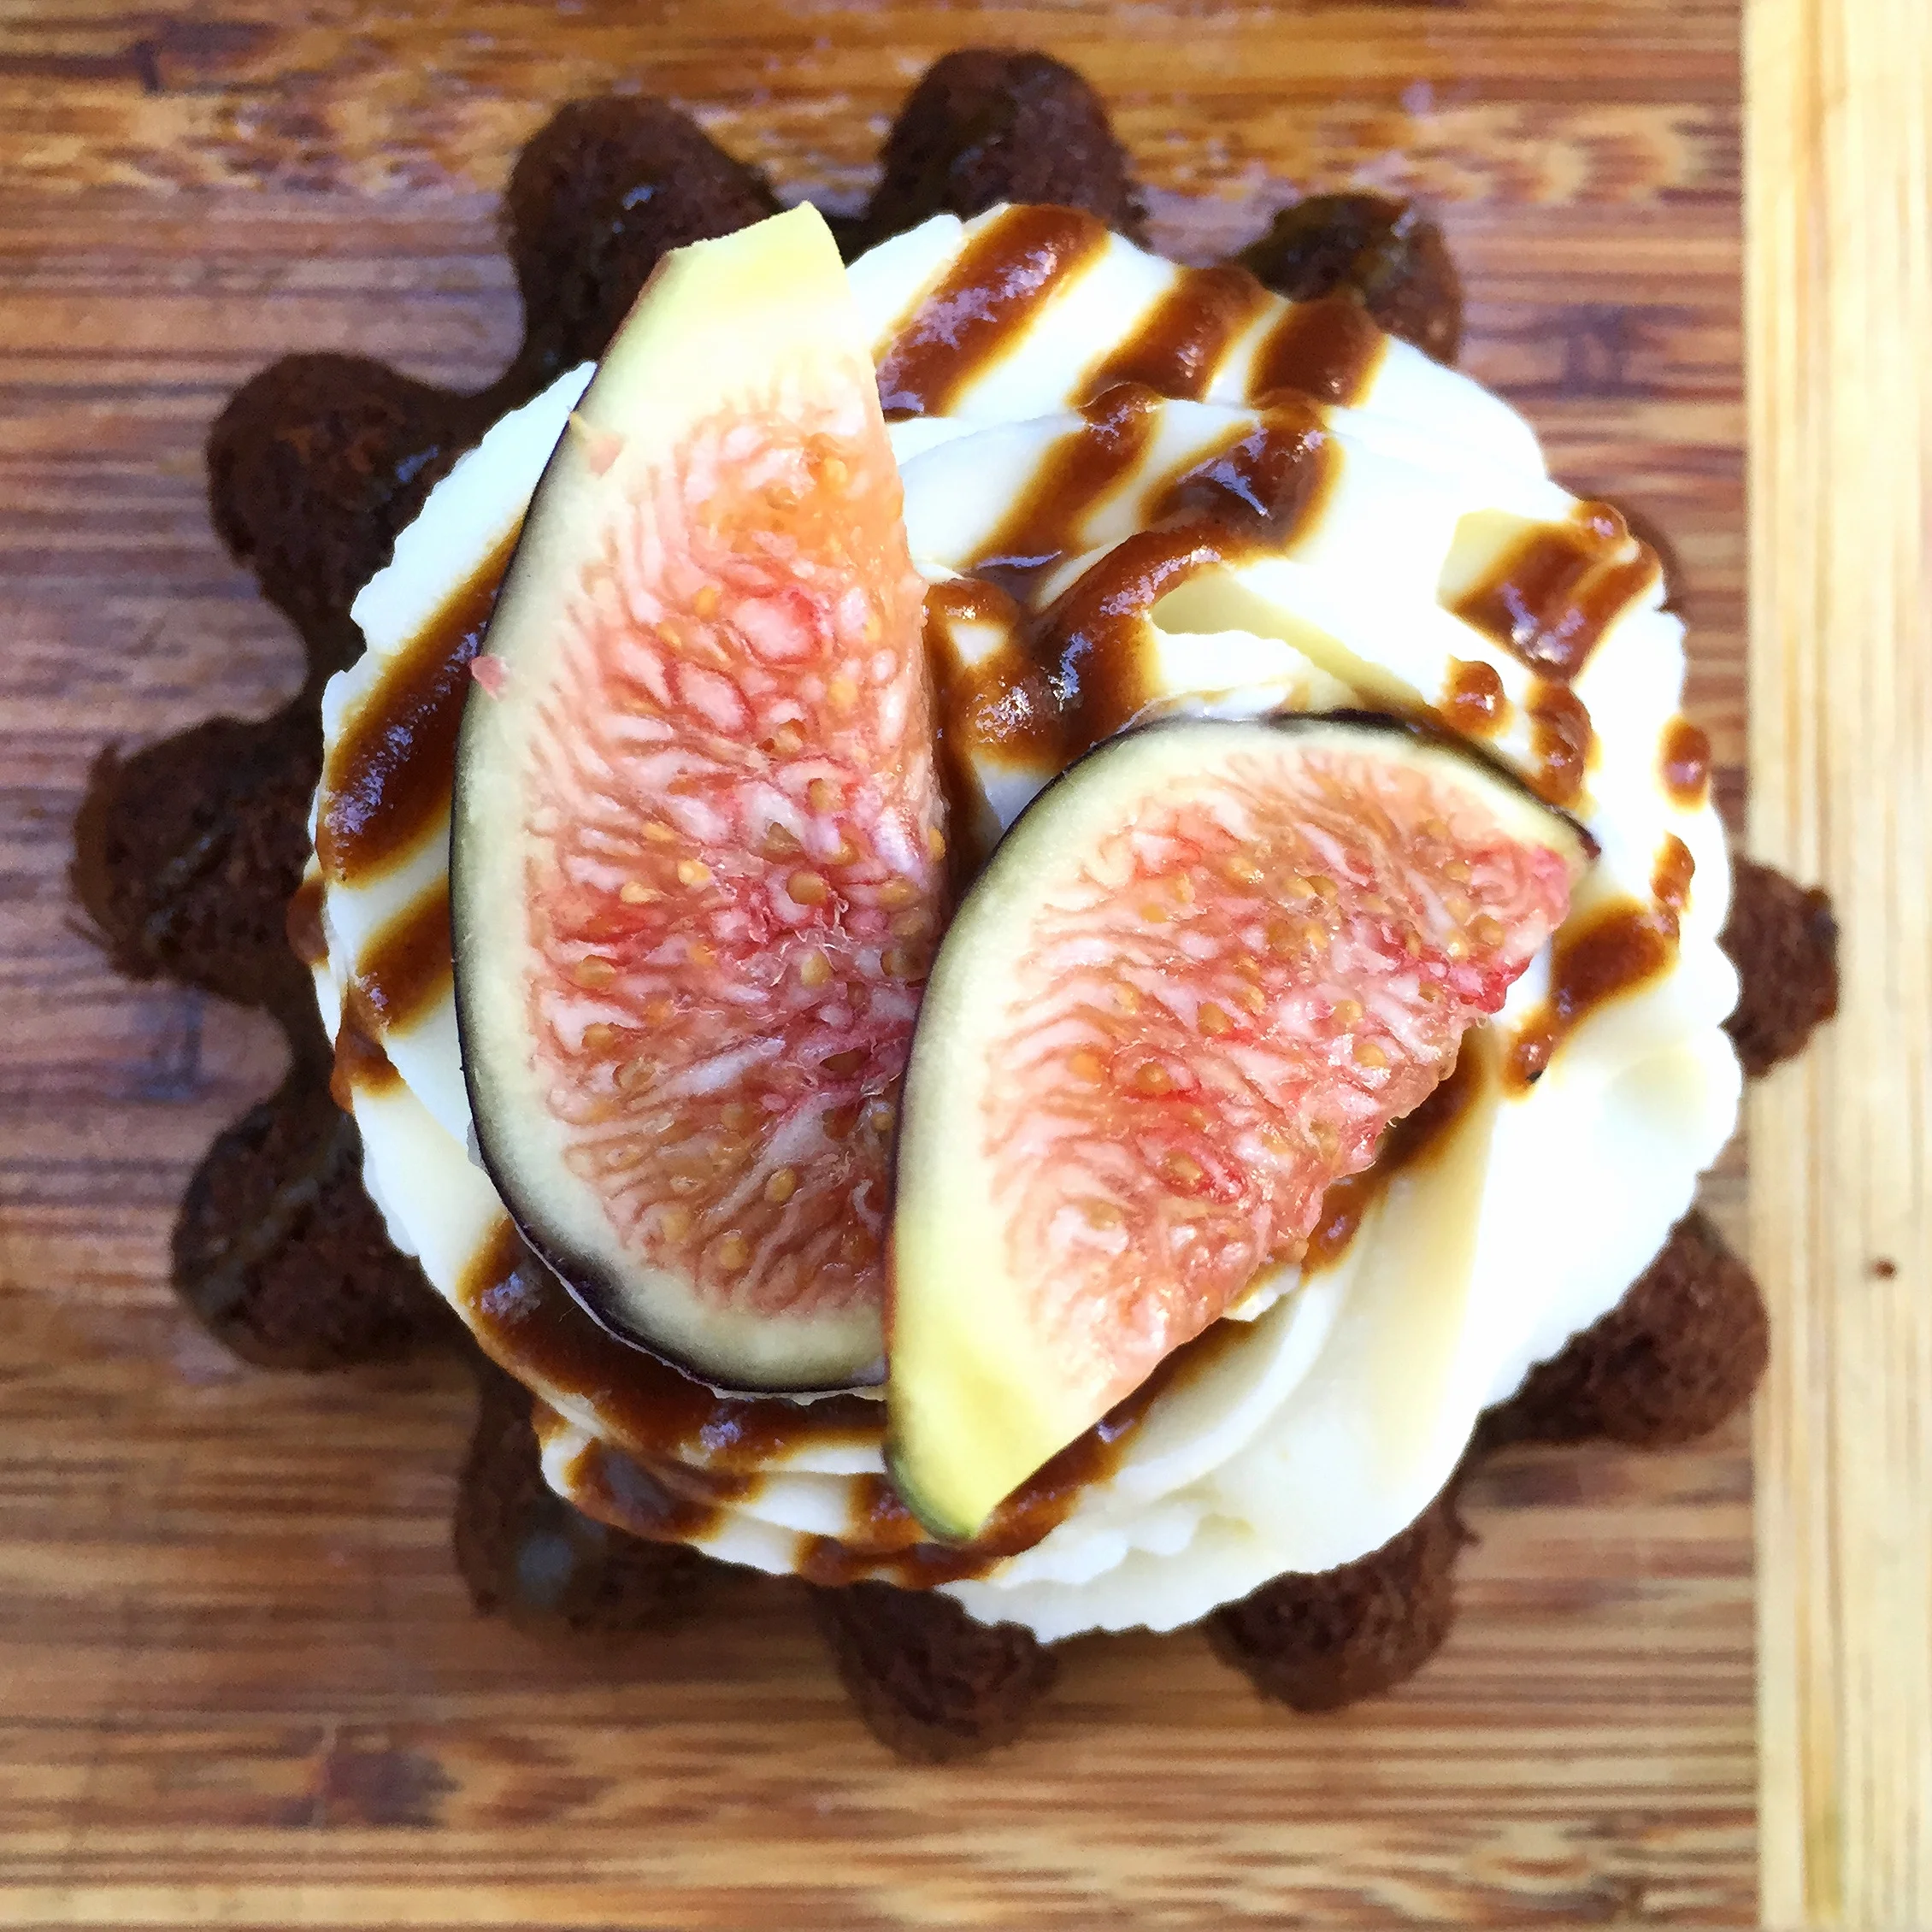
Fig, Caramel and Goat Cheese Chocolate Cakes | My Engineered Nutrition

Once upon a time I was really into baking cupcakes.

OK, it was borderline obsessive. Almost every week I was creating a new pairing of flavors and would pawn these cupcakes off on my friends, family, coworkers...really anyone that was willing to eat a cupcake. I definitely had a reputation of being "the cupcake girl". However, this was a few years ago, before I really understood nutrition like I do now and the direct effect it had on my health and how I functioned. Once I started educating myself on proper nutrition and the importance of high quality of ingredients, my cupcakes comprised of all-purpose flour, refined sugar and artificial coloring were the first to go. While I love baking, I gave it a break for quite some time. 

While reorganizing my baking ingredients and accessories Saturday I suddenly had the urge to bake again. I was reminded that I had these fantastic vintage fluted baking molds that my mom sent me. I've had them for months (years?!) and never known what to do with them. They are traditionally used as brioche molds, but I immediately saw them as sophisticated cupcakes.

Fig, Caramel and Goat Cheese Chocolate Cakes | My Engineered Nutrition

I recently saw a cake on Pinterest that was garnished with FIGS, walnuts and caramel sauce. It is absolutely stunning - bad part is the website was in German and the cake (from the half translation I was able to manage with Google Translate) was not gluten free. 

Fig, Caramel and Goat Cheese Chocolate Cakes

That wasn't going to stop me.

The thing about baking is that you can't really "wing it" like you can cooking. You need to have the right ratios of ingredients - it is a science. I turned to one of my favorite chefs, Simone Miller, for the most amazing gluten free chocolate cake recipe. 

I stuck to what I knew I could create myself: frosting and caramel sauce. Once you've made one buttercream, you've made 100. It is so fundamentally simple and you can't really mess it up. Not sweet enough? Add more sweetener. Not thick enough? Add more butter. Simple. Caramel is also basic: sugar, butter, cream. 

Fig, Caramel and Goat Cheese Chocolate Cakes

These little beauties are topped with a goat cheese and mascarpone frosting, a drizzle of decadent caramel sauce and garnished with a fresh fig. Goat cheese and fig go together like peanut butter and jelly. Its a match made in heaven. Goat cheese and normally thought of as a savory flavor, but it brings an amazing element of character to this not-so-sweet buttercream. 

Fig, Caramel and Goat Cheese Chocolate Cakes | My Engineered Nutrition

Make no mistake - these aren't "healthy" to the point where you can go crazy and have 5 and call it dinner. However, there are certainly occasions that call for a special treat, and when those occasions arise you should always aim to use the highest quality of ingredients (i.e. ditch the heavily processed flour and artificial food coloring).

I hope you give these a try for your next special occasion...even if the occasion is simply surviving a week of work making it to the weekend!

Fig, Caramel and Goat Cheese Chocolate Cakes | My Engineered Nutrition

Fig, Caramel and Goat Cheese Chocolate Cakes

No Joke Dark Chocolate Cake

I used Zenbelly's No Joke Dark Chocolate Cake recipe for these cakes.  It is FANTASTIC. Not overly sweet but rich with chocolate flavor. I made the recipe she has in her cookbook which is scaled to a slightly larger batch. I was able to make 8 larger fluted cakes and 6 smaller, using the molds shown above. I would imagine this recipe will make 12 cupcakes. 

If you use the molds like I did (and recommend!) then make sure you grease these VERY liberally or else you won't be able to remove them. You should also  plan on leveling out the cakes once they have cooled and been removed from the molds. Slice any excess from the bottoms so that the cakes sit flat. 

Goat Cheese Frosting

Servings: 12

Ingredients:

Directions:

Combine mascarpone cheese and goat cheese in a large mixing. Using an electric hand mixer or standing mixer, beat on low for about 1 minute to cream the cheeses together. Add powdered sugar and beat on high for about 3 minutes until frosting begins to firm up and hold shape. Transfer into a pastry bag fitted with the decorating tip of your choice and frost the tops of the cakes. You can also simply transfer the frosting to a Ziploc bag and snip a small hole in one of the corners. 

Caramel Sauce

Yields roughly 1 cup of caramel sauce

Ingredients:

  • 4 tbsp grassfed butter
  • 3/4 cup coconut palm sugar (this a rich, unrefined sugar - in a pinch you could substitute light brown sugar but coconut palm sugar is recommended!)
  • 1/2 cup half & half
  • 1 tbsp pure vanilla extract

Directions:

Mix butter and sugar together in a small saucepan over medium heat until the sugar melts into the butter, about 1 minute. Increase heat to medium and slowly pour the half & half into the saucepan and bring mixture to a boil. Reduce heat to medium low and continue mixing intermittently, allowing sauce to thicken, about 5 minutes.  Add vanilla and cook for an additional minute to combine. Make sure you keep an eye on stirring this mixture as it cooks or else the butter may separate from the sauce and create a layer of oil on the top. 

Pull mixture from stove and allow to cool. Transfer to a glass jar and continue to cool mixture in the refrigerator. You won't use all of these caramel sauce on the cupcakes so you will have some leftovers - it tastes great drizzled into your coffee or over a scoop of coconut ice cream!

Assembly of cakes

Servings: 12

  • No Joke Chocolate Cakes 
  • Goat Cheese Frosting
  • Caramel Sauce
  • 6 fresh figs, quartered

Directions:

Top each cupcake with frosting. Next, drizzle caramel sauce over each cake. I transferred the sauce to a Ziploc sandwich bag and cut the smallest hole in the corner which worked great for drizzling. Lastly, garnish each cake with 2 cut pieces of fig.


Posted on September 9, 2015 and filed under Recipes, Sweet Treats, Baking.