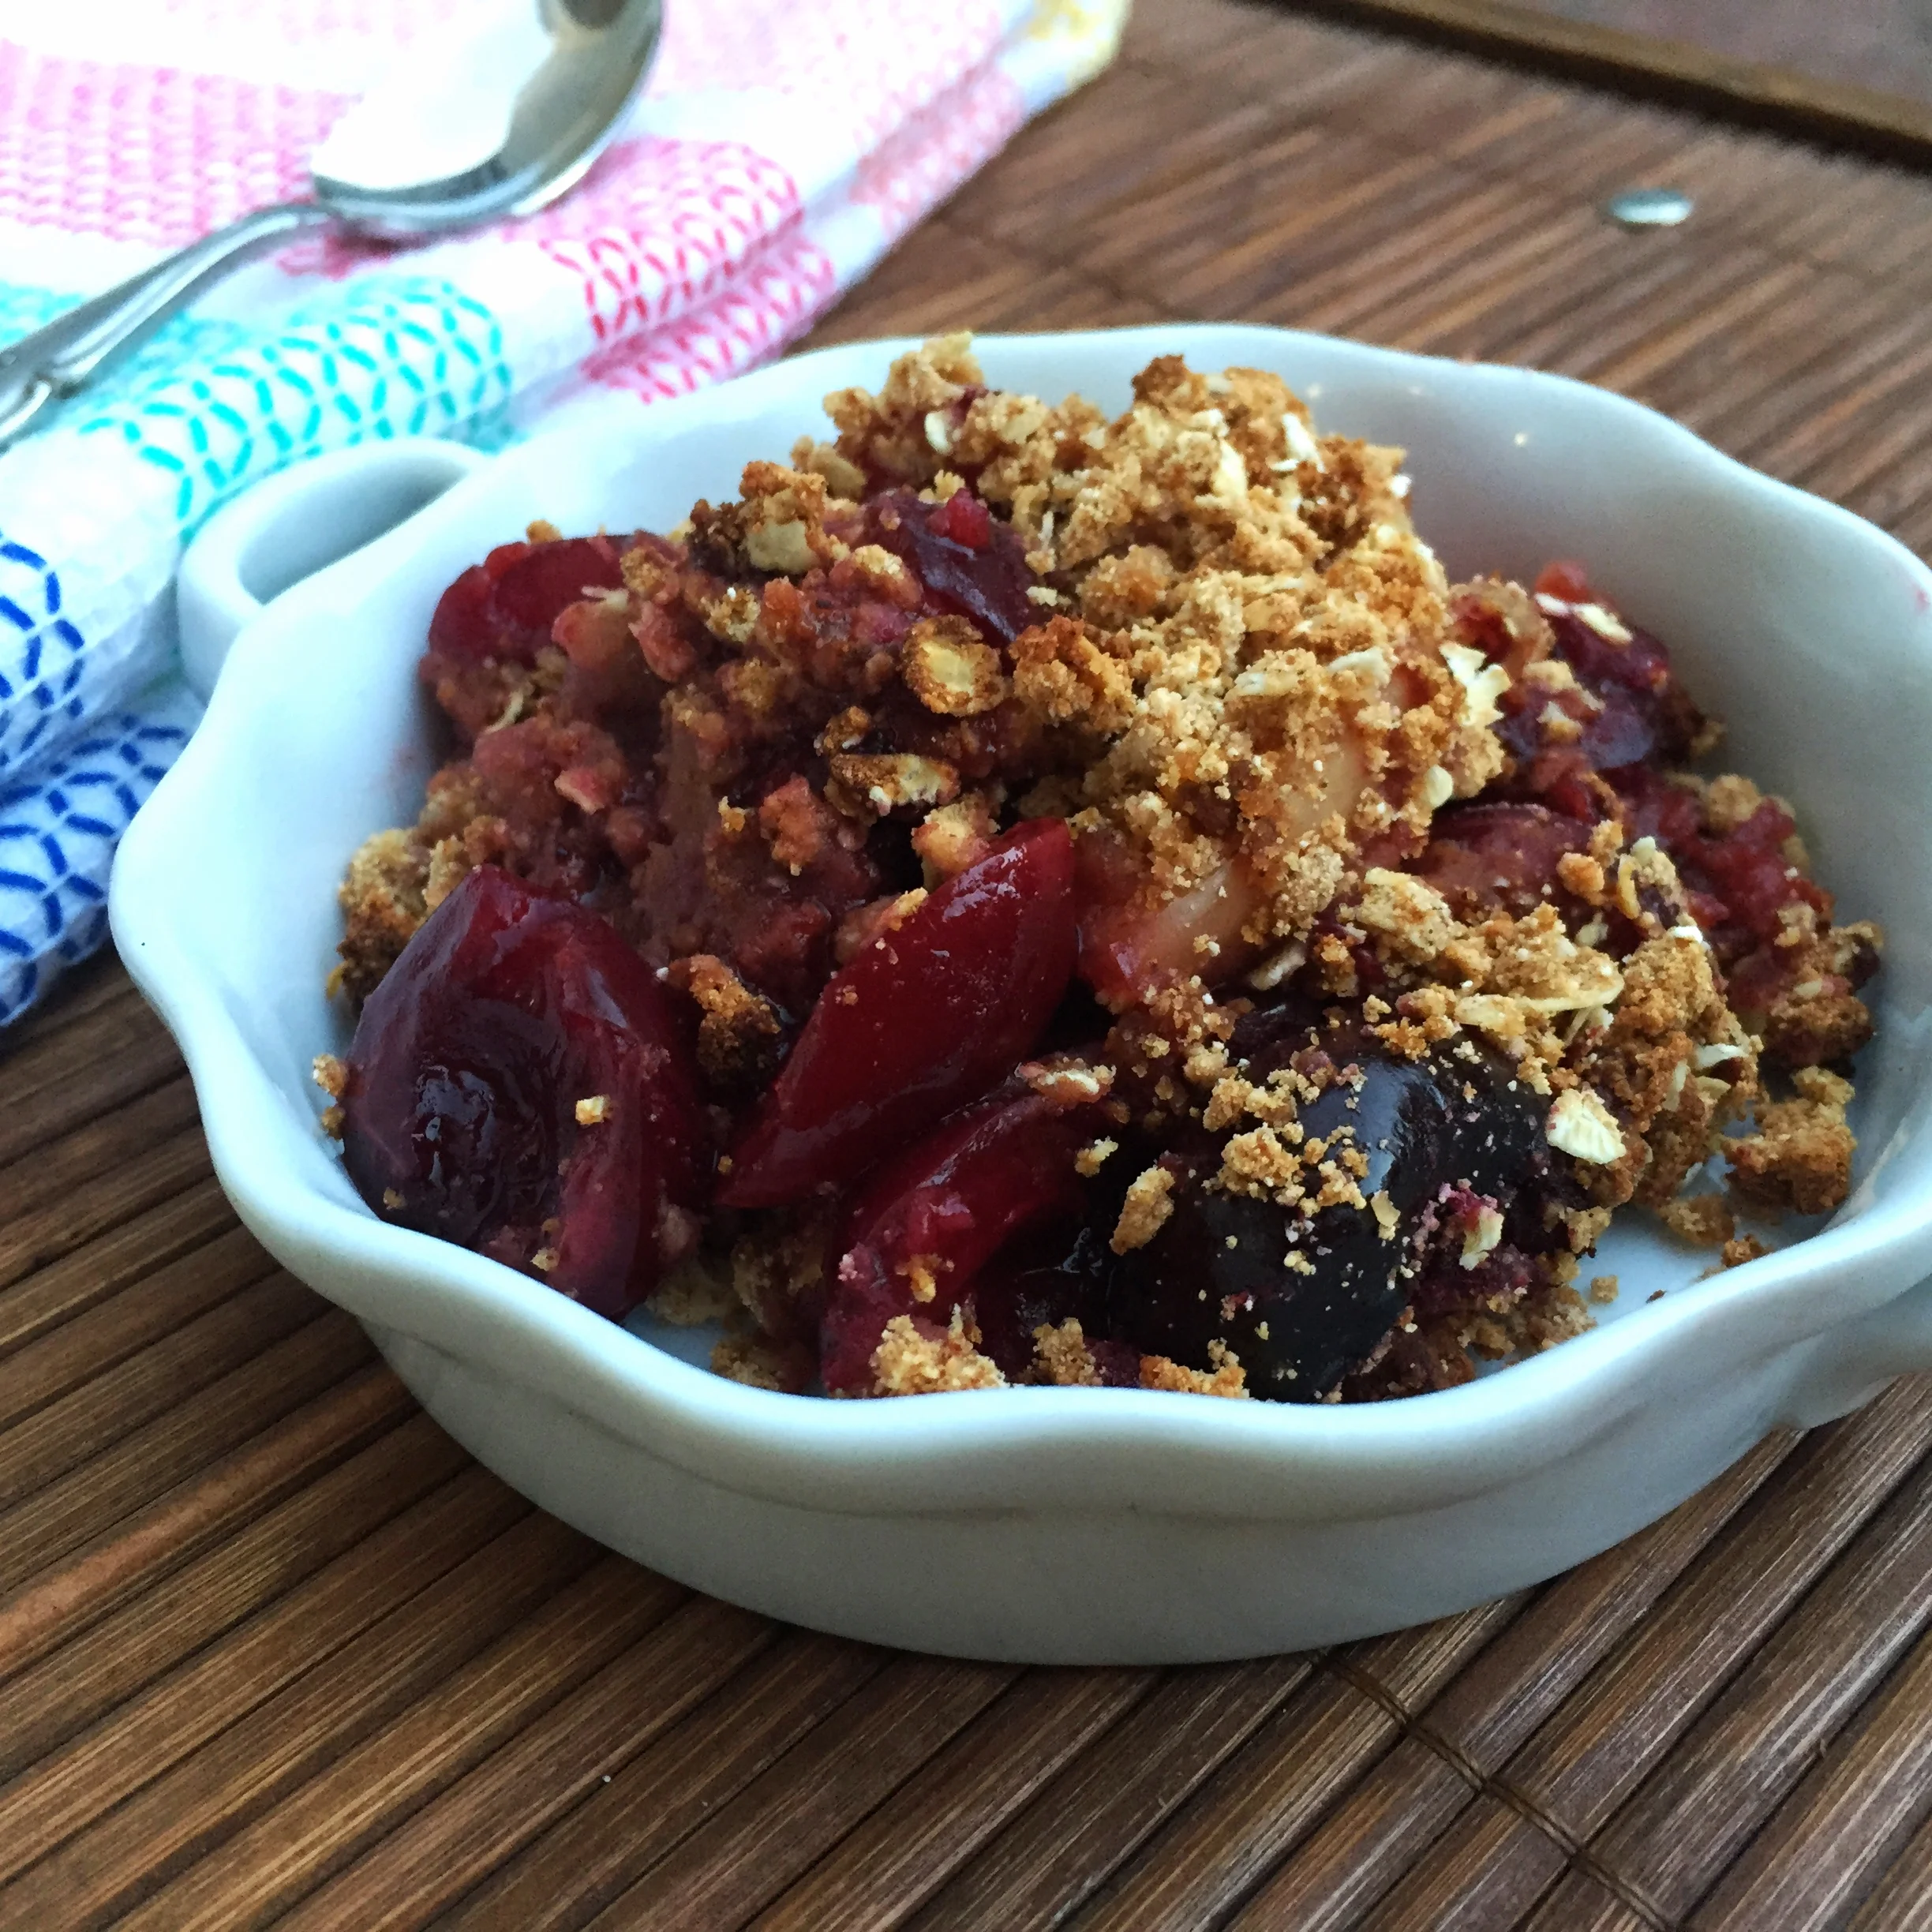
I have a serious love for stone fruits. Peaches, plums, nectarines, cherries, apricots - I don't discriminate. I make sure I take full advantage of them when they are in season (roughly June - August). Some how it is already August (WHEN did that happen?!) and our beloved stone fruits are coming to the end of their season. Before it is too late and we have to wait until next year, you MUST try this recipe for a Cherry Nectarine Crumble.
First things first, I highly recommend investing in a cherry pitter (pictured above) or else the pitting process will go much slower for your cherries. I can't imagine trying to pit nearly a pound of cherries without one of these bad boys.
Since I am an advocate of purchasing whatever produce is most ripe and in season, I will say this recipe is by no means limited to just cherries and nectarines. In fact, I made this recipe a 2nd time and used almost all nectarines (I only had about a cup of cherries on hand at the time) and it came out just as delicious. Let's be honest, you could put this crumble topping on anything and I'm pretty sure it would turn out delectable.
This is recipe is truly a creation of my own. Every recipe I looked to for inspiration was either A) high in fat or B) not gluten free. This version offers hints of coconut flavor throughout, which I think adds a unique depth of flavor to this crumble! The light coconut milk helps in making this recipe lower in fat than traditional fruit crisps or crumbles yet also keeps it from becoming too dry.
Before you have to wait until next stone fruit season, head out and buy the most ripe fruit you can find and indulge in this low fat, gluten free, so good you'll want to eat the whole thing - crumble TONIGHT!
Cherry Nectarine Crumble
Prep Time: 15 minutes
Cook Time: 30 min
Servings: 6
Ingredients
Crumble Topping
- 2/3 cup gluten free rolled oats (instant can work in a pinch)
- NOTE: All pure oats are gluten free but read HERE for clarification on the issue
- 1/3 cup coconut flour
- 2 tbsp coconut palm sugar (or brown sugar could work here)
- 1/2 tsp cinnamon
- 1/4 tsp salt
- 2 tbsp butter
- 1/4 cup light coconut milk (could also use full fat but will not yield same nutritional info below)
Filling
- 3 cups dark sweet cherries, pitted (amount yielded after pitting)
- 1 1/2 cups nectarines, sliced (about 2 small nectarines)
- 1 tbsp tapioca or arrowroot flour (could also use cornstarch)
- 1 tbsp lemon juice
- 2 tsp coconut palm sugar
Directions
- Preheat oven to 400⁰F.
- Begin by preparing the fruit. A cherry pitter will save you LOADS of time in this step. Pit cherries and cut in half, placing them in a medium mixing bowl with sliced nectarines. Dust fruit with tapioca flour and palm sugar, followed by lemon juice. Mix to combine. Transfer fruit mixture to a baking dish and create an even layer. I used an 8" x 8" glass baking dish but you can use anything comparable you have on hand. Set aside.
- Combine dry ingredients of crumble topping (oats, flour, sugar, cinnamon and salt) together in a small mixing bowl. Melt butter and combine with coconut milk. Mix wet ingredients into dry until a crumbly mixture forms and the butter/coconut milk is well incorporated.
- Cover fruit mixture with crumble topping. Make sure you create an even layer over the entire surface of the fruit, you don't want to cheat someone on that crumble topping!
- Bake for 30 minutes, until the top begins to turn golden and the fruit begins to bubble up from below. I've been told that for others who have tried this recipe that 30 minutes wasn't quite enough time. Use your best judgement and you can always bake for an additional 5-10 minutes - just be watchful!
- Allow to cool for 10 minutes before cutting into the crumble (this is the hardest part!) to ensure it doesn't fall apart when you slice and serve. Serve warm on its own or add a dollop of whipped cream of ice cream!
Nutritional info (1 serving)
184 Calories - 3.5 g Protein, 29 g Carbs, 6 g Fat


