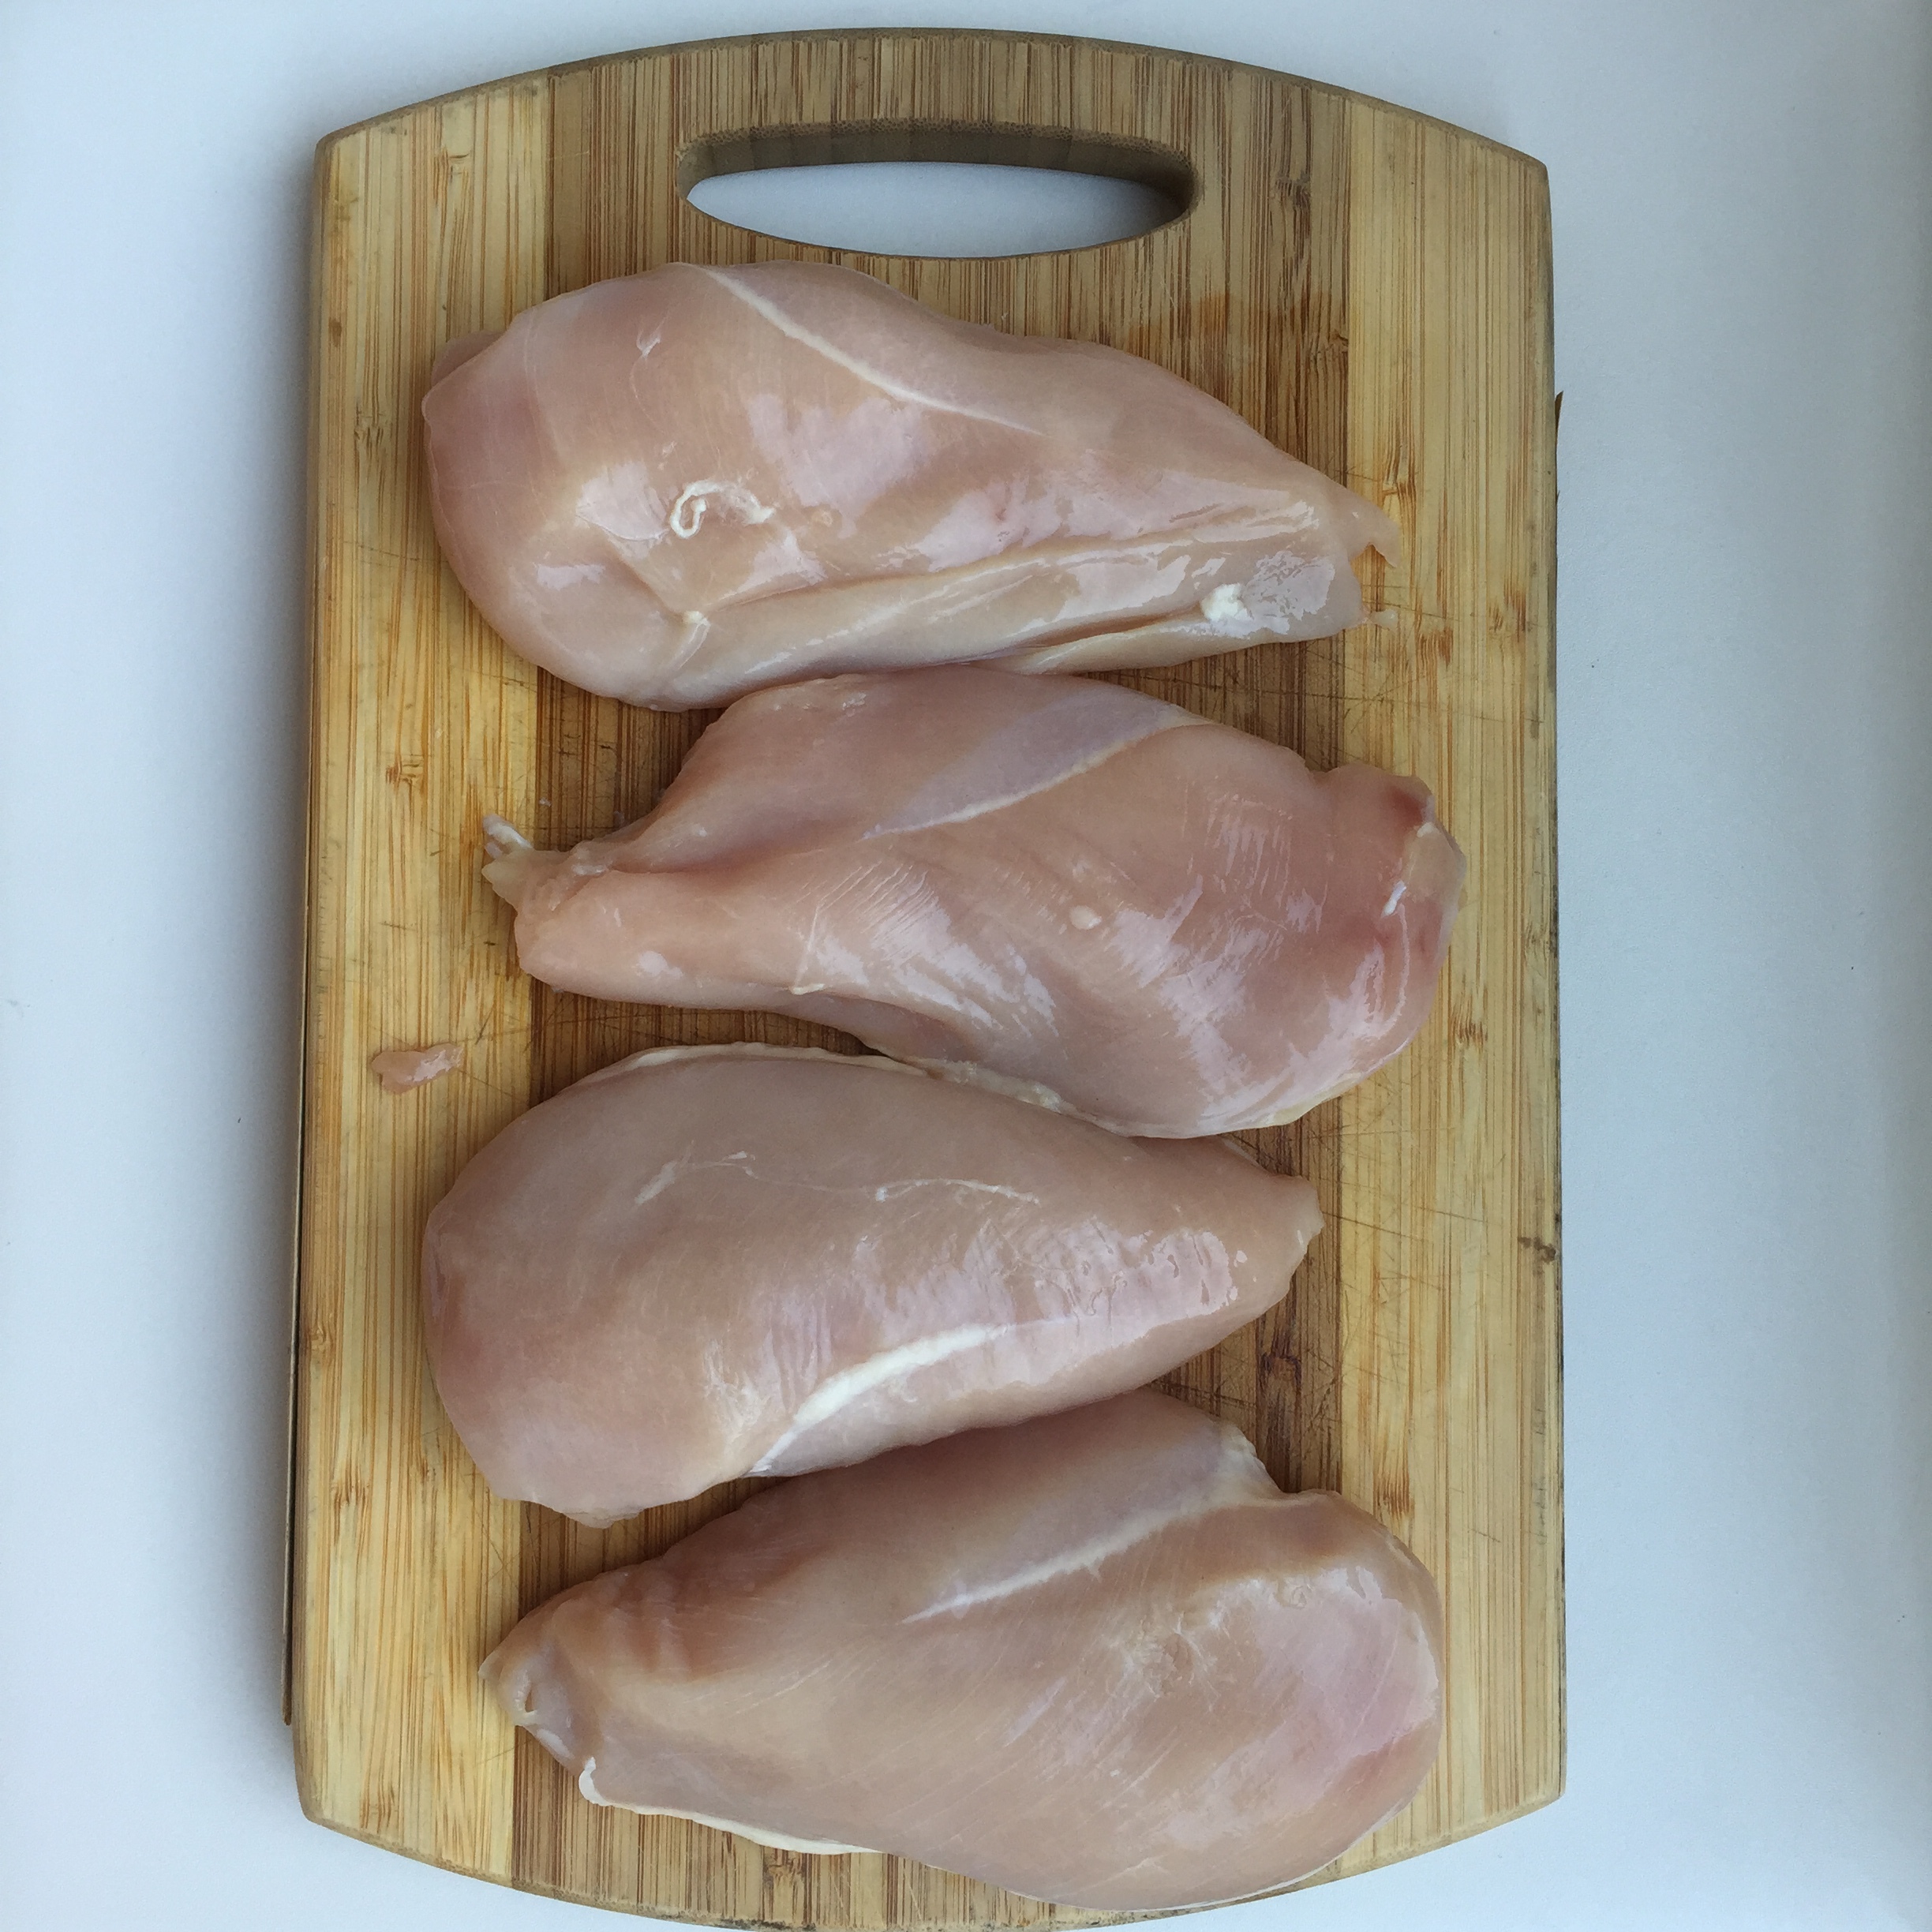
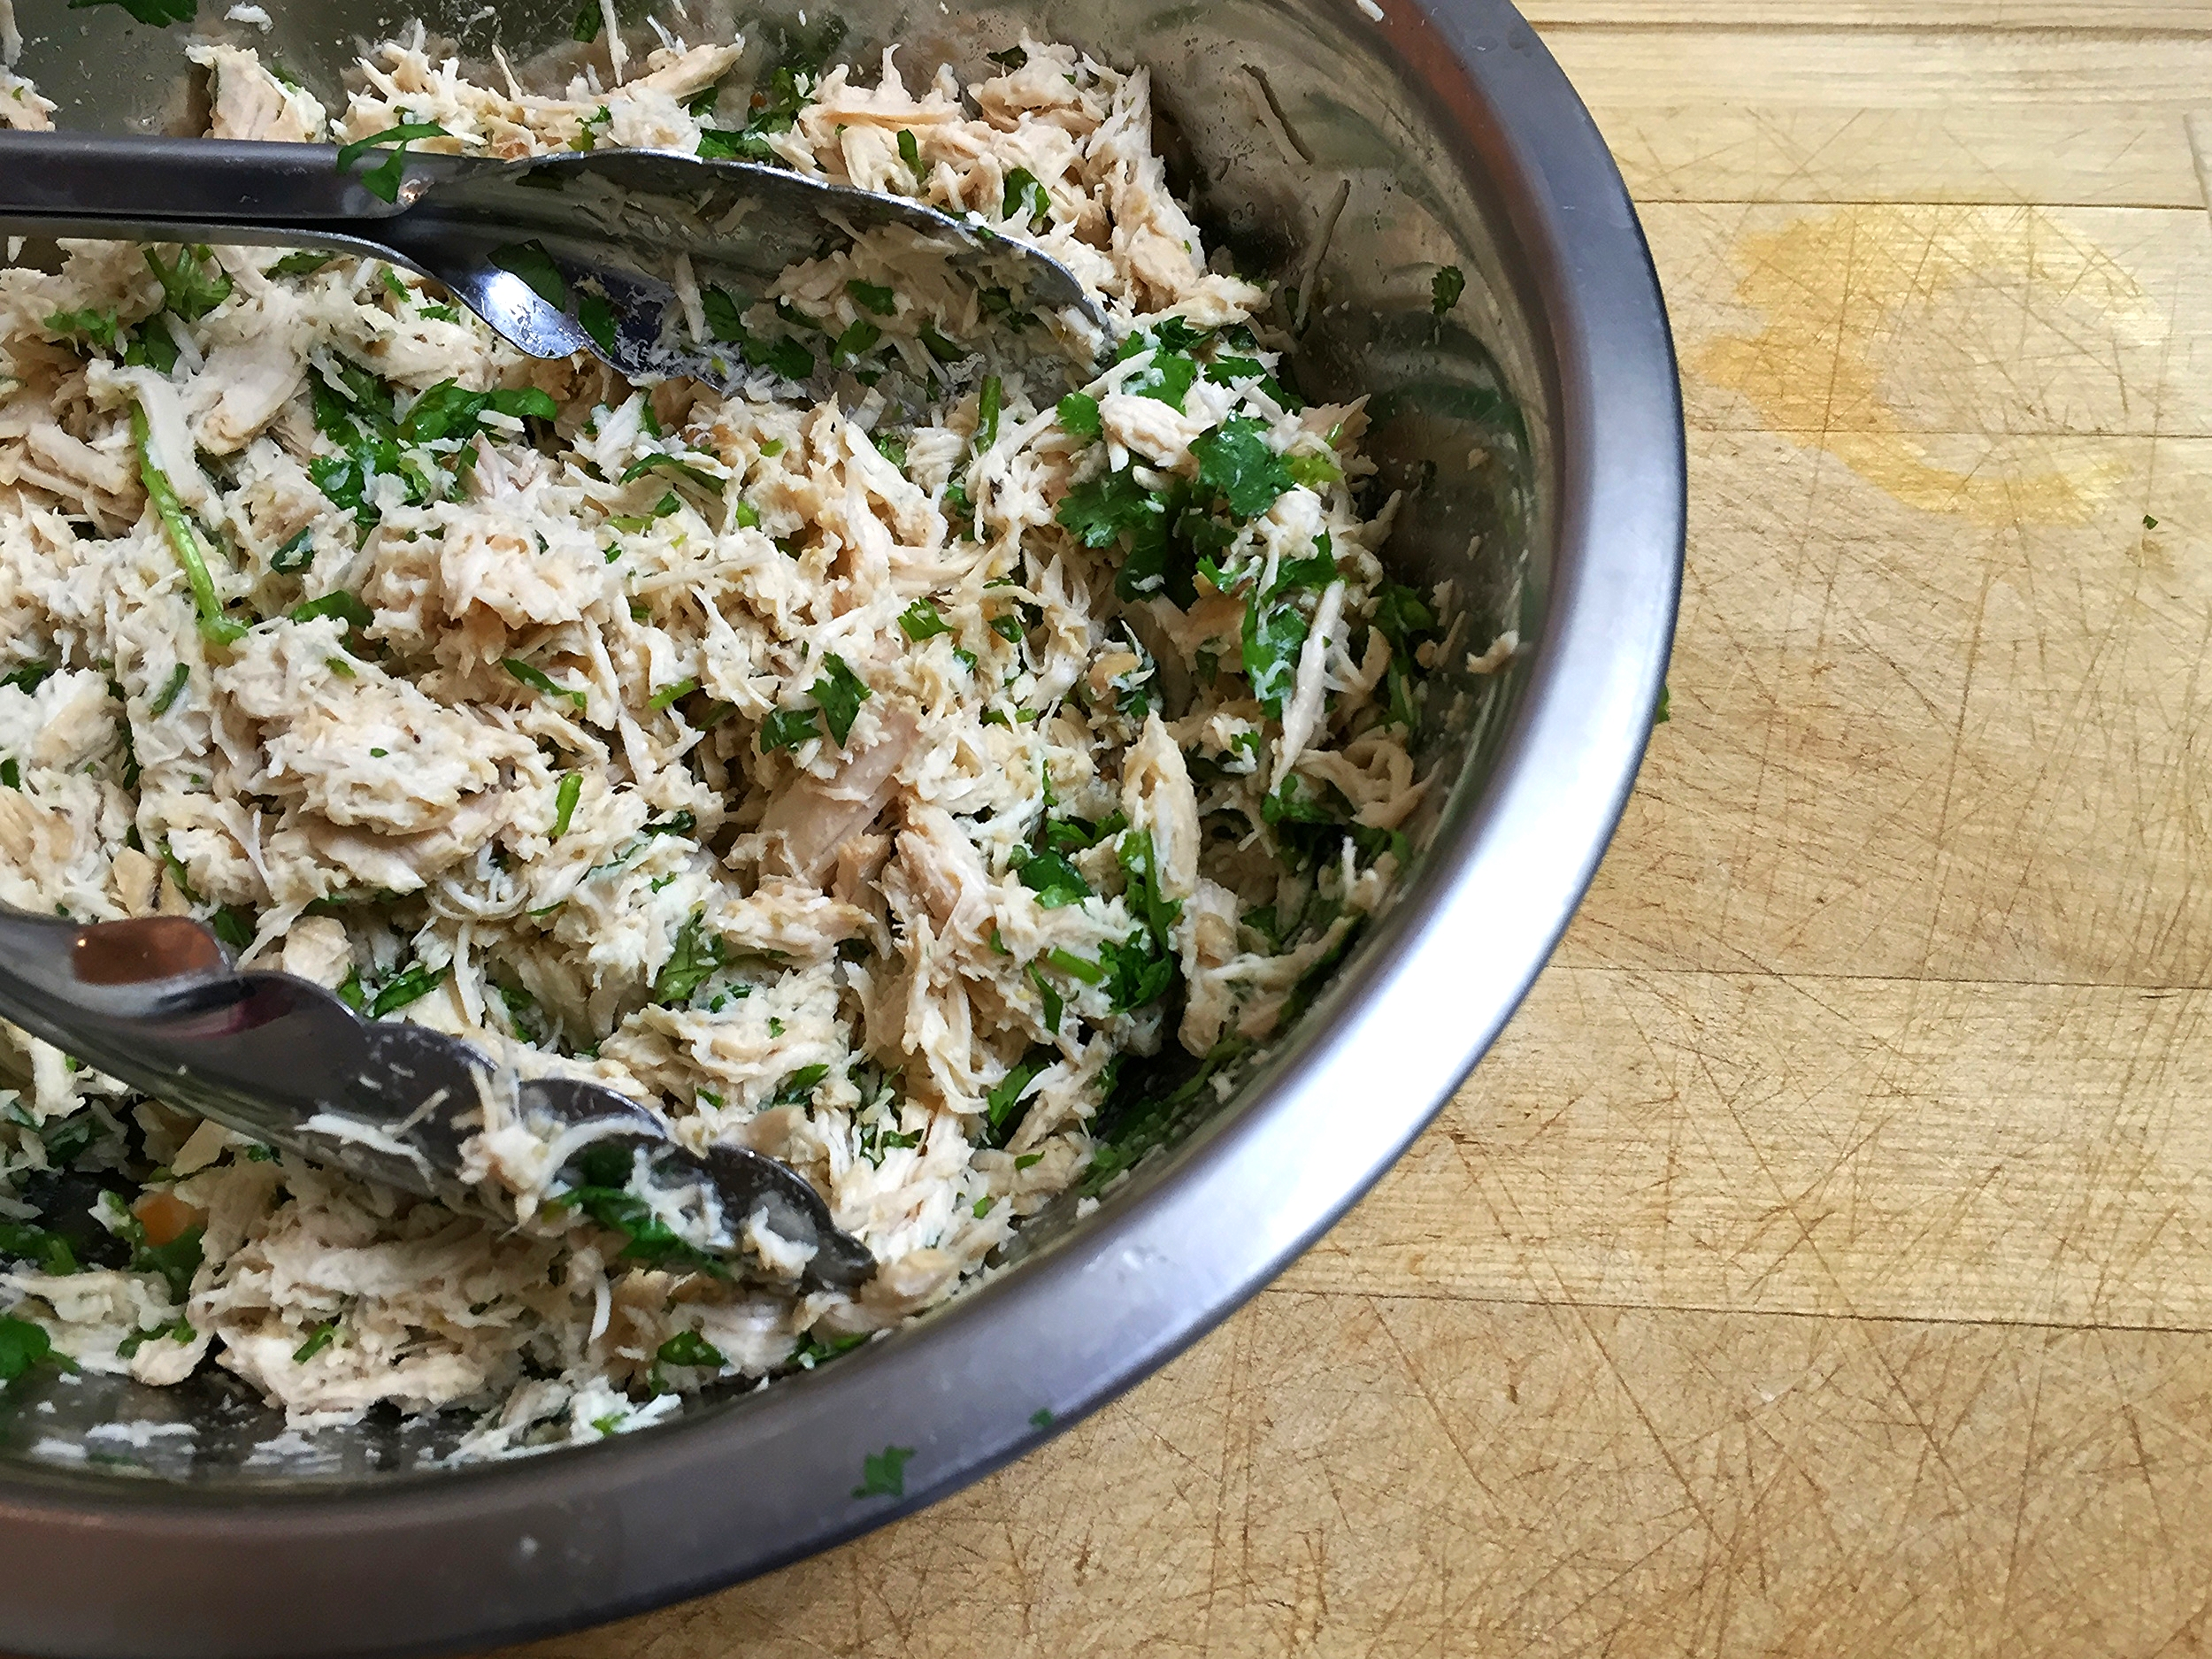
Posts filed under Chicken

Buffalo Chicken Nachos

Buffalo Chicken Nachos | My Engineered Nutrition

If someone were to ask me "what is the first food that comes to mind when you think of football", my answer without hesitation would be BUFFALO CHICKEN WINGS. They just go with football like peanut butter and jelly. Wings, a basket of fries and beer - doesn't exactly scream "healthy choices", right? 

While wings are great, I wanted to shake things up a bit and create a healthy alternative to the Gametime food we know and love. Why not combine buffalo chicken AND nachos?! These nachos have all the flavor elements you'd have with wings and a basket of fries...just in nacho form.

Buffalo Chicken Nachos | My Engineered Nutrition

 I'm using my Perfectly Baked Sweet Potato Chips as the base to this nacho creation. Because they are so crisp and perfectly baked, they stand up to the test of acting as nachos. Next, they are topped with shredded chicken that I've slow cooked with Frank's Hot Sauce (yes, 2 ingredients - does it get any easier?) and a goat cheese ranch dressing that is bomb dot com. 

Buffalo Chicken Nachos | My Engineered Nutrition


Buffalo Chicken Nachos

Prep Time: 20 minutes

Cook Time: 4 hours 10 minutes

Servings: 4

Ingredients: 

Sweet Potato Chips

  • 1 recipe of Baked Sweet Potato Chips (4 servings) 

Buffalo Chicken (this will make more than you need for the nachos) 

  • 2 chicken breasts
  • 1/2 cup Frank's Hot Sauce

Goat Cheese Ranch Dressing

  • 2 oz goat cheese  
  • 2-4 tbsp light coconut milk (or milk of your choice)
  • 1/4 tsp garlic powder
  • 1/4 tsp onion powder  
  • 1/4 tsp oregano
  • salt and pepper  

For nacho assembly: 

  • 4 servings Sweet Potato Chips
  • 1 cup Buffalo Chicken  
  •  Goat Cheese Dressing 
  • 2 scallions, thinly sliced
  • 1/4 cup cilantro, chopped

Directions:

  1. Start by making the Buffalo Chicken. Place chicken breasts in crock pot and coat with buffalo hot sauce. Allow to cook on HIGH for 4 hours.
  2. During the last hour of the chicken cooking, prepare your sweet potato chips by following the instructions in my previous post.  
  3. Also while the chicken is cooking, prepare the goat cheese ranch dressing. In a bowl, combine all ingredients and mix until a creamy dressing consistency is reached. I recommend to start by adding only 2 tbsp of milk. Check consistency - if it is too thick add more milk, tbsp by tbsp, until your desired consistency is met.
  4. Once chicken has cooked, shred chicken with forks within the crockpot. Mix chicken with the sauce within the crockpot - we don't want to drain this! 
  5. To assemble, on a parchment lined baking sheet arrange sweet potato chips. Top with 1 cup of shredded chicken. Next, drizzle ranch dressing over chicken and finish with scallions and cilantro.  

Nutritional Information (1 serving) 

200 calories - 15.5 g Protein, 21.5 g Carbohydrates, 6 g Fat
Posted on October 9, 2015 and filed under Recipes, Chicken.

Roasted Chicken Breast

Roasted Chicken Breast | My Engineered Nutrition

Roasting chicken can be a very simple but also very tricky. Cook just right and it can be juicy and tender. Cook too long and you have a dry and hard piece of protein that is almost unbearable. Once I mastered how to perfectly roast chicken breast my life got SO much easier (and more tasty) when it came to prepping meals in advance. 

Roasted Chicken Breast | My Engineered Nutrition

If you've known me in the past 2 years, then you've known me during a time when I took meal prepping very seriously. This was during my time when I was actively competing in figure competitions. Bring on the veggies and chicken breast for 80% of my meals (also before I learned of the beauty of flexible dieting, but I digress). Coincidentally enough, I could never cook chicken perfectly during this time. 

Roasted Chicken Breast | My Engineered Nutrition

I actually got to a point where I couldn't stand to look at baked chicken because I anticipated a dry and hard piece of meat. Please ANYTHING other than that!! Fast forward a year and a half since my last show and I have one very small but very impactful addition to my kitchen tool arsenal: an instant read food thermometer.  

Instant Read Food Thermometer | My Engineered Nutrition

I can't stress how big of a difference this simple tool can make! No more guessing if and when your meats are cooked to the appropriate temperature and NO MORE OVERCOOKING! Rejoice! 

Roasted Chicken Breast | My Engineered Nutrition

Ok...so a bit dramatic.

But seriously, if you haven't made the investment in this tool it will make your time in the kitchen so much easier. This simple 'How To' on roasted chicken is a staple for everyone's meal rotation. I make chicken on a weekly basis and either eat it as is with salads, sandwiches, etc. or transform it and use this as a base for other recipes. This is such a simple technique and everyone should know how they too, can cook perfectly juicy chicken! 

The key to perfectly cooked chicken is to pull it from cooking BEFORE it reaches the proper internal temperature. A safe minimum internal temperature for chicken is 165°F. I pull my chicken from the oven once it reaches 155°F, as it will continue to cook about another 10°F after it is taken out of the oven. 

Roasted Chicken Breast | My Engineered Nutrition

Perfectly Roasted Chicken Breast

Ingredients:

  • 4 Chicken Breasts
  • 1 lemon, juiced
  • 1 tsp dried rosemary
  • 1 tsp dried oregano
  • 1/4 tsp salt
  • 1/4 tsp pepper

Directions:

  1. In a mixing bowl, combine chicken breasts, lemon juice and spices. Allow to marinate for 15 minutes. Meanwhile, preheat oven to 400°F.
  2. Line a baking sheet with parchment paper. Once the chicken has marinated, arrange chicken breasts on baking sheet, evenly spaced. Insert thermometer probe into the thickest part of one of the larger pieces of chicken.
  3. Roast at 400°F until the thermometer reads 155°F - this normally takes about 25 minutes for me. 
  4. Remove from the oven and let rest for at least 5 minutes before cutting - you don't want to lose all the juices! Now you can eat this as is or use in your favorite dish! 
Posted on September 29, 2015 and filed under Recipes, Chicken.

Cilantro Lime Chicken

Cilantro Lime Chicken | My Engineered Nutrition

I'm back this week with yet another slow cooker recipe, hoping to make your weekday meal planning that much easier! I posted a photo on my Instagram last week of some chicken nachos I made with this Cilantro Lime Chicken and it was so tasty and only took me 10 minutes to throw together for dinner. Like I said last week with my Slow Cooker Carnitas, Crock Pot meals are SUCH a time saver for me during the week. 

Cilantro Lime Chicken | My Engineered Nutrition

The basic recipe of the Cilantro Lime Chicken does not differ much from the Carnitas. The end product is just as versatile as well. I love having this chicken on hand to throw on a salad, toss on top of nachos, to fill tacos, or even just eat on its own. 

I bring my lunch to work every single day. Mostly because I refuse to spend $15 on a salad, but also because I like to know exactly what I'm eating and ensure it is a healthy choice. I can't tell you how many times people have told me they could never plan as well as me or don't have the time to make lunches. Here is my secret: I don't have time either (shhh) so I make sure I have quick and easy options on hand at ALL times. It isn't rocket science! Crock pot meals take ZERO effort and can cook overnight. I mean come on, how much easier does it get?! No excuses!

Cilantro Lime Chicken | My Engineered Nutrition

Cilantro Lime Chicken

Prep Time: 15 minutes

Cook Time: 6-8 hours

Servings: 6 (1 serving = 4 oz)

Ingredients

  • 2 lb Organic Boneless Skinless Chicken Breast
  • 1 1/2 tsp garlic, chopped
  • 1/2 tsp lime zest
  • 2 limes, juiced (about 1/4 cup)
  • 1/2 cup Chicken Stock
  • 1 cup cilantro, chopped
  • Spice Blend
    • 1 tsp oregano
    • 1 tsp coriander
    • 1 tsp onion powder
    • 1/2 tsp sea salt

Directions

  1. Mix together spices in Spice Blend and set aside. Cut the chicken breast into smaller cubes (I aim for 3 pieces per breast). Toss the chicken with the spice blend to evenly coat all sides of the meat. Create a paste from the garlic and lime zest and next coat chicken with paste. 
  2. Transfer the chicken to a Crock Pot and slowly pour the chicken stock and lime juice around the perimeter of the bowl. Try not to pour directly onto the meat - we don't want to rinse away the spices!
  3. Cook on low for 6-8 hours. Transfer chicken to a bowl and easily shred with a fork. Toss with chopped cilantro and serve. 

Nutritional info (1 serving = 4 oz cooked chicken)

145 Calories - 30 g Protein, 1 g Carbs, 2.4 g Fat

Posted on August 4, 2015 and filed under Recipes, Chicken.

Jambalaya

Jambalaya | My Engineered Nutrition

Looking for a dish to JAZZ up your dinners? :) Then look no further than this lightened up jambalaya! 

This dish is based off of Emeril Lagasse's recipe for Cajun Jambalaya. Emeril is the very FIRST chef I ever watched on television. This was back before Food Network actually published their recipes online for you to download. No, it wasn't that easy, you actually had to work for the recipes. I remember watching the show with my mom, her and I sitting in front of the television with notepad and pen in hand, listening ever so closely and writing down every ingredient as fast as we could. Was that 1 clove or 50 cloves of gah-lick!? I trust his recipes, especially when it comes to Creole cooking. 

In true Emeril style, this isn't the lightest of dishes. This is my take on his dish, cutting the fat in half from the original recipe! You'll be surprised with how quick and easy this seemingly complex dish is. I was able to bang this meal out in 30 minutes - ideal for a weeknight dinner!

Jambalaya | My Engineered Nutrition

Shrimp and Sausage Jambalaya

Prep Time: 10 minutes

Cook Time: 25 minutes 

Servings: 4

Ingredients

  • 1/2 tbsp olive oil
  • 1/3 cup yellow onion, chopped
  • 1/3 cup bell pepper, chopped  
  • 2 tsp garlic, chopped
  • 1/2 cup crushed red tomatoes (canned)
  • 1 bay leaf
  • 2 tsp hot sauce
  • 3 cups chicken stock
  • 3/4 cup white rice
  • 10 oz shrimp, uncooked and thawed
  • Creole seasoning (below)
  • 2 Andouille chicken or pork sausage links, lower in fat compared to traditional Andoullie sausage (I recommend Aidells all-natural sausages http://www.aidells.com/product/5) 

Emeril's Creole Seasoning

  • 1/2 tsp paprika
  • 1/2 tsp salt
  • 1/2 tsp garlic powder
  • 1/4 tsp cayenne pepper
  • 1/4 tsp black pepper
  • 1/4 tsp onion powder
  • 1/4 tsp dried oregano
  • 1/4 tsp dried thyme 

Directions

  1. In a large saucepan over medium heat, heat olive oil and sauté onion and peppers until softened, about 3 minutes.
  2. Add garlic, tomatoes, bay leaf and hot sauce. Stir to combine.
  3. Next stir in rice and chicken stock. Bring to a boil then reduce heat to medium low and cover. Continue to stir occasionally until all liquid has been absorbed, about 10-15 min. 
  4. While rice is cooking, combine Creole seasoning with shrimp until shrimp is evenly seasoned. Set aside. Slice sausage links. 
  5. Once all liquid has been absorbed, add shrimp and sausage, bringing the heat back up to medium. Stir occasionally until shrimp is cooked, about 10 minutes. Plate and enjoy! 

Nutritional info (1 serving)

304 Calories - 24 g Protein, 34 g Carbs, 8 g Fat


Posted on July 10, 2015 and filed under Recipes, Fish/Seafood, Chicken.

BBQ Chicken Pizza with Cauliflower Crust

BBQ Chicken Cauliflower Pizza | My Engineered Nutrition

My very first post. 

Being the perfectionist that I am, I procrastinated for quite some time trying to think up what the BEST first post would be. Should it be basic? Main dish or side? Breakfast or dinner?  After much thought and debate, this recipe turned out to be completely unplanned. 

Have you ever craved pizza and wanted not just a slice but a whole pizza? 

BBQ Chicken Cauliflower Pizza | My Engineered Nutrition

I know I'm not alone. 

I'm here to tell you with this BBQ Chicken pizza, you can do just that! Before this, I had never attempted to make a cauliflower crust. I'll admit, I was a bit skeptical as to whether you could actually make a crust from cauliflower that acted like a real pizza crust. After a few attempts, I am very pleased with the final outcome of this crust. On top of being delicious, it is also low fat, low carb and gluten free! 

The process of making the crust starts just like you would for making cauliflower rice, if you are familiar with that. You take it a step further once you have the rice by steaming the cauliflower and the squeezing all of the liquid out.

The end result is a ball of cauliflower "flour" to which you add your egg white, cheese, spices, and coconut flour. I found the coconut flour to really hold this crust together. On my first attempt at making this, I still felt there was a bit too much moisture and needed a binder. The coconut flour seemed to do the trick! Once mixed, you flatten and  bake until golden brown.

Tah-dah!

Cauliflower Pizza Crust | My Engineered Nutrition

I use the BBQ sauce to act as the tomato sauce. Then topping with fresh mozzarella, which is always the best choice.

BBQ Chicken Cauliflower Pizza | My Engineered Nutrition

Next comes the chicken with another drizzle of BBQ sauce and sliced red onion.

BBQ Chicken Cauliflower Pizza | My Engineered Nutrition

Pop that back into the oven to bake for another 10 minutes - we want the cheese to get good and melted. Once everything is nice and bubbly remove from the oven and top with fresh cilantro.

BBQ Chicken Cauliflower Pizza | My Engineered Nutrition

It is a good thing you can eat this whole pizza guilt free...you aren't going to want to share.

BBQ Chicken Cauliflower Pizza | My Engineered Nutrition

BBQ Chicken Pizza with Cauliflower Crust

Prep Time: 20 minutes

Cook Time: 20-25 minutes

Ingredients

For the cauliflower crust

  • 1small to medium head of cauliflower, yielding about 3.5 cups flowerets (350g)
  • 1/3 cup shredded fat-free or low-fat monterey jack cheese (1.5 oz)
  • 1 egg white
  • 1 tbsp coconut flour
  • 1 tsp italian seasoning (equal parts dried oregano, basil, thyme and rosemary)
  • 1/4 tsp salt

For the pizza toppings

  • 2 tbsp BBQ Sauce (I used Stubb's Sweet Heat
  • 1.5 oz fresh mozzarella cheese
  • 1/2 cup cubed baked or grilled chicken breast (2.5 oz)
  • 1/4 cup sliced red onion
  • 1/4 cup chopped cilantro

Directions

First, start with the the cauliflower crust

  1. Preheat oven to 450°. 
  2. Chop cauliflower into small flowerets, discarding of leavings and stem. Place cauliflower into food processor and pulse until you get a "cauliflower rice" constancy.
  3. Transfer cauliflower to a microwave-safe dish and microwave on high for 3 minutes. This steams the cauliflower.
  4. Once cooked, transfer cauliflower again to a tea towel lined bowl. Allow to cool for at least 5 minutes. When cool enough to handle, gather up the towel and squeeze the cauliflower into a ball -- and continue to squeeze! I can't stress enough how important it is to squeeze ALL the liquid out of the cauliflower. You should have about 1/2 cup of liquid when you are done. The end result is a ball of cauliflower "flour".
  5. In a mixing bowl combine cauliflower, shredded monterey jack cheese, egg white, coconut flour, seasonings and salt. Mix with hands until ingredients are well incorporated.
  6. On a parchment lined baking sheet flatten out dough, shaping into a thin round disk, about 1/4" thick.
  7. Bake in a 450° oven for 10-15 minutes or until it begins to turn golden.

Assemble the pizza

  1. Once baked, spread 1 tbsp of the BBQ sauce onto the crust. Reserve the remainder.
  2. Add the mozzarella cheese followed by the chicken. Drizzle remaining 1 tbsp of BBQ sauce over top. Add onion.
  3. Bake again in a 450° oven for 10 minutes or until cheese has melted and onions have cooked.
  4. Remove pizza from oven and finish off with a sprinkle of fresh cilantro.

I hope you enjoy! 


I'd love to hear what recipes you would like for me to create - please leave a comment!

Posted on May 5, 2015 and filed under Recipes, Chicken.